

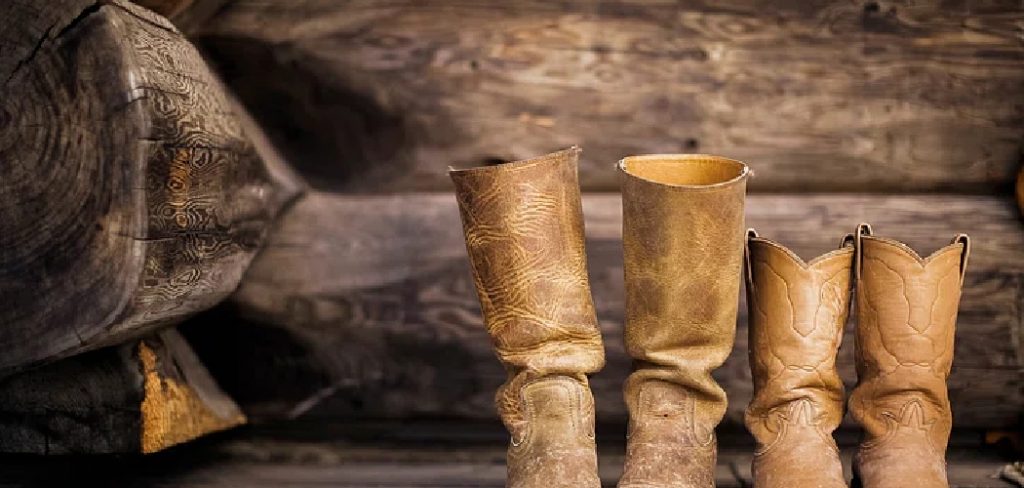
There is nothing quite like the feeling of unboxing a brand-new pair of cowboy boots. The smell of the rich leather, the intricate stitching, and the classic silhouette promise to elevate your style instantly. However, that excitement can quickly turn to disappointment if you slide your foot in only to find the shaft won’t pull up over your calf. This is a common problem for many boot lovers, as standard boot shafts are often cut to a uniform, narrow circumference that doesn’t account for the natural variety of human leg shapes.
Before you resign yourself to returning those beautiful boots or suffering through painful constriction, know that leather is a pliable, forgiving material. With the right techniques and a little patience, you can customize that fit. This guide is designed to help you salvage your purchase and comfort. We will walk you through exactly how to stretch cowboy boots calf areas effectively, ensuring you can stride with confidence and ease without damaging your prized footwear.
Stretching cowboy boots to accommodate the calf area requires some preparation and care. Whether you’re dealing with snug-fitting leather or looking to add just a bit of extra room, the right approach can make all the difference. It’s important to use proven methods that not only achieve the desired fit but also maintain the integrity of your boots. With some simple tools and techniques, you can ensure a personalized fit that enhances both comfort and style.
What You Will Need
To start, we’ll go over the items you will need to successfully stretch your cowboy boots calf areas. These items can easily be found at most shoe stores or online, and some may already be in your household. Here’s what you will need:
- A pair of thick socks (preferably wool)
- Leather stretching spray or leather conditioner
- Shoe stretcher (specifically designed for cowboy boots)
- Hairdryer
- Optional: Newspaper or towel
Make sure to have all these items on hand before starting the stretching process.
7 Step-by-Step Guide on How to Stretch Cowboy Boots Calf
Step 1: Assess the Material and Construction
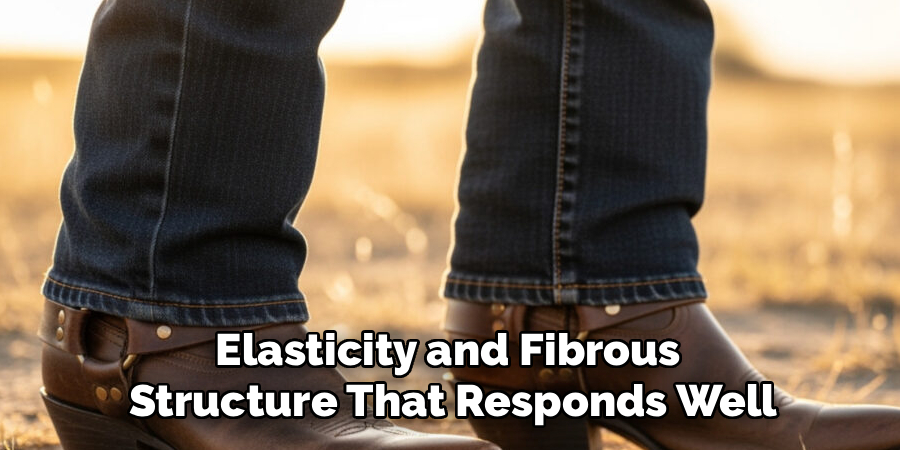
Before applying any tension or products, you must understand exactly what you are working with. Not all cowboy boots are created equal, and the material dictates the stretching potential. Check the label inside the shaft to confirm the boots are made of genuine leather or suede. Real animal hide has a natural elasticity and fibrous structure that responds well to stretching techniques.
Synthetic materials, such as faux leather or vinyl, are made of plastic polymers that will essentially snap back to their original shape or crack under pressure. You also need to inspect the stitching along the side seams. If the boots have heavy embroidery or piping running vertically up the shaft, the leather will be more resistant to expanding. Understanding these limitations prevents you from overworking the material and causing permanent structural damage during the process.
Step 2: Utilize a Leather Stretching Spray
One of the most effective ways to prepare the leather for expansion is by using a chemical agent designed to relax the fibers. Purchase a high-quality shoe stretch spray from a cobbler or footwear store. These sprays typically contain alcohol and specialized oils that penetrate the pores of the hide, temporarily loosening the internal bonds that hold the fibers tight.
Generously mist the inside of the boot shaft, focusing heavily on the areas that feel the tightest against your leg. It is important to spray the interior rather than the exterior to avoid potential discoloration or staining of the finish. The leather should feel damp to the touch but not soaking wet. This chemical relaxation is a crucial preparatory step that makes the subsequent mechanical stretching much easier and more permanent.
Step 3: The Thick Sock and Body Heat Method
Once the leather is treated with the stretching fluid, you need to apply outward pressure to reshape it. The safest and most accessible method involves using your own body mechanics. Put on the thickest pair of wool socks you own—or even layer two pairs if necessary—and pull the boots on. It will likely be a struggle, and the fit will feel uncomfortably tight, but this is necessary for the process.

Wear the boots around your house for thirty minute intervals. As you walk, flex your ankles, and move your legs, your body heat warms the leather while the bulk of the socks forces the shaft to expand. This combination of heat, moisture from your skin, and pressure gently molds the boot to the specific contours of your calf.
Step 4: Apply Controlled Steam for stubborn Areas
If the sock method alone isn’t providing enough room, adding steam can accelerate the process significantly. Heat and moisture make leather incredibly pliable, allowing it to stretch further than it would dry. Use a handheld garment steamer or a kettle of boiling water to direct steam toward the inside of the boot shaft for about twenty to thirty seconds. Be extremely careful not to over-saturate the leather or burn yourself.
The goal is to make the leather warm and slightly humid, not wet. Immediately after steaming, put the boots back on with your thick socks and walk around until the leather cools and dries completely. The cooling process sets the leather into its new, wider shape, making this a powerful technique for those learning how to stretch cowboy boots calf sections at home.
Step 5: Employ a Professional Boot Shaft Stretcher
For a more aggressive and precise stretch that doesn’t require you to wear tight boots, invest in a mechanical boot calf stretcher. This is a specialized tool, distinct from a standard foot stretcher, designed specifically for the shaft of the boot. It looks like a wedge that goes inside the leg of the boot with a handle at the top.
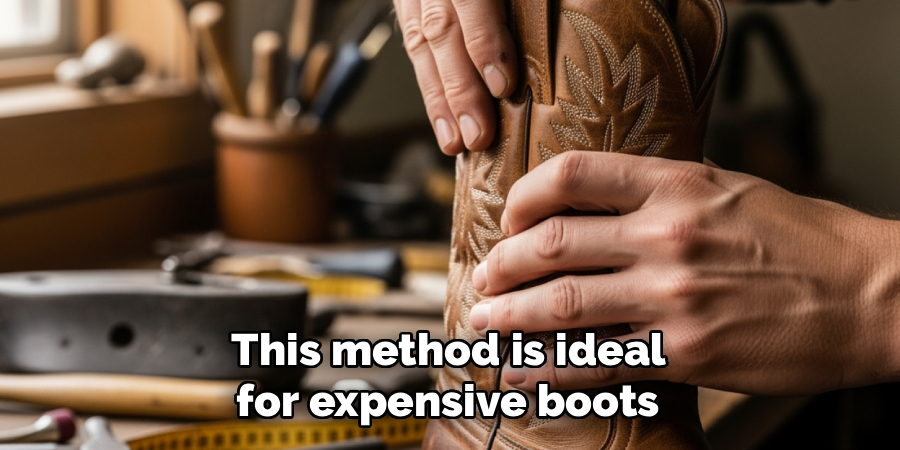
Insert the device into the boot and turn the crank to widen the wedge until you see the leather become taut. Leave the stretcher in place for at least 24 to 48 hours. The sustained, constant pressure is often more effective than intermittent wear because it prevents the leather from shrinking back down immediately. This method is ideal for expensive boots where you want to minimize creases from walking.
Step 6: Use an Alcohol and Water Solution
If you do not have a commercial stretching spray handy, you can create a potent DIY alternative using common household items. Mix a solution of 50% rubbing alcohol and 50% water in a clean spray bottle. The alcohol acts similarly to commercial sprays by evaporating quickly and relaxing the leather fibers as it dries.
Spray this mixture on the inside of the boot shaft until it is damp. Quickly put the boots on with your thick socks or insert your mechanical stretcher. While this method is cost-effective and generally safe for plain leather, you should always test a tiny, hidden spot first to ensure the alcohol does not react poorly with the dye or finish of your specific boots.
Step 7: Condition the Leather Post-Stretch
The stretching process, especially when it involves alcohol or steam, puts significant stress on the leather and can strip away natural oils. This leaves the hide vulnerable to drying out, cracking, or becoming brittle over time. Once you have achieved the desired fit and the boots are fully dry, you must apply a high-quality leather conditioner.
Massage the conditioner into the exterior of the boot shaft using a soft cloth, working in circular motions. This replenishes the moisture balance, restores the leather’s suppleness, and seals the new shape. Conditioning is the final, non-negotiable step that ensures your boots remain durable and look polished, turning a potentially damaging procedure into a successful customization that lasts for years.
Additional Care Tips
To maintain your boots in optimal condition, regular care is essential beyond the initial adjustment. First, always remove dirt and debris after each wear using a soft brush or cloth to prevent long-term damage to the leather. Store your boots in a cool, dry place away from direct sunlight or heat sources, as excessive heat can cause the leather to crack.
For added protection, consider applying a waterproofing spray periodically, especially if your boots will be exposed to wet conditions. Additionally, using boot trees can help retain their shape and prevent creasing. With consistent care, your boots will remain comfortable, stylish, and durable for years to come.
Frequently Asked Questions (FAQs)
Can You Stretch the Calf of Synthetic Boots?
Generally, no. Synthetic materials like vinyl, polyurethane, or faux leather are made of plastic fibers that do not have the same cellular structure as natural hide. While you might achieve a very temporary, minor stretch with heat, these materials typically revert to their original shape quickly or, worse, rip and crack under tension. Stretching techniques are primarily effective on genuine leather and suede.
How Much Can I Expect the Calf to Stretch?
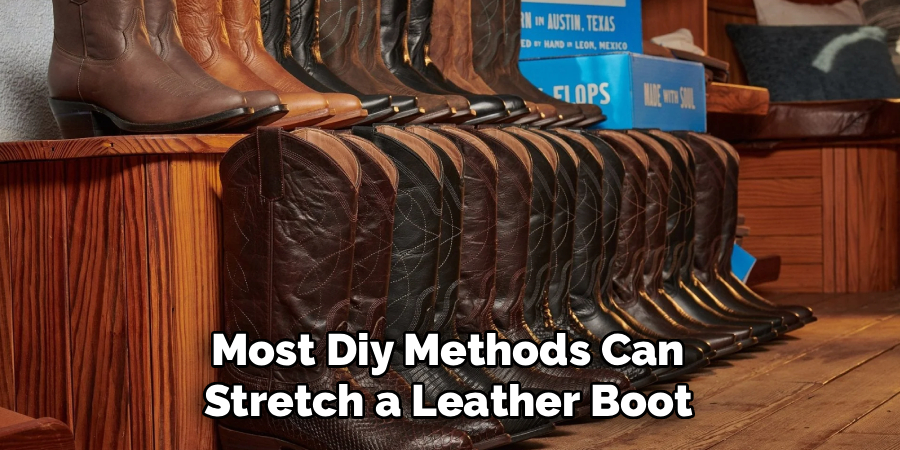
You should be realistic about the results. Most DIY methods can stretch a leather boot shaft about half an inch to perhaps a full inch in circumference. If you need more than an inch of extra room, DIY stretching might not be sufficient, and you risk damaging the boot’s structure. In cases requiring significant expansion, adding an elastic gusset or seeking professional alteration is safer.
Will the Freezer Method Work for Calves?
The freezer method, where you freeze a bag of water inside the boot to expand it, is popular for the foot area but very difficult to execute for the calf. It is hard to position a bag of water vertically in the shaft and ensure it exerts outward pressure on the calf area as it freezes. Gravity makes the water settle at the bottom, stretching the ankle or footbed instead of the calf.
Can a Cobbler Stretch Boots Better Than I Can?
Yes, a professional cobbler has industrial-grade equipment that can apply much stronger and more precise pressure than home tools. They also have specialized fluids and knowledge of leather grain direction. If your boots are very expensive or delicate, or if you are worried about ruining them, paying a professional is often worth the investment to ensure the job is done correctly without damage.
Does Stretching Leather Ruin the Boots?
If done correctly and gradually, stretching does not ruin leather. However, rushing the process, using too much heat, or over-stretching can cause the leather to weaken, the grain to separate, or the stitching to pop. The key is to stretch in small increments and always condition the leather afterward to keep it healthy. Patience preserves the integrity of the boot.
Conclusion
Transforming a pair of tight, uncomfortable boots into your favorite footwear is entirely possible with the right approach. By understanding the nature of leather and using a combination of relaxation fluids, heat, and mechanical pressure, you can customize the fit of your boot shafts without paying for expensive custom alterations.
Remember to always work gradually, treat the material with respect, and follow up with a good conditioner to keep the leather healthy. Don’t let a tight fit relegate your stylish boots to the back of the closet. Now that you understand how to stretch cowboy boots calf areas properly, you can reclaim your comfort and step out in style, knowing your boots were made—and now molded—for walking.
About
As the lead voice behind Shoenify, I bridge the gap between footwear aesthetics and technical performance. With a career dedicated to the intersection of fashion and function, I provide readers with data-driven reviews and deep dives into the global footwear market. My mission is to help every reader find the perfect fit, whether they are hitting the track or the boardroom.
Education RMIT University
-
RMIT University: Bachelor of Design (Footwear & Accessories)
-
Nottingham Trent University: MA in Fashion Design (Specializing in Footwear Innovation)
Publications and Impact
My insights on footwear trends and sustainable manufacturing have been featured in leading industry trade journals. Through Shoenify, I have influenced thousands of purchasing decisions by prioritizing transparency and rigorous testing. My work focuses on the evolution of “smart” footwear and the impact of 3D printing on the future of the industry.