

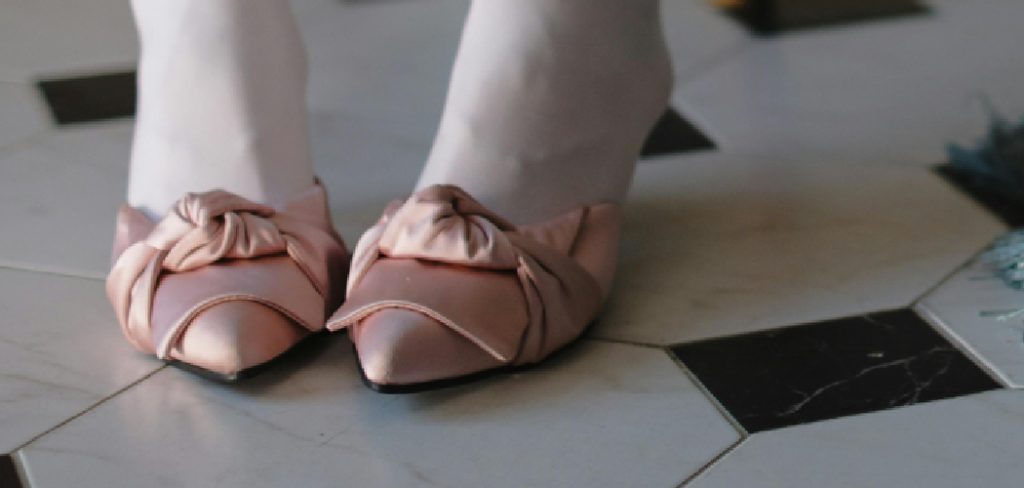
Satin shoes are a symbol of elegance and sophistication. Whether they are a pair of bridal heels, evening pumps, or delicate flats, their smooth, glossy finish adds a touch of luxury to any outfit.
However, the delicate nature of satin makes it prone to stains, scuffs, and dirt, which can quickly diminish its beautiful appearance. Knowing how to clean satin shoes is essential to preserving their charm and ensuring they remain a treasured part of your wardrobe for years to come.
With the right techniques and a little bit of care, you can easily restore your favorite pair to its former glory.
What are the Benefits?
Properly cleaning your satin shoes offers several key benefits. First and foremost, it maintains their aesthetic appeal. Regular cleaning removes dirt, dust, and stains, keeping the fabric looking fresh and lustrous. This is especially important for light-colored shoes, which show blemishes more easily.
Secondly, it prolongs the lifespan of your shoes. Dirt and grime can break down the delicate satin fibers over time, leading to wear and tear. By keeping them clean, you protect the fabric and maintain the structural integrity of the shoes. Finally, clean shoes contribute to better hygiene by preventing the buildup of bacteria and odors.
What Will You Need?
Before you begin, gather the following items to ensure a smooth and effective cleaning process:
- A soft-bristled brush (like a toothbrush or nail brush)
- A clean, soft white cloth or microfiber towel
- A small bowl
- Cool or lukewarm water
- A gentle cleaning agent (mild soap, delicate laundry detergent, or a specialized shoe cleaner)
- A dry towel or paper towels
10 Easy Steps on How to Clean Satin Shoes
Follow this detailed guide to safely and effectively clean your satin footwear. Remember to be gentle throughout the process to avoid damaging the delicate fabric.
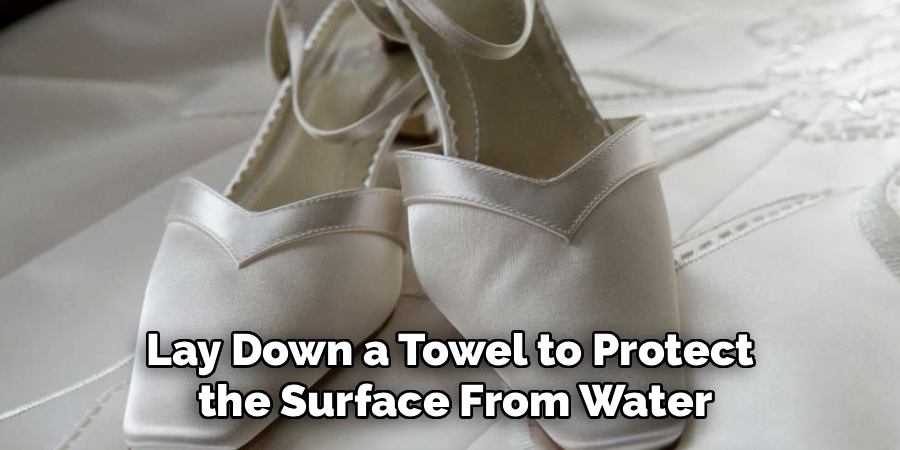
Step 1: Prepare Your Workspace
Before you start, find a clean, well-lit area to work in. Lay down a towel to protect the surface from water and cleaning solutions. Remove any laces from the shoes and set them aside to be washed separately. If your shoes have removable insoles, take them out as well.
This preparation ensures you can access all parts of the shoe without obstruction and keeps your surroundings tidy. Having everything you need within reach will make the entire process more efficient and prevent you from having to step away with wet or soapy hands. A clutter-free workspace allows you to focus solely on the task of carefully restoring your shoes.
Step 2: Brush Away Loose Dirt
Take your soft-bristled brush and gently go over the entire surface of both shoes. The goal here is to remove any loose dirt, dust, and surface-level debris. Always brush in the direction of the satin’s grain to avoid snagging or fraying the delicate fibers. Pay close attention to seams and crevices where dirt tends to accumulate.
This initial dry brushing is a crucial step because it prevents you from rubbing abrasive particles into the fabric when you add water, which could cause scratches or further staining. For stubborn particles, use light, flicking motions rather than applying firm pressure. This ensures the satin remains smooth and undamaged before you move on to the wet cleaning phase.
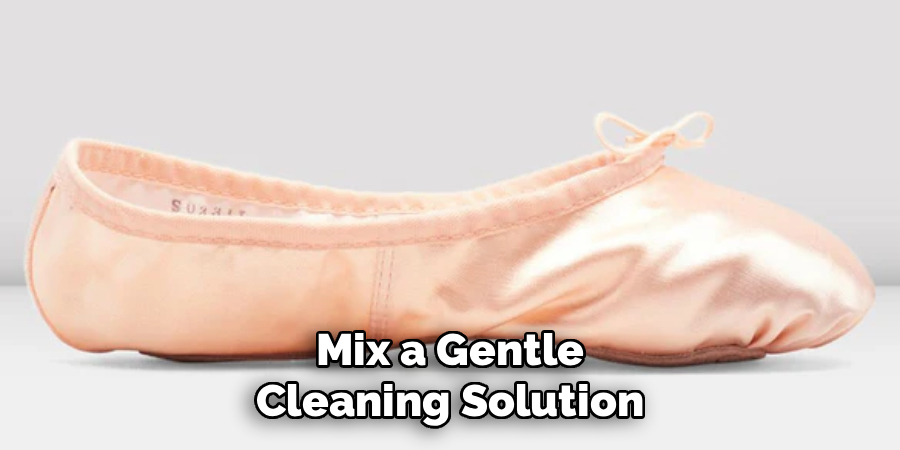
Step 3: Create Your Cleaning Solution
In a small bowl, mix a gentle cleaning solution. You have a few options here. You can use a small amount of delicate laundry detergent or a few drops of mild soap, like hand soap, mixed with cool or lukewarm water. Avoid using hot water, as it can damage the satin fibers or cause colors to bleed. Stir the mixture until the soap is fully dissolved and you have a slightly sudsy solution. Alternatively, you can use a cleaner specifically formulated for delicate fabrics or shoes. Whichever you choose, the key is to use a mild agent that won’t be too harsh on the material. Never apply the cleaning agent directly to the shoe; always dilute it in water first.
Step 4: Perform a Spot Test
Before you apply the cleaning solution to the entire shoe, it’s vital to perform a spot test on an inconspicuous area. A good spot is the inside of the heel or under a strap, where it won’t be visible if a problem occurs. Dab a small amount of your cleaning solution onto this area using a clean cloth or cotton swab.
Let it sit for a minute, then gently blot it with a dry part of the cloth. Check for any discoloration, water spots, or damage to the fabric’s sheen. If the area looks fine after it has dried, you can proceed with cleaning the rest of the shoe. This simple step can save you from accidentally ruining your favorite pair of shoes.
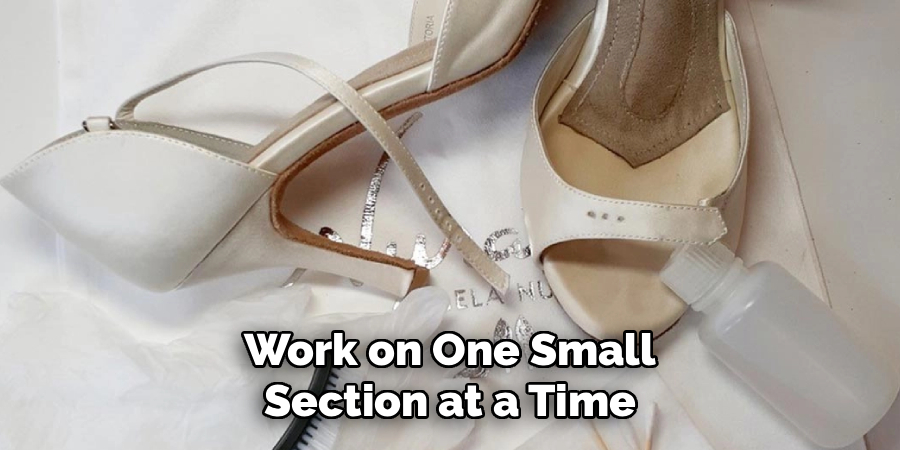
Step 5: Gently Clean the Surface
Dip your soft-bristled brush or a clean cloth into the cleaning solution, making sure to wring out any excess liquid. You want the tool to be damp, not soaking wet. Begin to gently scrub the surface of the shoe, always moving in the direction of the satin’s grain. Use small, circular motions for tougher spots, but apply minimal pressure to avoid damaging the fibers.
Work on one small section at a time, which allows you to focus your efforts and prevents the entire shoe from becoming saturated with water. This methodical approach ensures an even clean and helps lift the dirt from the fabric rather than pushing it deeper.
Step 6: Target Stains and Scuffs
For more persistent stains or scuff marks, you may need to apply a little more effort. Apply a slightly more concentrated amount of your cleaning solution directly to the stain using your brush. Gently work the solution into the stain with small, circular motions. Be patient and continue to work on the spot gently rather than scrubbing aggressively.
For grease-based stains, you can try sprinkling a small amount of cornstarch on the spot and letting it sit for an hour before brushing it off; this can help absorb the oil. For scuffs, a simple pencil eraser can sometimes work wonders on light marks before you begin wet cleaning.
Step 7: Rinse the Shoe Carefully
Once you have cleaned the entire surface, you need to “rinse” the shoe to remove any soap residue. Do not submerge the shoe in water. Instead, dampen a clean, separate cloth with plain cool water. Wring it out thoroughly so it’s just damp. Gently wipe down the entire shoe, again moving with the grain of the satin. This action will lift away the soap and any remaining loosened dirt. You may need to rinse your cloth and repeat this process a few times to ensure all the cleaning solution is gone. Leaving soap residue can result in a stiff texture or a visible film on the fabric once it dries.
Step 8: Blot and Dry the Interior
After cleaning the exterior, it’s time to address the inside. Stuff the shoes with clean paper towels or a small, dry towel. This serves two important purposes: it helps absorb excess moisture from the inside, and it helps the shoe maintain its shape as it dries. Avoid using newspaper, as the ink can transfer onto the shoe’s interior lining. Press the paper towels firmly inside to soak up as much water as possible. You may need to replace the paper towels once or twice if the shoes were particularly wet. This step is crucial for preventing water damage and ensuring the shoes dry correctly from the inside out.
Step 9: Air-Dry Your Shoes
The final and most important drying step is to let your shoes air-dry completely. Place them in a well-ventilated area away from direct sunlight and heat sources like radiators or hair dryers. Direct heat can cause the satin to shrink, warp, or yellow, and sunlight can fade the color. Patience is key here; it can take anywhere from 12 to 24 hours for the shoes to dry completely. Allowing them to air-dry naturally preserves the integrity of the fabric and the shoe’s overall structure, ensuring they look just as good as they did before you started the cleaning process.
Step 10: Final Touches and Protection
Once your shoes are completely dry, give them one last gentle brushing with your soft brush to restore the satin’s natural sheen and texture. If you have a satin protector spray, now is the time to apply it. A light mist can help repel future stains and water, making your next cleaning job easier. Be sure to use a product specifically designed for delicate fabrics and follow the manufacturer’s instructions. Replace your shoes, insert the insoles, and they are ready to wear. This final step adds a layer of defense, keeping your elegant shoes looking pristine for longer.
5 Things You Should Avoid
- Using Harsh Chemicals: Bleach, ammonia, or abrasive cleaners will strip the color and destroy the delicate satin fibers. Always stick to mild soap or specialized cleaners.
- Submerging in Water: Soaking your satin shoes completely can ruin their shape, damage the adhesives holding them together, and cause water stains.
- Scrubbing Aggressively: Using a stiff brush or scrubbing too hard will fray the satin, dull its sheen, and can even create holes in the fabric.
- Applying Direct Heat: Never use a hairdryer, radiator, or direct sunlight to speed up the drying process. This can cause the material to shrink, warp, or become discolored.
- Using Colored Cloths: When cleaning, especially with light-colored shoes, always use white cloths to avoid any risk of dye transfer from the cloth to your shoes.
Conclusion
How to clean satin shoes doesn’t have to be an intimidating task. With a gentle touch, the right materials, and a bit of patience, you can effectively remove dirt and stains while protecting the fabric’s delicate beauty.
By following these steps and avoiding common mistakes, you can keep your favorite satin shoes looking elegant and ready for any special occasion. Regular care not only maintains their appearance but also extends their life, ensuring you can enjoy your beautiful footwear for many years to come.
Hopefully, these tips have given you the confidence to properly care for your satin shoes.
About
As the lead voice behind Shoenify, I bridge the gap between footwear aesthetics and technical performance. With a career dedicated to the intersection of fashion and function, I provide readers with data-driven reviews and deep dives into the global footwear market. My mission is to help every reader find the perfect fit, whether they are hitting the track or the boardroom.
Education RMIT University
-
RMIT University: Bachelor of Design (Footwear & Accessories)
-
Nottingham Trent University: MA in Fashion Design (Specializing in Footwear Innovation)
Publications and Impact
My insights on footwear trends and sustainable manufacturing have been featured in leading industry trade journals. Through Shoenify, I have influenced thousands of purchasing decisions by prioritizing transparency and rigorous testing. My work focuses on the evolution of “smart” footwear and the impact of 3D printing on the future of the industry.