

Oxford shoes are a timeless staple in any wardrobe, known for their classic silhouette and sophisticated appeal. Whether they are made from smooth leather, supple suede, or rich patent leather, keeping them clean is essential to preserving their elegance and extending their lifespan. Proper cleaning not only removes dirt and stains but also nourishes the material, preventing cracks and discoloration over time.
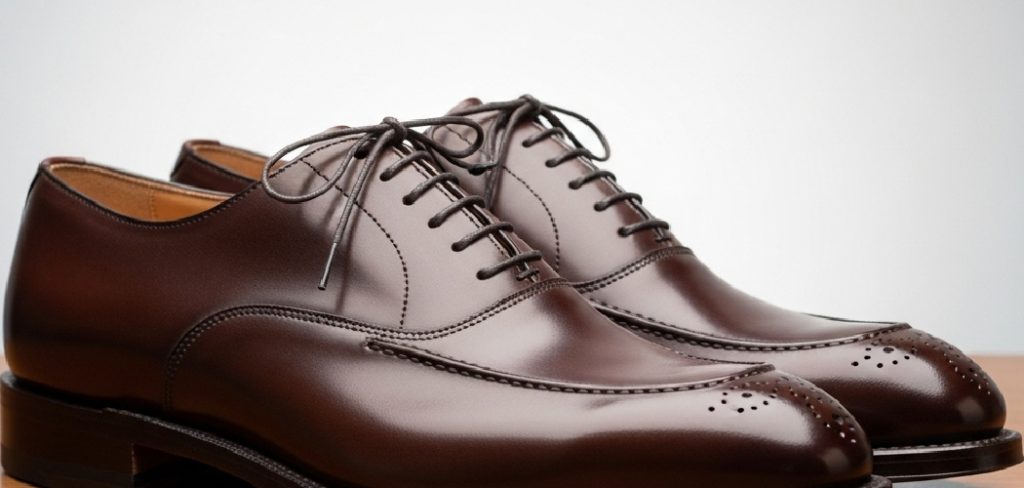
This guide on how to clean Oxford Shoes will walk you through a detailed, step-by-step process to ensure your Oxfords always look their best. Following these instructions will help you maintain their polished appearance for formal events, business meetings, or daily wear. With a little effort, your favorite pair of shoes can remain a distinguished part of your collection for years to come.
7 Step-by-step Guides on How to Clean Oxford Shoes
Step 1: Prepare Your Workspace and Gather Supplies
Before you begin the cleaning process, it is crucial to set up a dedicated workspace to avoid making a mess and to have all your tools within easy reach. Choose a well-ventilated area, either outdoors or near an open window, especially if you plan on using strong-smelling conditioners or polishes. Lay down some newspaper or an old towel over a flat surface like a table or the floor. This protects the surface from any potential stains from polish, water, or cleaning solutions, making cleanup afterward much simpler and more efficient.
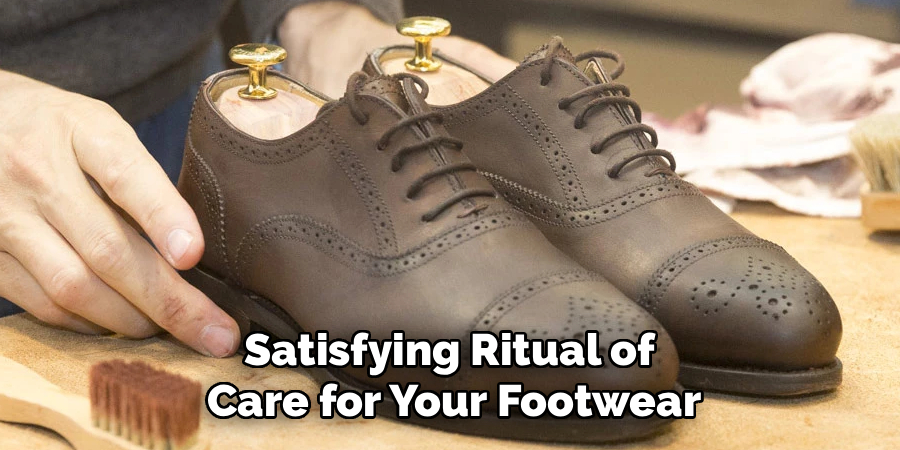
Gather all the necessary supplies so you can work through the steps without interruption. You will need a pair of shoe trees to help the shoes maintain their shape, a set of horsehair brushes (one for removing dirt and another for applying polish), a soft microfiber cloth, a leather cleaner, a leather conditioner, and a cream or wax polish that matches the color of your shoes. For suede Oxfords, you’ll need a specialized suede brush and eraser. Having everything organized beforehand streamlines the entire process, turning a chore into a satisfying ritual of care for your footwear.
Step 2: Remove Laces and Insert Shoe Trees
The first active step in cleaning your Oxford shoes is to remove the laces completely. This might seem like a small detail, but it is incredibly important for a thorough cleaning. Taking out the laces allows you to access the tongue and all the hidden crevices around the eyelets, which are areas where dust and grime tend to accumulate. You can clean the laces separately by hand-washing them in a small bowl of soapy water, rinsing them thoroughly, and then hanging them to air dry while you work on the shoes. This ensures every part of your shoe is clean and refreshed.
Once the laces are removed, insert a pair of high-quality cedar shoe trees into your Oxfords. Shoe trees are an indispensable tool for proper shoe care. They help the shoes hold their natural shape during the cleaning process, preventing the leather from creasing or collapsing as you apply pressure with brushes and cloths. Furthermore, the cedar wood helps to absorb any residual moisture and odors from inside the shoes, leaving them fresh from the inside out. This step provides a stable foundation for a more effective and uniform cleaning and conditioning treatment.
Step 3: Brush Off Loose Dirt and Debris
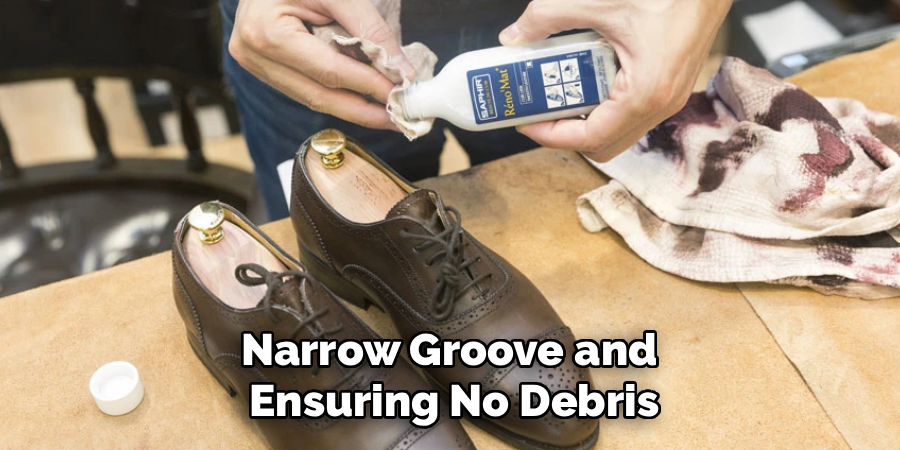
With the shoe trees in place, your next action is to give the shoes a vigorous and comprehensive brushing. Use a horsehair brush with firm bristles to remove all loose surface dirt, dust, and grime. Start at the heel and work your way toward the toe, using short, deliberate strokes. Pay special attention to the welt, which is the seam where the upper part of the shoe meets the sole. This area is notorious for trapping dirt and small pebbles. A dedicated welt brush or even an old toothbrush can be particularly effective for cleaning this narrow groove and ensuring no debris is left behind.
This dry-brushing stage is a critical preparatory step that should not be overlooked. It prevents you from rubbing small, abrasive particles into the leather when you begin wet cleaning, which could cause micro-scratches and damage the finish. For suede Oxfords, use a specialized suede brush with brass and nylon bristles to lift the nap and dislodge any embedded dirt. Taking the time to thoroughly brush the shoes ensures that the subsequent cleaning and conditioning products can penetrate the leather evenly and work more effectively, leading to a much better final result.
Step 4: Apply Leather Cleaner
After you have removed all the surface-level debris, it is time for a deep clean using a specialized leather cleaner. Apply a small, pea-sized amount of the cleaner onto a clean, soft microfiber cloth, not directly onto the shoe itself. Applying the product to the cloth first gives you better control over the amount used and ensures a more even distribution. Gently rub the cloth onto the leather in small, circular motions, covering the entire surface of one shoe. Be careful not to scrub too aggressively, as this can damage the leather’s delicate finish. The cleaner will lift away any remaining grime and old layers of polish.
Once you have cleaned the entire shoe, take a separate, slightly damp cloth and wipe away any excess cleaner and residue. This step is important because leaving cleaner on the leather can cause it to dry out over time. Let the shoe air dry for at least 20-30 minutes before moving on to the next step. It’s essential that the leather is completely dry to ensure the conditioner can be absorbed properly. Repeat this entire process for the other shoe, working methodically to achieve a uniformly clean surface on both. This prepares the leather to receive nourishment and protection.
Step 5: Condition the Leather
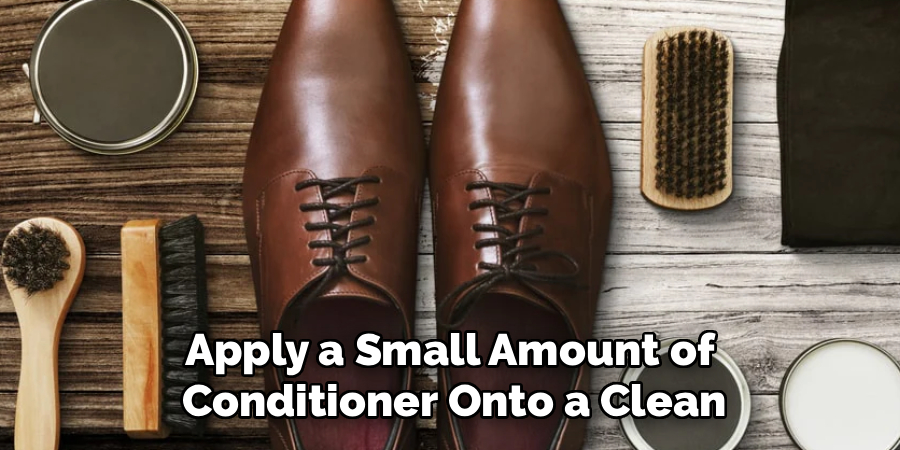
Once your Oxfords are clean and completely dry, the next crucial step is conditioning. Leather is a natural material that can lose its essential oils over time, leading to dryness, stiffness, and eventually, cracking. A quality leather conditioner replenishes these oils, restoring the leather’s flexibility, softness, and luster. Apply a small amount of conditioner onto a clean, soft cloth. Using gentle, circular motions, work the conditioner into the leather across the entire shoe. Ensure you cover all areas, including the tongue and the creases that form during wear.
Let the conditioner sit and penetrate the leather for about 15-20 minutes. You may notice the leather darken slightly as it absorbs the product; this is normal and the color will typically return to its original shade as it dries. After the waiting period, take another clean cloth and lightly buff the entire shoe to remove any excess conditioner from the surface. This prevents a sticky or greasy residue from forming. Conditioning is not just about aesthetics; it is a vital maintenance step that significantly extends the life of your leather Oxfords by keeping the material healthy and resilient.
Step 6: Polish for Shine and Protection
Polishing is the step that restores color, covers minor scuffs, and gives your Oxford shoes their signature shine. You can choose between a cream-based polish, which offers more color restoration and nourishment, or a wax-based polish, which provides a higher gloss and better water resistance. Using a clean cloth or a polish dauber brush, apply a thin, even layer of polish to the shoe. Use small, circular motions to work the product into the leather. Be careful not to apply too much polish at once, as a thick layer can be difficult to buff and may crack over time. Focus on building thin layers for the best result.
After applying the polish, let it dry for about 10-15 minutes. Once the polish has set, it is time to buff the shoes to a shine. Take your clean horsehair brush and use quick, side-to-side sweeping motions across the entire surface of the shoe. The friction from the brushing will warm the wax in the polish, creating a beautiful, high-gloss finish. For an extra mirror shine, especially on the toe cap and heel, you can add a drop of water to your cloth and continue buffing in small circles. This technique, known as spit-shining, creates a smooth, glass-like surface.
Step 7: Final Touches and Drying
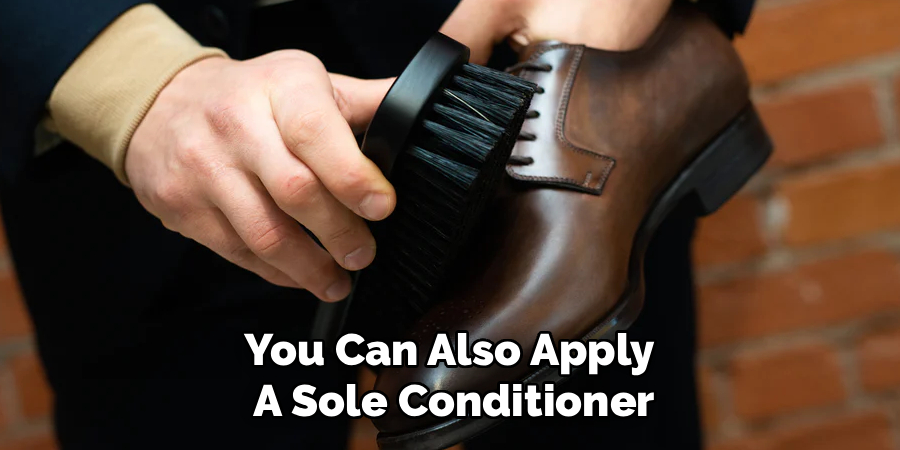
The final step involves attending to the last few details to complete the restoration of your Oxford shoes. After buffing, re-lace your shoes with the clean, dry laces. This simple action instantly makes the shoes look newer and more put-together. Take a final look at the shoes and wipe down the soles’ edges with a damp cloth to remove any stray polish or dust. This gives the shoes a crisp, finished appearance from top to bottom. If your Oxfords have leather soles, you can also apply a sole conditioner to keep them from drying out and cracking.
Once you are satisfied with the look of your shoes, allow them to rest and fully dry, preferably with the shoe trees still inside. It is best to let them sit for several hours, or even overnight, before wearing them. This gives the polish and conditioner ample time to cure completely, ensuring a durable finish and maximum protection. Avoid placing them near a direct heat source like a radiator or in direct sunlight, as this can cause the leather to dry out too quickly and become brittle. Proper drying is the final seal on your hard work, ensuring long-lasting results.
Following these steps on how to clean Oxford Shoes will not only improve their appearance but also prolong their lifespan.
Common Mistakes to Avoid
- Using harsh chemicals or household cleaners like dish soap can strip the leather of its natural oils.
- Applying too much polish or conditioner at once can lead to a sticky buildup that attracts more dirt.
- Forgetting to clean the welt, where significant amounts of dirt and grime can accumulate and damage the stitching.
- Drying wet shoes with direct heat can cause the leather to shrink, warp, and crack.
- Storing shoes without shoe trees can lead to creasing and loss of their original shape over time.
Care and Maintenance
Proper care extends far beyond occasional cleaning. To keep your Oxford shoes in pristine condition, always insert cedar shoe trees immediately after taking them off. This helps absorb moisture, deodorize the shoes, and maintain their shape. Rotate your shoes and avoid wearing the same pair on consecutive days; this gives the leather time to breathe and recover.
For everyday maintenance, a quick wipe with a soft cloth after each wear can prevent dirt from setting in. Store your shoes in a cool, dry place away from direct sunlight, and use shoe bags for long-term storage to protect them from dust.
Frequently Asked Questions
Q1: How Often Should I Clean My Oxford Shoes?
A1: The frequency of cleaning depends entirely on how often you wear them and in what conditions. For shoes worn two to three times a week in a typical urban environment, a full cleaning and conditioning session every four to six weeks is a good rule of thumb. If they are exposed to rain, mud, or salt, they should be cleaned immediately afterward. For less frequently worn pairs, a thorough cleaning every few months will suffice to keep the leather nourished and protected.
Q3: Can I Use the Same Method for Suede Oxfords?
A3: No, suede requires a completely different cleaning method. Never use water, leather cleaner, or wax polish on suede, as these will stain and ruin the delicate texture. Instead, use a specialized suede cleaning kit, which typically includes a suede eraser to remove dry stains and a suede brush with different bristles to restore the nap. For tougher stains, a dedicated suede shampoo may be necessary, but always test it on an inconspicuous area first.
Conclusion
Taking care of your Oxford shoes is an investment in both style and longevity. By following these seven detailed steps on how to clean Oxford Shoes, you can effectively clean, condition, and protect your footwear, ensuring they remain a distinguished and reliable part of your wardrobe.
Regular maintenance, combined with avoiding common mistakes, will preserve the leather’s quality and appearance. Remember that a well-maintained pair of Oxfords not only complements your attire but also reflects a commitment to quality and personal care.
About
As the lead voice behind Shoenify, I bridge the gap between footwear aesthetics and technical performance. With a career dedicated to the intersection of fashion and function, I provide readers with data-driven reviews and deep dives into the global footwear market. My mission is to help every reader find the perfect fit, whether they are hitting the track or the boardroom.
Education RMIT University
-
RMIT University: Bachelor of Design (Footwear & Accessories)
-
Nottingham Trent University: MA in Fashion Design (Specializing in Footwear Innovation)
Publications and Impact
My insights on footwear trends and sustainable manufacturing have been featured in leading industry trade journals. Through Shoenify, I have influenced thousands of purchasing decisions by prioritizing transparency and rigorous testing. My work focuses on the evolution of “smart” footwear and the impact of 3D printing on the future of the industry.