
Mastering the art of tying business shoes is about more than just keeping them on your feet; it is a subtle yet powerful detail that completes a professional appearance. A neat, secure knot ensures you walk with confidence and poise, avoiding the embarrassment of loose laces during crucial meetings or networking events.

For many professionals, the morning routine can be rushed, but taking a moment to properly lace your oxfords or derbies pays dividends in comfort and style throughout the day. By learning the correct techniques, you elevate your footwear from a mere necessity to a refined statement of personal care and attention to detail. In this guide on how to tie business shoes, we will cover the simple steps to ensure your shoes stay snug and secure throughout the day.
Types of Business Shoes That May Involve Laces
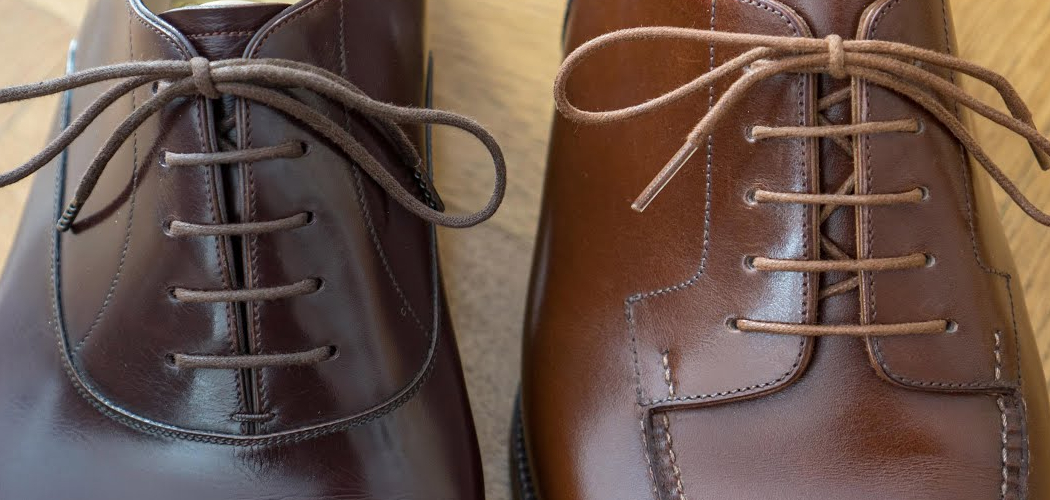
Not all business shoes are created equal, and understanding which ones require lacing is the first step in mastering footwear etiquette. The most common lace business shoe is the Oxford. Characterized by “closed lacing,” the eyelet tabs are stitched underneath the vamp, creating a sleek and formal silhouette. These are the gold standard for black-tie events and strict corporate dress codes.
Another popular option is the Derby (also known as the Gibson or Blucher). Unlike the Oxford, the Derby features “open lacing,” where the eyelet tabs are stitched on top of the vamp. This construction allows for a wider opening, making them more comfortable for people with high insteps or wider feet. While slightly less formal than Oxfords, they are a staple in business casual and smart-casual wardrobes.
Brogues can be either Oxfords or Derbies, but are distinguished by their decorative perforations (broguing). While the lacing system depends on the base style, tying them correctly is crucial to prevent the busy pattern from clashing with messy laces. Finally, Chukka boots or dress boots often feature two or three eyelets and require a different approach to tension to ensure ankle support without restricting movement.
Understanding Decorative vs. Functional Laces
It is essential to distinguish between laces that serve a structural purpose and those that are purely aesthetic. Functional laces are the workhorses of your shoe. They control the tension across the bridge of your foot, securing the heel in the cup and preventing slippage. In high-quality leather business shoes, functional laces allow the leather upper to mold to your foot over time. If you tie these too loosely, you risk blisters; too tightly, and you restrict circulation.
Decorative laces, on the other hand, are often found on loafers or boat shoes (though boat shoes can be functional). In a business context, you might encounter tassel loafers with a lacing system that runs around the heel. While these laces technically can be tightened, they are primarily there for the traditional look. Attempting to crank these tight like you would an Oxford can damage the shoe’s structure or snap the leather lace. Understanding this difference ensures you apply the right amount of force and technique, preserving the shoe’s integrity and your own comfort.
6 Simple Step-By-Step Guidelines on How to Tie Business Shoes
Step 1: Preparation and Initial Alignment
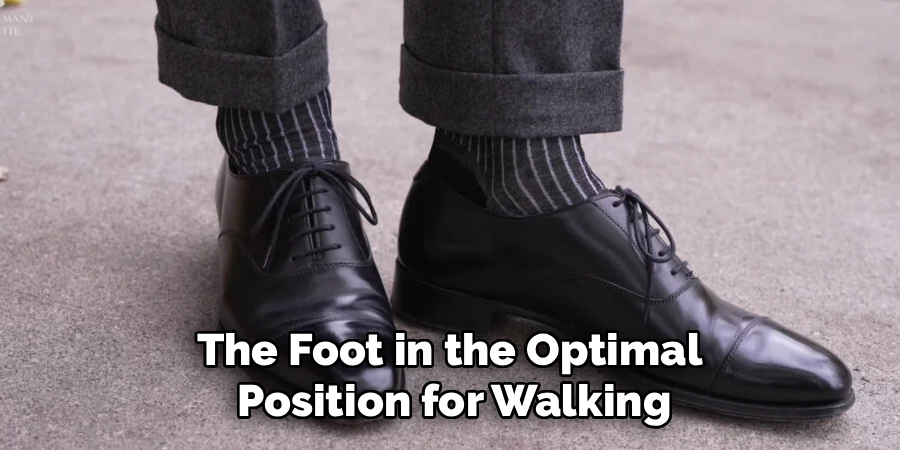
Before you even begin the knot, you must ensure your foot is seated correctly inside the shoe. Slide your foot in and tap your heel gently against the floor to push your heel back into the heel cup. This creates the necessary space in the toe box and ensures the lacing will secure the foot in the optimal position for walking. You should then smooth out the tongue of the shoe, ensuring it isn’t folded or bunched up, as this can cause significant discomfort later in the day.
Once the foot is positioned, pull the laces tight, starting from the bottom eyelets (closest to the toes) and working your way up. Do not just yank on the ends; pull each section of the cross-over individually to distribute tension evenly across the bridge of the foot. Ensure the lace ends are of equal length before you start the knot. If one side is significantly longer, you will end up with lopsided loops or a knot that drags on the ground, ruining the clean lines of your business attire.
Step 2: Creating the Starting Knot
Take the left lace in your left hand and the right lace in your right hand. Cross the right lace over the left lace to form an “X” shape over the tongue of the shoe. Bring the end of the right lace under the left lace and pull it through tightly. This forms the foundation of your knot, often called the starting knot or overhand knot. It is crucial that this base is tight against the shoe tongue to prevent the shoe from loosening as you walk.
While pulling this initial knot tight, pay attention to the tension. It should be snug but not strangling your foot. A good test is to flex your foot; if the leather bites into your instep, it is too tight. If the shoe gaps significantly at the sides, it is too loose. This foundation sets the stage for the rest of the process. If this part is loose, no matter how perfect your bow is, the shoe will feel sloppy and unsupportive within an hour of walking.
Step 3: Forming the First Loop
With the starting knot secure, take the lace that is now on your right side (originally the left lace) and form a loop. Hold this loop between your right thumb and forefinger. The size of the loop matters; it should be proportional to the shoe, usually about two to three inches long. If the loop is too big, the bow will look floppy and unprofessional; too small, and it will be difficult to untie later.
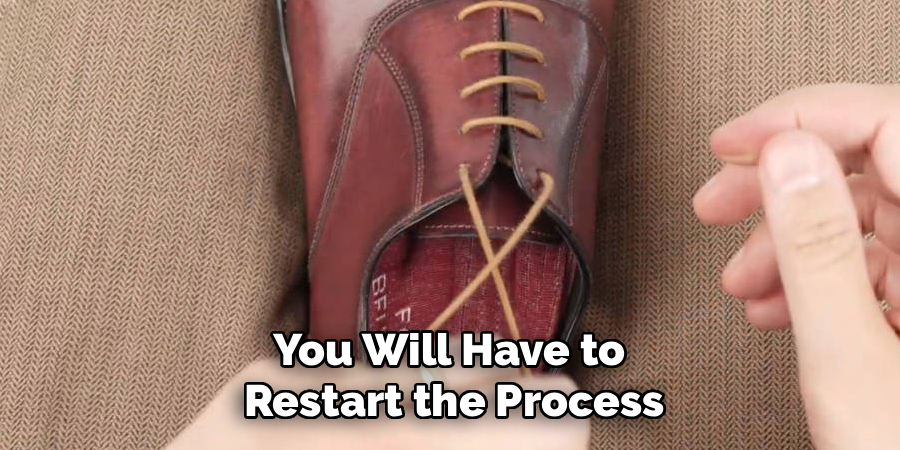
Ensure the “tail” of the loop is held firmly against the center knot. The lace should be smooth and flat, not twisted. Twisted laces create a messy, bulky knot that detracts from the sleek look of a dress shoe. In business attire, where details matter, a flat lace looks significantly more polished. Hold this loop steady; it is the anchor for the next step. If you let it slip now, you will have to restart the process to ensure stability.
Step 4: Wrapping the Second Lace
Now, take the lace from your left side (the one that is not looped) and bring it around the first loop you are holding. You should wrap it over the top of your thumb and around the loop in a counter-clockwise direction. This wrapping motion is critical because it determines the orientation of the final bow. If you wrap it the wrong way, you will end up with a “granny knot” where the loops sit vertically (up and down) rather than horizontally (across the shoe).
As you wrap the lace, keep the tension consistent. Do not let the first loop collapse. You are essentially creating a space or a “hole” between the wrapped lace and the first loop, right near your thumb. This space is where the second loop will eventually pass through. Keep your fingers dexterous and the laces taut. This moment requires a bit of coordination, but once mastered, it ensures your laces sit perfectly straight across the shoe, mimicking the straight lines of the toe cap or stitching.
Step 5: Pulling Through the Second Loop
Push the middle section of the lace you just wrapped through the “hole” you created in the previous step. Do not pull the very end of the lace through; you want to push a bight (a folded section) through to create the second loop. This is the moment where the bow takes shape. As you push it through, use your left hand to grab this new loop while your right hand holds the original loop.
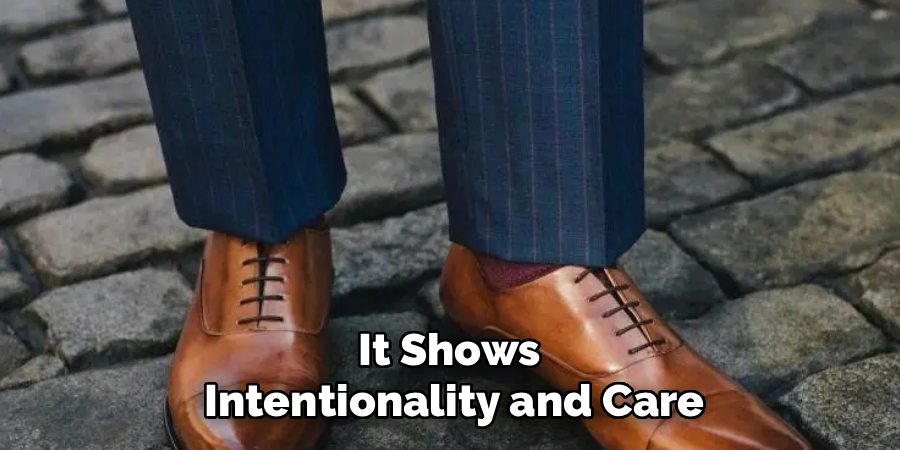
Gently pull both loops outward simultaneously. Do not yank them yet. You want to ensure that the ends of the laces (the aglets) and the loops are roughly the same length. If one loop is tiny and the other is huge, or if the strings are dragging while the loops are tight, adjust them now by feeding slack through the center knot. This symmetry is the hallmark of a well-tied business shoe. It shows intentionality and care.
Step 6: Tightening and Final Adjustment
Once the loops and ends are symmetrical, pull the loops firmly in opposite directions to tighten the knot. As you tighten, the knot in the center should sit flat and horizontal. If the bow is twisting vertically, you have likely tied a granny knot. To fix this, you essentially need to reverse the direction of your starting knot or the direction you wrapped the loop. A correct “reef knot” style bow will lie perpendicular to the shoe.
Finally, do a quick visual check and comfort test. Stand up and wiggle your toes. The shoe should feel like an extension of your foot, secure but not constrictive. Tuck the loops slightly if they are too long, or adjust the tongue if it shifted. A perfectly tied shoe should not need to be touched again until you take it off at the end of the day. This reliability allows you to focus on your business goals rather than your wardrobe malfunctions.
Following these steps on how to tie business shoes properly will not only ensure a professional appearance but also provide all-day comfort and support. Remember that the way you present yourself can make a lasting impression, so paying attention to details like your shoe laces can make a big difference.
Seasonal Styling Tips
Adapting your footwear and lacing style to the seasons is a sign of a versatile wardrobe. In the winter, you might opt for slightly thicker, waxed cotton laces, which provide better resistance against moisture and slush, ensuring your knot holds even in damp conditions. Conversely, summer calls for lighter, perhaps flat silk or fine cotton laces that offer a sleeker look suitable for breathable leather or suede loafers.
When wearing lighter colored suits in spring, ensure your laces are pristine; dirt shows up easily on tan or light brown laces, ruining the fresh aesthetic. Always match the lace thickness to the visual weight of the shoe and the season’s fabric choices.
Common Mistakes to Avoid
One of the most frequent errors is ignoring lace length, leading to massive loops that drag on the floor and become a tripping hazard or look untidy. Another common mistake is twisting the laces as you thread them, which creates uneven pressure points on the foot and looks messy.
Many people also tie their knots too loosely initially, forcing them to stop and retie multiple times a day. Relying on worn-out, frayed laces is also a major faux pas; they make expensive shoes look cheap. Finally, tying the “granny knot” (vertical bow) is the subtle sign of an amateur.
Comfort and Fit Tips
Comfort starts with the lacing tension; it should be firm across the instep but allow for natural foot swell that occurs throughout the day. If you feel numbness or tingling in your toes, your laces are too tight near the ankle. Conversely, if your heel slips up and down, the laces are too loose at the top eyelets.
For those with high arches, try skipping a crossover in the middle of the lacing pattern to relieve pressure on the sensitive top of the foot. Always tie your shoes while standing or with your foot flat on the floor to get the most accurate gauge of how the shoe will feel while walking.
Care and Maintenance
Proper lace maintenance extends the life of your entire shoe setup. Remove your laces completely every few weeks to polish the tongue of the shoe properly and to wash the laces themselves if they are cotton. Check the aglets (plastic or metal tips); if they are cracked or broken, replace the laces immediately, as fraying ends are nearly impossible to thread.
Rotate your shoes to let the leather dry out, which also prevents the laces from absorbing excessive sweat and becoming brittle. Store extra pairs of high-quality laces in your desk or travel bag so a snapped lace never derails your professional appearance.
Frequently Asked Questions
Q1: What Is The Best Way To Hide The Knot For A Cleaner Look?
For a hyper-minimalist aesthetic, often preferred in black-tie or very formal business settings, you can use “bar lacing” (also known as straight lacing) combined with hiding the knot. In this method, the laces run straight across horizontally on the outside, with the diagonal crossovers hidden underneath the leather flaps. Once you reach the top, instead of tying a standard bow on the outside, you can tie a small square knot behind the tongue of the shoe. This tucks the knot away completely against your foot (or to the side of the ankle for comfort), leaving the front of the shoe looking incredibly sleek and uninterrupted. However, ensure this internal knot doesn’t cause irritation.
Q2: How Often Should I Replace The Laces On My Business Shoes?
You should replace your business shoe laces every six months to a year, depending on the frequency of wear, or the moment they show signs of wear. Fraying, discoloration, or a loss of elasticity are immediate indicators that it is time for a change. Laces are the cheapest part of the shoe but have a disproportionate impact on the overall look; fresh, crisp laces can make an old pair of shoes look almost new. It is wise to keep a spare pair of high-quality waxed cotton laces in your wardrobe. Do not wait for them to snap, effectively ending the wearability of the shoe for the day; proactive replacement keeps your professional image sharp and intentional.
Conclusion
Tying business shoes correctly is a small discipline that speaks volumes about your attention to detail. From selecting the right lacing style for Oxfords or Derbies to mastering the horizontal bow that sits perfectly flat, these nuances contribute to a polished and professional image.
By avoiding common mistakes, adjusting for seasonal needs, and maintaining your laces with care, you ensure both comfort and style. Ultimately, the way you handle the small details, like your shoelaces, reflects the meticulousness you bring to your professional life. Thanks for reading this guide on how to tie business shoes.
About
As the lead voice behind Shoenify, I bridge the gap between footwear aesthetics and technical performance. With a career dedicated to the intersection of fashion and function, I provide readers with data-driven reviews and deep dives into the global footwear market. My mission is to help every reader find the perfect fit, whether they are hitting the track or the boardroom.
Education RMIT University
-
RMIT University: Bachelor of Design (Footwear & Accessories)
-
Nottingham Trent University: MA in Fashion Design (Specializing in Footwear Innovation)
Publications and Impact
My insights on footwear trends and sustainable manufacturing have been featured in leading industry trade journals. Through Shoenify, I have influenced thousands of purchasing decisions by prioritizing transparency and rigorous testing. My work focuses on the evolution of “smart” footwear and the impact of 3D printing on the future of the industry.