

Switching to clipless pedals can significantly transform your cycling experience by improving power transfer and control. While the idea of being mechanically attached to your bike might seem intimidating at first, the benefits far outweigh the initial learning curve.
SPD cleats, known for their durability and walkability, are the perfect entry point for riders looking to upgrade their setup. By following a few simple guidelines on how to use spd cleats and practicing your technique, you will quickly develop the muscle memory needed to ride with confidence and efficiency.
Understanding SPD Cleats
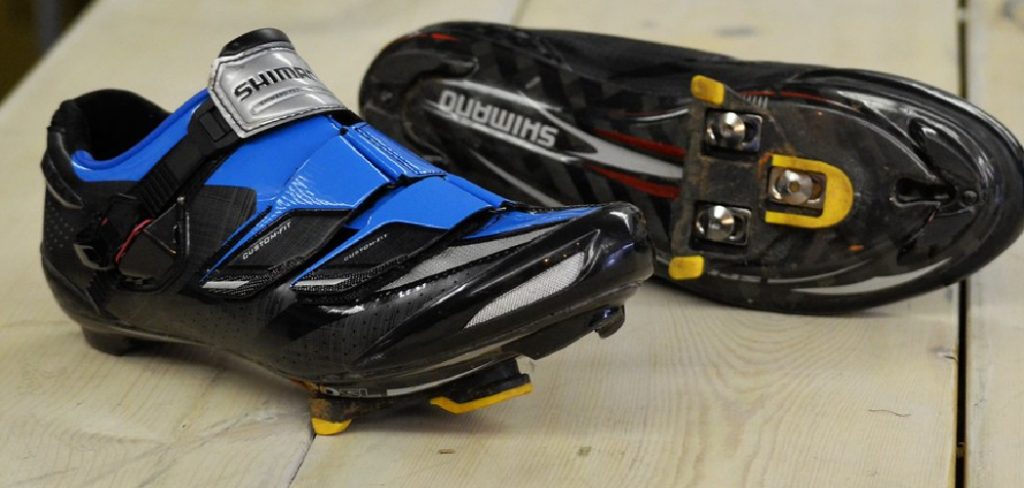
Shimano Pedaling Dynamics, commonly known as SPD, is a specific design of clipless bicycle pedals and matching cleats. Unlike traditional flat pedals, this system uses a small metal cleat attached to the sole of your shoe that locks into a mechanism on the pedal itself. The primary design feature of SPD cleats is the two-bolt mounting pattern, which is significantly smaller than the three-bolt system used on road-specific shoes.
Because the cleat is small and usually recessed into the tread of the shoe, SPD systems are incredibly popular among mountain bikers, commuters, and gravel riders who need to walk around off the bike without slipping. They offer a dual-sided entry, meaning you can clip in on either side of the pedal, which makes starting from a stop much easier compared to single-sided road pedals.
What You Need to Use SPD Cleats?
To use SPD cleats, you’ll need a few essential components to get started. First and foremost, a pair of SPD-compatible cycling shoes is required. These shoes are designed with a recessed area in the sole to accommodate the cleats, ensuring they remain flush with the tread for easy walking. Secondly, you’ll need SPD cleats themselves, which are typically included with compatible pedals or can be purchased separately.
Finally, you’ll need SPD-specific pedals for your bike, designed to securely engage with the cleats. Proper installation and adjustment of the cleats are crucial to ensure comfort and efficient power transfer while cycling. With these components in place, you’ll be ready to enjoy the benefits of the SPD system.
7 Simple Step-By-Step Guidelines on How to Use SPD Cleats
Step 1: Installing and Positioning the Cleats
The very first step in using SPD cleats is ensuring they are correctly installed on your shoes, as improper placement can lead to knee pain or difficulty clipping in. Start by applying a small amount of bicycle grease to the threads of the cleat bolts, which will prevent them from rusting in place.
Place the metal cleat plate over the two holes in the sole of your shoe, ensuring the pointed end faces forward. Loosely tighten the bolts so the cleat can still slide around slightly. Put the shoe on and find the ball of your foot—the widest part of your foot right behind your big toe. You want to position the cleat so that the pedal axle will sit directly under the ball of your foot.
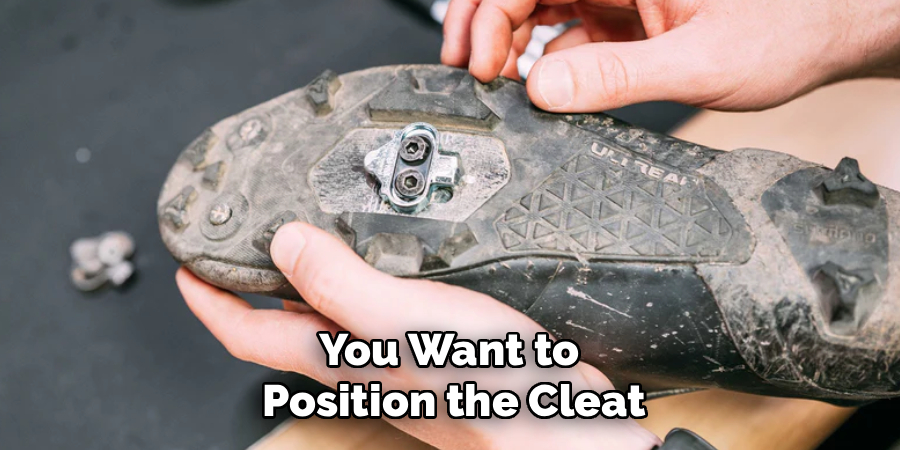
Once you have identified the correct fore-and-aft position, you need to consider the angle of the cleat. Most riders prefer a neutral position where the foot points straight ahead, but if your natural stance involves your toes pointing slightly out or in, you should angle the cleat to match that physiology. After you are satisfied with the position, tighten the bolts firmly using your hex key. It is crucial to alternate between the two bolts as you tighten them to ensure the cleat sits flat and secure against the sole. A loose cleat can be dangerous, as it may prevent you from unclipping when you need to stop, so give it a final check before moving on.
Step 2: Adjusting the Pedal Tension
Every SPD pedal comes with a tension adjustment screw located on the rear of the binding mechanism, usually accessible with a 3mm or 4mm hex key. This screw controls how tightly the pedal holds onto your cleat and, consequently, how much force is required to twist your heel out to release. For beginners, it is highly recommended to turn this screw counter-clockwise toward the “minus” sign to reduce the tension to the absolute minimum setting. This ensures that the mechanism is as loose as possible, making it incredibly easy to release your foot if you panic or lose your balance.
Do this for both sides of each pedal if you are using dual-sided pedals, ensuring the tension is even across all four mechanisms. As you gain experience and confidence, you might find that your foot accidentally pulls out during hard efforts or jumps. When this happens, you can gradually increase the tension by turning the screw clockwise. However, in the early stages of learning, prioritizing an easy release over a secure hold is the safest strategy. Test the tension by clipping a shoe in with your hand and twisting it out; if it feels like a struggle for your arm, it will definitely be a struggle for your leg in an emergency.
Step 3: Practicing in a Safe, Stationary Environment
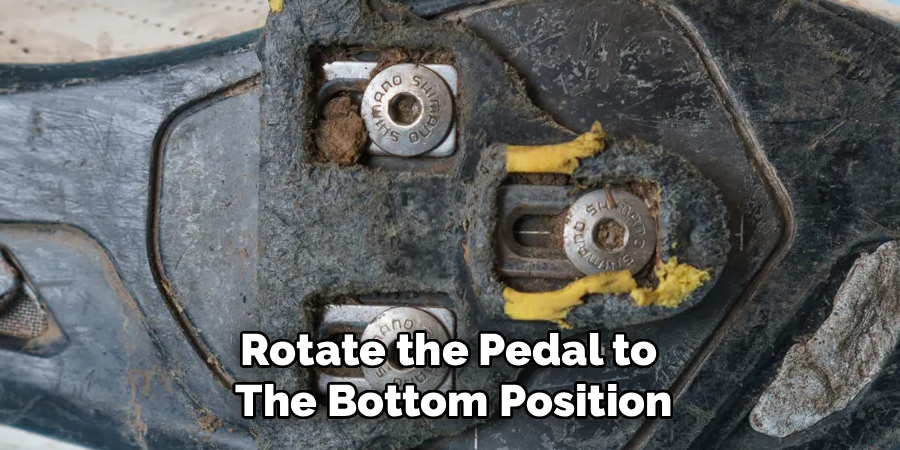
Before you even think about hitting the road or the trail, you must practice the clipping motion in a controlled, stationary environment. Find a doorway, a sturdy table, or a hallway where you can sit on your bike and hold onto something stable with one hand. This eliminates the need to balance, allowing you to focus entirely on the mechanics of your feet and the pedals. With the bike stationary and your brakes held, rotate the pedal to the bottom position and practice engaging the cleat.
Spend at least 15 to 20 minutes simply clipping in and clipping out repeatedly with both feet. Muscle memory is built through repetition, and you want this motion to become second nature. Pay attention to the sound and the feel; you will hear a distinct metallic “click” when the cleat engages properly. Practice looking straight ahead rather than down at your feet, as you won’t be able to stare at your pedals while riding in traffic or on a trail. Do ten repetitions with your right foot, then ten with your left, and then alternate. This boring but essential drill is the single best way to prevent the embarrassing “slow-motion topple” that many new riders experience.
Step 4: Mastering the “Clip-In” Motion
The actual technique of clipping into an SPD pedal is slightly different from stepping onto a flat platform. To engage the mechanism, you need to lead with your toes. Position the pedal so it is roughly parallel to the ground or slightly angled up. Slide the toe of your shoe forward until you feel the front tip of the metal cleat catch the front loop of the pedal binding. This is the guide point that aligns everything else.
Once the front is caught, push down firmly with the ball of your foot. You should feel a solid snap as the rear retention gate opens and clamps down on the back of the cleat. If you are having trouble, try wiggling your heel slightly left and right while pushing down to help the cleat find the sweet spot. Remember that SPD pedals are often double-sided, so if you miss the clip on the first try, you can usually just pedal a half-stroke and try again without looking down. It requires a decisive stomp rather than a tentative press, so don’t be afraid to put some weight into it.
Step 5: Developing a Circular Pedaling Technique
One of the primary advantages of using SPD cleats is the ability to generate power through the entire 360 degrees of the pedal stroke, rather than just pushing down. Once you are clipped in and riding, focus on smoothing out your cadence. On the downstroke, you push as normal, but as your foot reaches the bottom, imagine scraping mud off the bottom of your shoe to engage your hamstrings.
On the upstroke, you can slightly unweight your leg or even pull up gently, which aids the other leg in its downstroke. This creates a more efficient and consistent power delivery, which is especially useful when climbing steep hills or accelerating. You don’t need to pull up aggressively on every stroke, but being attached to the bike prevents your feet from bouncing off the pedals when you are spinning fast or riding over rough, bumpy terrain. This added security allows you to relax your lower legs and focus on the road ahead, knowing your feet will stay exactly where they need to be.
Step 6: Learning How to Disengage (Unclip)
Releasing your foot from the pedal is the most critical skill for safety, and it involves a motion that is not entirely intuitive at first. To unclip, you must twist your heel outwards firmly away from the bike. Imagine you are crushing a bug with your heel by twisting it to the side. The mechanism is designed to release only with this lateral twisting motion, ensuring your foot doesn’t come out when pulling straight up.
Practice this motion until it is sharp and decisive. You should always initiate the twist with your heel, keeping the ball of your foot relatively stable as the pivot point. Some riders find it helpful to twist inwards (heel towards the bike), but this is generally not recommended as your heel can hit the frame or the wheel spokes. Stick to the outward twist. While riding, anticipate situations where you might need to release. If you see a stop sign or a difficult obstacle approaching, unclip one foot ahead of time and rest the arch of your shoe on the pedal so you are ready to put a foot down instantly if needed.
Step 7: Managing Stops and Starts in the Real World
Transitioning your practice to the real world requires anticipation and situational awareness. When approaching a stop light or intersection, do not wait until the bike has come to a complete halt to try to unclip. While you are still rolling slowly, unclip your dominant foot—the one you prefer to put on the ground—and let it hover just above the pedal or rest gently on top of it.
As you come to a stop, lean the bike slightly toward the side of the unclipped foot. This ensures that gravity works in your favor, and you don’t accidentally tip over toward the side that is still attached to the bike. When starting again, push off with your clipped-in foot to get the bike rolling and gain momentum. Do not rush to clip the second foot in immediately; pedal a few strokes with the arch of your foot on the loose pedal until you have speed and stability, then guide your toe into the mechanism to lock in. This patience prevents wobbling at low speeds and keeps you safe in traffic.
Following these steps on how to use spd cleats properly will greatly enhance your cycling experience. Not only will it improve your efficiency and performance, but it will also prevent injuries and accidents on the road.
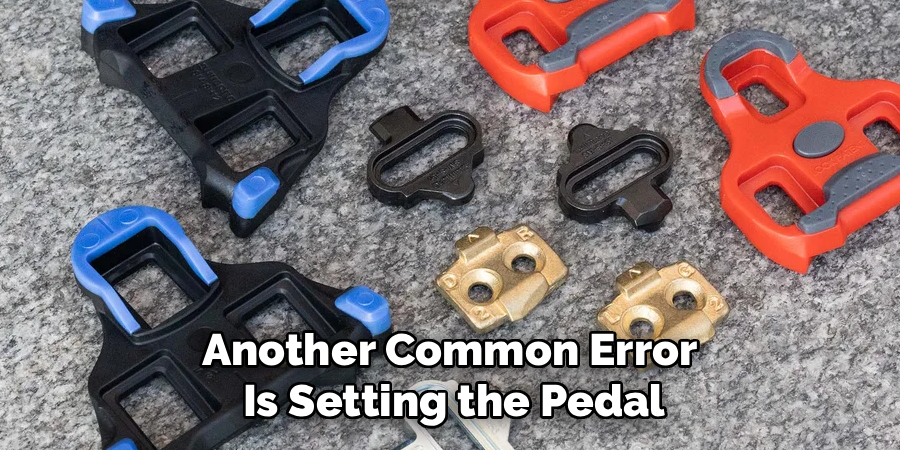
Common Mistakes to Avoid
A major mistake beginners make is forgetting they are clipped in when stopping, leading to a fall. Another common error is setting the pedal tension too high initially, making it a struggle to release the foot during emergencies.
Many riders also neglect to check their cleat bolts regularly; loose bolts can make it impossible to twist your foot out, trapping you on the bike. Finally, avoid walking long distances on concrete with your cycling shoes, as this can damage the cleat mechanism and reduce its lifespan.
Maintenance and Care
To ensure your SPD system functions reliably, regular maintenance is essential. Dirt, mud, and grit can accumulate in the pedal springs and around the cleat, making entry and release difficult. After muddy rides, scrub the pedals and the soles of your shoes with a stiff brush and water. Periodically check the bolts on your cleats to ensure they haven’t vibrated loose, as a loose cleat can be dangerous.
Apply a drop of dry lubricant to the pedal springs and the contact points where the cleat meets the pedal to keep the action smooth and prevent squeaking. If the cleats become heavily worn or the edges become rounded, replace them immediately to maintain a secure connection.
Safety and Comfort Tips
If you experience knee pain while riding, it is likely due to improper cleat positioning; try adjusting the angle of the cleat to match the natural rotation of your foot. Ensure you have a small amount of “float”—a few degrees of free movement before the cleat disengages—which helps reduce strain on your joints.
Always wear shoes that fit snugly to prevent your foot from moving around inside the shoe while pulling up on the pedals. For added safety, practice your unclipping motion occasionally even after you become an expert, just to keep the muscle memory sharp. If you ride in traffic, consider pedals that have a flat platform on one side so you can ride unclipped in high-risk areas.
Frequently Asked Questions
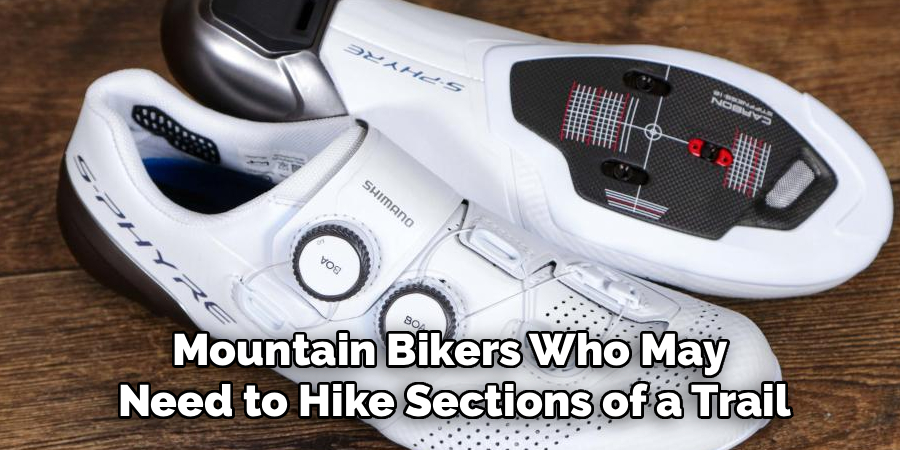
Q1: Can I Walk In SPD Cleats Without Slipping?
Yes, one of the biggest advantages of the SPD system is that the cleats are small and typically recessed into the sole of the shoe. Because the rubber tread of the shoe surrounds the metal cleat, you can walk on tile, concrete, or dirt without the awkward “penguin walk” associated with road cycling cleats. This makes them ideal for commuters who need to walk into an office or mountain bikers who may need to hike sections of a trail.
Q2: Are SPD Cleats Hard To Use For Beginners?
SPD cleats do have a learning curve, but they are generally considered the most beginner-friendly clipless option available. Because they offer dual-sided entry and adjustable tension settings, you can set them to be very loose while you learn. Most riders get used to the twisting motion within two or three rides, and after a week of regular riding, clipping in and out becomes a completely subconscious action that you don’t even have to think about.
Conclusion
Mastering SPD cleats is a milestone for any cyclist, unlocking a new level of efficiency and control on the bike. By taking the time to install them correctly, practicing in a safe environment, and starting with low tension, you can overcome the initial learning curve quickly.
The connection you feel with your bike will improve your climbing, stability, and overall confidence. Trust the process, be patient with yourself, and soon enough, you won’t be able to imagine riding any other way. Thanks for reading this guide on how to use spd cleats.
About
As the lead voice behind Shoenify, I bridge the gap between footwear aesthetics and technical performance. With a career dedicated to the intersection of fashion and function, I provide readers with data-driven reviews and deep dives into the global footwear market. My mission is to help every reader find the perfect fit, whether they are hitting the track or the boardroom.
Education RMIT University
-
RMIT University: Bachelor of Design (Footwear & Accessories)
-
Nottingham Trent University: MA in Fashion Design (Specializing in Footwear Innovation)
Publications and Impact
My insights on footwear trends and sustainable manufacturing have been featured in leading industry trade journals. Through Shoenify, I have influenced thousands of purchasing decisions by prioritizing transparency and rigorous testing. My work focuses on the evolution of “smart” footwear and the impact of 3D printing on the future of the industry.