
Lacing your football cleats correctly is often overlooked, yet it remains one of the most vital aspects of preparing for a game or practice session. Many players simply tie them up without thinking, but the right technique can drastically improve their comfort, stability, and overall performance on the field. Without a secure fit, you risk blisters or injuries that could sideline you when you are needed most.

By taking just a few extra minutes to learn proper lacing methods, you ensure that your cleats work with your feet rather than against them during high-intensity plays. This guide on how to lace football cleats breaks down exactly how to achieve the perfect fit so you can focus entirely on the game.
Materials You’ll Need
- A pair of football cleats
- Two high-quality athletic laces (flat or oval preferred)
- A clean, flat surface to work on
- Optional: Scissors (if trimming laces)
- Optional: Lighter (to seal fraying ends)
7 Simple Step-by-step Guidelines on How to Lace Football Cleats
Step 1: Preparation and Inspection of Cleats and Laces
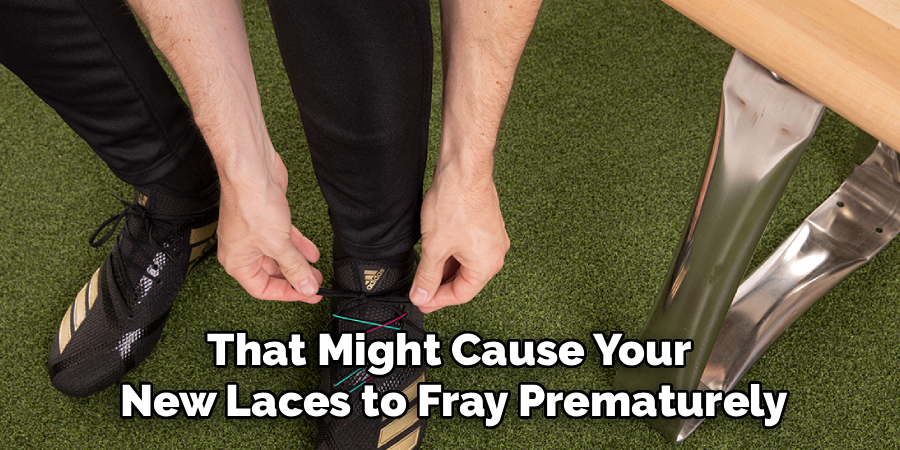
Before you even begin threading the laces, it is crucial to prepare your workspace and inspect your equipment thoroughly to ensure everything is in top condition. Start by completely removing the old laces from your cleats, checking the eyelets for any damage or rough edges that might cause your new laces to fray prematurely.
Clean off any dried mud or grass from the tongue and the upper part of the shoe, as debris trapped under the laces can cause irritation once the shoe is tightened. Lay your new laces out side-by-side to verify they are the exact same length; uneven laces can lead to an unbalanced fit and make the final knot difficult to tie securely.
Take a moment to inspect the laces themselves for any weak spots or fraying, especially if you are reusing an older pair. If the aglets (the plastic tips at the ends) are cracked or missing, it will be incredibly frustrating to thread them through the small eyelets of football cleats. Ensuring you have high-quality, durable laces is the foundation of a good lace job.
Once your cleats are clean and your laces are inspected, position the shoe on a flat surface or hold it comfortably between your knees. This preparation phase might seem tedious, but it guarantees that the actual lacing process goes smoothly and results in a professional, secure fit.
Step 2: Threading the Bottom Eyelets Correctly
Begin the actual lacing process by inserting the aglets into the bottom-most eyelets, closest to the toe of the cleat. It is generally recommended to thread the laces from the outside in (over the top of the eyelet), creating a clean, horizontal bar across the bottom. Pull the laces through until there is an equal amount of lace on both the left and right sides.
You must be precise here; pull the ends up vertically to measure them against each other and adjust the bar at the bottom until they are perfectly even. If you start with uneven lengths, you will struggle at the top of the shoe, often ending up with one side too short to tie a proper double knot.
This initial bar sets the tension for the entire forefoot area, which is critical for player stability and toe protection. If this section is too tight, it will crush your toes together, causing pain during sprints and cuts. If it is too loose, your foot will slide forward, jamming your toes against the front of the cleat.
Aim for a snug fit that holds the material flat against your socks without constricting movement. Once the bottom bar is set and centered, double-check that the lace is flat and not twisted, as twists at the bottom can create pressure points that become painful after an hour of running.

Step 3: Crossing the Laces for the Second Row
Take the right lace end and cross it over to the left side, threading it through the next available eyelet from the outside in. Then, take the left lace end and cross it over to the right side, threading it through the corresponding eyelet, also from the outside in. This “over-under” or crisscross technique is the standard for football because it provides excellent friction, keeping the laces tight even if the knot slips slightly. As you pull the laces through, ensure they remain flat against the tongue of the cleat. Twisted laces might seem minor, but they create uneven pressure on the top of the foot, which can become excruciating once blood flow increases during a game.
Consistency is key during this step to maintain the structural integrity of the lacing pattern. Ensure that you always cross the same side over the other (e.g., always right over left) to create a neat, uniform look that also functions better mechanically. After threading both sides through the second row of eyelets, give each end a firm tug to tighten the fit across the lower midfoot. You want to feel the upper material of the cleat wrapping securely around your foot without pinching. This establishes the “lockdown” feel that players need for explosive movements. If you notice any slack, adjust it now before moving up to the next set of eyelets.
Step 4: The Midfoot Lockdown Technique
As you progress to the middle section of the cleat, usually the third and fourth eyelets, you need to focus on securing the midfoot without restricting the natural arch flex. Continue the crisscross pattern, threading from the outside in, but pay close attention to the tension you apply in this zone. The midfoot is where the cleat needs to hug the foot most aggressively to prevent lateral sliding during sharp cuts and pivots. However, there is a fine line between secure and strangling; you need to leave enough room for your foot to expand slightly as it impacts the ground.
Some players prefer to switch to an “under-over” threading method (threading from the inside out) for just these two eyelets to allow for slightly easier adjustment during the game. Whether you stick to the standard cross or switch it up, the goal is to eliminate any gaps between the tongue and your foot. Stop after these eyelets and flex your foot inside the cleat. If the laces bite into your instep, loosen them slightly. If your foot feels like it’s floating, tighten it down. This midfoot section acts as the bridge between toe control and heel stability, so taking your time to get the tension right here is non-negotiable for optimal performance.
Step 5: Addressing the High Ankle Area
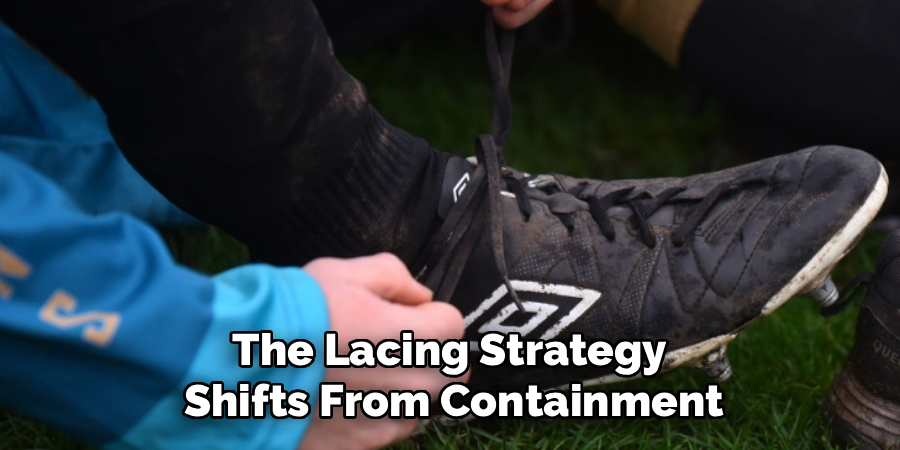
Moving up to the ankle area, the lacing strategy shifts from containment to stability and support. As you thread the laces through the higher eyelets, you are now influencing how much ankle mobility you will have versus how much support the cleat provides. For players who need maximum speed and flexibility, keep the tension consistent with the lower sections. For linemen or players needing extra support, you may want to pull these crosses slightly tighter. Continue your crisscross pattern, ensuring the laces lie flat against the thick padding of the tongue.
It is common for the tongue to slide to one side during play, which can be incredibly annoying and uncomfortable. To prevent this, many football cleats have a small slit or loop in the middle of the tongue. When you reach the eyelets aligned with this loop, make sure to thread the laces through it. This anchors the tongue in the center of your foot, providing extra padding where the laces cross and preventing the tongue from slipping down into the shoe. Securing the high ankle area properly ensures that the collar of the cleat moves in unison with your leg, reducing the risk of ankle rolls.
Step 6: The Heel Lock Loop (Runner’s Loop)
This is a specialized step often used by pros to prevent heel slippage, which is the number one enemy of speed and the primary cause of heel blisters. Instead of crossing the laces to the opposite side for the very top eyelet, thread each lace end into the top eyelet on the same side, going from the outside in. Do not pull it tight yet; leave a small loop of slack lace on the outside of each top eyelet. This creates a pulley system that is incredibly effective at locking the heel into the back of the boot.
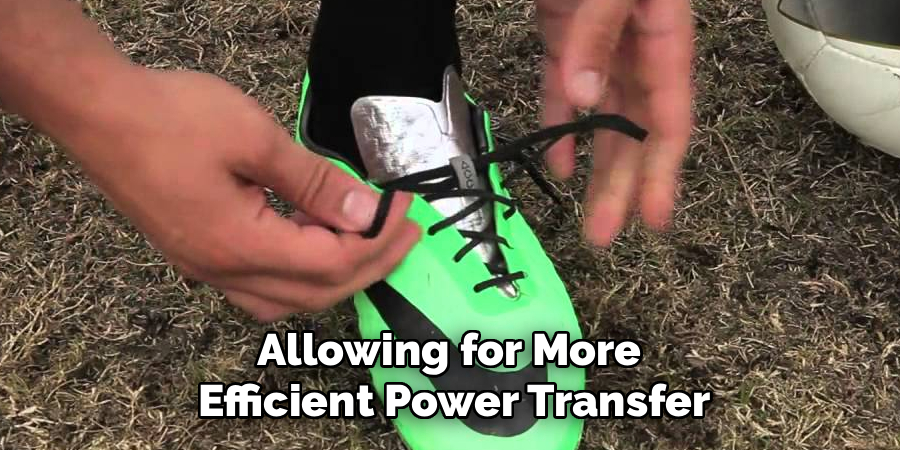
Once you have created these loops on both sides, take the left lace end and thread it through the loop on the right side. Then take the right lace end and thread it through the loop on the left side. Now, pull the lace ends simultaneously outward and upward. As you pull, the loops will cinch down tight against the shoe, creating a powerful hold around your ankle without restricting blood flow. This technique essentially vacuums your heel into the heel cup of the cleat. You will immediately feel a difference in stability, as your foot will no longer lift out of the cleat when you run, allowing for more efficient power transfer into the ground.
Step 7: Final Knot and Excess Lace Management
With the lacing pattern complete and your heel locked down, it is time to tie the final knot and manage any excess lace length. Start with a standard starting knot (right over left and pull through), tightening it down firmly against the tongue. Follow this with a secure bow. For football, a standard bow is rarely enough; you should always use a double knot. Take the two loops of your bow and tie them together again. This ensures that the knot will not come undone during contact or sprinting, which is a safety hazard that can lead to tripping.
After the double knot is secure, look at how much excess lace is dangling. Long loops can be stepped on by other players or get caught in your own cleats. If the loops are excessively long, tuck them underneath the crisscrossed laces running down the midfoot or tuck them inside the top of the cleat around the ankle collar. Some modern cleats have a “lace garage” or a pouch on the tongue specifically for this purpose. Keeping the laces tidy and out of the way prevents distractions and potential injuries. Finally, stand up and walk around. The cleats should feel like a natural part of your foot—snug, secure, and ready for action.
Following these steps on how to lace football cleats will ensure that you have a comfortable and secure fit for maximum performance on the field.
Additional Tips for Maintaining Football Cleats
In addition to properly lacing football cleats, there are other things you can do to maintain their condition and prolong their lifespan. Here are some tips:
- After each game or practice, remove any dirt or debris from your cleats using a soft brush or cloth. This will prevent buildup and help maintain the grip on the field.
- Avoid wearing your football cleats off the field, as this can cause unnecessary wear and tear.
- Store your cleats in a cool, dry place to avoid mold and mildew growth.
- Replace worn-out cleats with new ones when necessary for optimal performance and safety.
Common Mistakes to Avoid
One of the biggest mistakes is pulling the laces too tight at the toes, which cuts off circulation and causes numbness. Another error is leaving the laces twisted, creating painful pressure points that distract you from the game.
Many players also neglect to use all the eyelets, sacrificing critical ankle support for a looser feel. Lastly, avoid using laces that are too long or too short, as both create safety hazards.
Maintenance and Care
Maintaining your laces and cleats ensures they last through the entire season. After every game, unlace your cleats partially to let the tongue breathe and dry out, preventing bacteria buildup and bad odors.
If your laces get caked in mud, remove them completely and wash them in a sink with warm, soapy water; letting mud dry on the fibers makes them brittle and prone to snapping. Regularly inspect the eyelets for rust or sharp edges that could cut your laces. Replacing your laces halfway through the season is a cheap way to maintain a tight, secure fit.
Frequently Asked Questions
Q1: How Tight Should My Football Cleats Be Laced?
A1: Your football cleats should be laced snugly enough that your foot does not slide around inside the shoe, particularly in the heel area, but not so tight that you feel pain or numbness. You should be able to wiggle your toes slightly, but the midfoot and ankle should feel locked in and secure. If you see deep indentations on your skin after taking the cleats off, they are likely too tight and restricting necessary blood flow.
Q2: What Is The Best Lacing Pattern For Wide Feet?
A2: If you have wide feet, you should skip the crisscross technique on the specific eyelets where your foot feels widest, usually in the midfoot or forefoot area. Instead, run the lace vertically to the next eyelet on the same side before resuming the cross pattern. This creates a window of reduced pressure that allows the shoe to expand slightly, giving your wide feet the room they need without sacrificing overall stability.
Conclusion
Properly lacing your football cleats is a small detail that yields massive returns in performance and safety.
By following these steps on how to lace football cleats and understanding the mechanics of a good fit, you ensure maximum stability, comfort, and agility on the field. Don’t let a loose lace or a blister slow you down; take control of your gear and play your best game.
About
As the lead voice behind Shoenify, I bridge the gap between footwear aesthetics and technical performance. With a career dedicated to the intersection of fashion and function, I provide readers with data-driven reviews and deep dives into the global footwear market. My mission is to help every reader find the perfect fit, whether they are hitting the track or the boardroom.
Education RMIT University
-
RMIT University: Bachelor of Design (Footwear & Accessories)
-
Nottingham Trent University: MA in Fashion Design (Specializing in Footwear Innovation)
Publications and Impact
My insights on footwear trends and sustainable manufacturing have been featured in leading industry trade journals. Through Shoenify, I have influenced thousands of purchasing decisions by prioritizing transparency and rigorous testing. My work focuses on the evolution of “smart” footwear and the impact of 3D printing on the future of the industry.