

Vans are iconic footwear staples, loved for their classic skate style and durability. However, fresh out of the box, that sturdy canvas or suede can feel surprisingly stiff and narrow. Nothing ruins the excitement of a new pair of shoes faster than the realization that they are pinching your toes or rubbing against your heels. Before you consider returning them or resigning yourself to weeks of painful blisters, know that breaking them in doesn’t have to be a torture test.
Canvas and suede are pliable materials that can be manipulated to better conform to your unique foot shape. With a few simple household tricks and a little patience, you can customize the fit without damaging the integrity of the shoe.
This guide is designed to save your feet from discomfort. We will walk you through exactly how to stretch vans shoes using proven, safe methods that transform those tight sneakers into the comfortable everyday favorites they were meant to be.
Stretching your Vans shoes doesn’t have to be a complicated or risky process. With the right techniques, you can gently expand the material to create a fit that feels perfect for your feet. Whether you’re dealing with new shoes that are just a bit too snug or trying to accommodate specific pressure points, the methods outlined here will help ensure your Vans feel as good as they look.
7 Step-by-Step Guide on How to Stretch Vans Shoes
Step 1: Thick Sock Technique
The simplest method to loosen up tight footwear often requires nothing more than your winter wardrobe. Put on one or even two pairs of your thickest wool or athletic socks. Squeeze your feet into your new Vans, even if it feels snug and slightly uncomfortable at first. Lace them up as you normally would. Now, simply wear them around the house for short intervals, perhaps 20 to 30 minutes at a time while you are doing chores or watching television.
The extra bulk of the thick socks forces the canvas material to expand outward gently. By moving your feet, wiggling your toes, and walking, you are applying dynamic pressure that helps the fabric relax and mold to the natural contours of your foot without using any external tools or heat sources.
Step 2: Apply Gentle Heat with a Hair Dryer
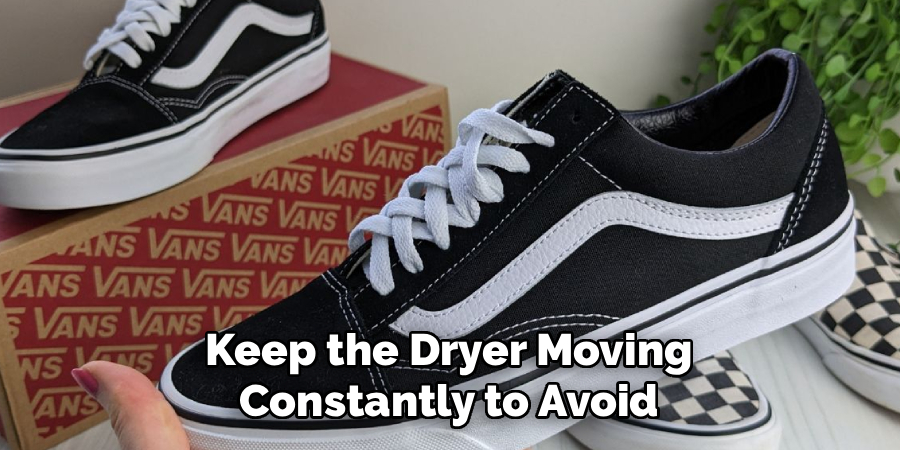
To speed up the process started in the previous step, you can introduce thermal energy. While wearing those same thick socks inside your shoes, grab a standard hair dryer. Set it to medium heat—never high, as extreme temperatures can damage the glue or rubber foxing tape. Aim the warm air at the specific areas where the shoes feel tightest, such as the toe box or the heel counter. Keep the dryer moving constantly to avoid scorching the fabric.
Heat the area for about 20 to 30 seconds while wiggling your toes vigorously. The heat softens the fibers of the canvas or leather, making them more pliable. Keep the shoes on until they have completely cooled down; this ensures the material sets in its new, stretched shape rather than shrinking back immediately.
Step 3: Freezer Trick
If heat isn’t your preference, you can utilize the expansive power of ice. Fill two sealable freezer bags—Ziploc bags work perfectly—about one-third full with water. Squeeze out all the excess air before sealing them tightly to prevent leaks. Place one water-filled bag into each shoe, maneuvering it carefully so that the water settles snugly into the toe box area where tightness is usually most problematic.
Place your shoes into the freezer and leave them there overnight. As water freezes, it expands by roughly nine percent. This expansion exerts a slow, powerful, and consistent pressure on the shoe walls from the inside out, gently stretching the material. In the morning, remove the shoes, let the ice thaw slightly for easy removal, and enjoy the roomier fit.
Step 4: Stuff Them Tight with Newspaper
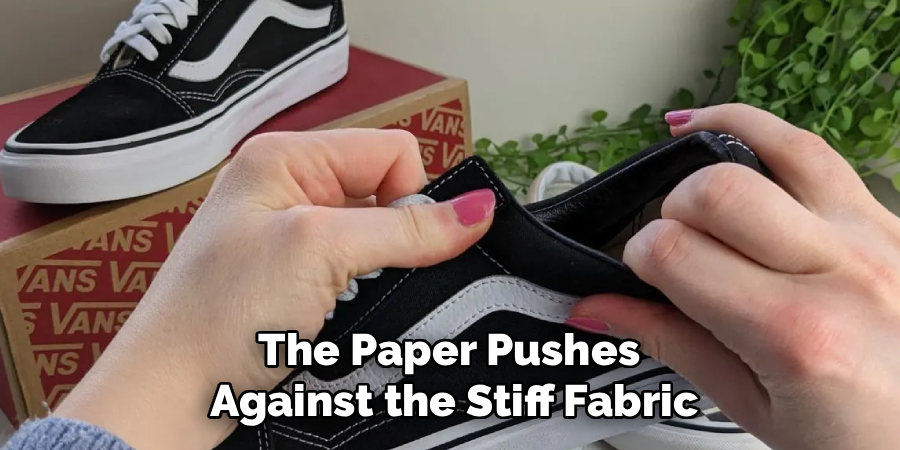
This classic method has been used for generations to stretch all types of footwear. Gather old newspapers or even plain packing paper. Slightly dampen the paper balls—do not soak them, as excessive moisture can damage the insoles or cause mold. Stuff the damp paper firmly into the shoes, packing it as tightly as possible into the toe and heel areas. The goal is to overfill the shoe so the paper pushes against the stiff fabric.
Leave the shoes to dry naturally in a well-ventilated area, away from direct sunlight or heaters. As the paper dries, it hardens and expands slightly, holding the shoe in a stretched position. Once the paper is bone dry, remove it. This technique is particularly effective for widening the toe box of canvas slip-ons or Authentics.
Step 5: Utilize a Professional Shoe Stretcher
For a more precise and controlled expansion, investing in a mechanical shoe stretcher is a wise choice. These wooden or plastic devices are inserted into the shoe and can be adjusted using a turning knob to widen or lengthen the tool. Insert the stretcher into your Vans and turn the handle until you see the surface of the shoe begin to strain slightly.
Most stretchers also come with small “bunion plugs” that can be attached to target specific pressure points. Leave the stretcher in the shoe for at least 24 hours. This method is the most reliable way to learn how to stretch vans shoes evenly, as it applies constant, uniform pressure that is difficult to replicate with socks or paper alone. It is especially safe for leather or suede models.
Step 6: Use Rubbing Alcohol Spray for Elasticity
Isopropyl alcohol is a fantastic agent for relaxing stiff shoe fibers quickly. Mix a solution of 50% rubbing alcohol and 50% water in a clean spray bottle. Lightly mist the interior of your Vans until they are slightly damp but not saturated. Immediately put the shoes on your feet (wearing socks is recommended) and walk around. The alcohol works to soften the material, allowing it to stretch more easily as you move.
Alternatively, you can soak heavy cotton socks in the alcohol solution, wring them out so they are not dripping, and wear them inside the shoes. As the alcohol evaporates, the shoes will dry in the shape of your foot. Be cautious with colored suede, as alcohol can sometimes affect the dye; always test a small, hidden spot first.
Step 7: The Steam Method for Canvas Models
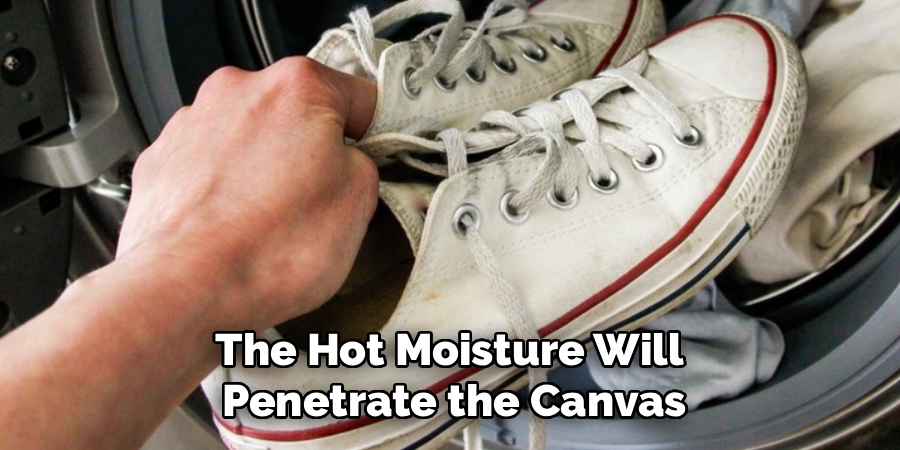
Steam is incredibly effective at loosening the weave of canvas fabric, making it one of the best tricks for classic Vans styles. Boil a kettle of water or use a garment steamer if you have one. Hold the tight areas of the shoe over the steam for 30 to 60 seconds from a safe distance—you want the steam to hit the shoe, not your hands. The hot moisture will penetrate the canvas fibers, making them soft and flexible.
Once steamed, immediately put the shoes on your feet and walk around vigorously. Like the hair dryer method, the key is to keep wearing them as they cool and dry. This allows the softened canvas to harden back up while conforming to the exact width and arch of your foot, locking in that new, comfortable shape.
Frequently Asked Questions (FAQs)
Will Stretching Vans Ruin the Design?
Generally, no. If you stretch them carefully and gradually, the design will remain intact. However, aggressive stretching or using too much heat can cause the rubber foxing tape (the white rubber strip around the sole) to separate from the fabric. It is important to be patient and stretch them in small increments rather than trying to force a huge change all at once. The goal is a better fit, not a deformed shoe.
Does the Microwave Method Work for Vans?
Absolutely not. You should never put your Vans in the microwave. The shoes contain metal eyelets for the laces and rubber components that can melt or catch fire. Microwaving them is dangerous and will ruin your shoes instantly. Stick to safe heat sources like a hair dryer or steam, where you have full control over the temperature and direction of the heat application.
Can I Stretch Leather Vans the Same Way as Canvas?
Leather and suede Vans require a bit more care than canvas ones. While the shoe stretcher and thick sock methods work well for leather, you should be very careful with water and heat. Water can stain leather, and excessive heat can dry it out, leading to cracks. For leather models, using a dedicated leather stretching spray in combination with a mechanical stretcher is often the safest and most effective route.
How Long Does It Take to Break in Vans Normally?
Without any intervention, breaking in a pair of Vans can take anywhere from one to three weeks of regular wear. During this period, you might experience blistering on your heels or pinky toes. The methods described above are designed to accelerate this timeline significantly, often achieving a comfortable fit within one or two days, saving you from the “break-in blues.”
What If My Vans Are Still Too Tight?
If you have tried multiple stretching methods and your shoes are still painfully tight, they may simply be the wrong size. Stretching can only do so much—typically adding about a quarter to a half-size in width. It cannot make a size 8 shoe fit a size 10 foot. In this case, it is best to cut your losses and exchange them for a larger size or a “wide” width version if available.
Conclusion
There is no need to suffer for the sake of style. While Vans are famous for their cool aesthetic, they should also support you comfortably through your daily adventures. By employing these simple DIY techniques—whether it is the trusty thick sock method, the freezing power of ice, or the precision of a mechanical stretcher—you can customize your footwear to fit your life.
The key takeaways are to be patient, use gentle methods first, and always let the shoes cool or dry while on your foot or a stretcher to lock in the new shape. Now that you have mastered how to stretch vans shoes safely and effectively, you can say goodbye to blisters and hello to a pair of sneakers that feels like it was custom-made just for you.
About
As the lead voice behind Shoenify, I bridge the gap between footwear aesthetics and technical performance. With a career dedicated to the intersection of fashion and function, I provide readers with data-driven reviews and deep dives into the global footwear market. My mission is to help every reader find the perfect fit, whether they are hitting the track or the boardroom.
Education RMIT University
-
RMIT University: Bachelor of Design (Footwear & Accessories)
-
Nottingham Trent University: MA in Fashion Design (Specializing in Footwear Innovation)
Publications and Impact
My insights on footwear trends and sustainable manufacturing have been featured in leading industry trade journals. Through Shoenify, I have influenced thousands of purchasing decisions by prioritizing transparency and rigorous testing. My work focuses on the evolution of “smart” footwear and the impact of 3D printing on the future of the industry.