
Keeping your Xero Shoes clean is essential for extending their lifespan and ensuring they look great on every adventure. Whether you have been hiking through muddy trails or just walking around the city, dirt and grime can accumulate quickly on the lightweight materials.

A regular cleaning routine not only maintains the aesthetic appeal of your minimalist footwear but also preserves the integrity of the fabric and soles. By following a few simple steps on how to clean Xero shoes, you can easily restore your favorite pair to its original condition without causing any damage.
Tools and Materials You’ll Need
Before you get started, gather the following tools and materials to properly clean your Xero shoes:
- Soft-bristled brush or toothbrush
- Mild soap or detergent (avoid harsh chemicals)
- Water
- Clean towel or cloth
7 Simple Step-by-step Guidelines on How to Clean Xero Shoes
Step 1: Remove Excess Dirt and Debris
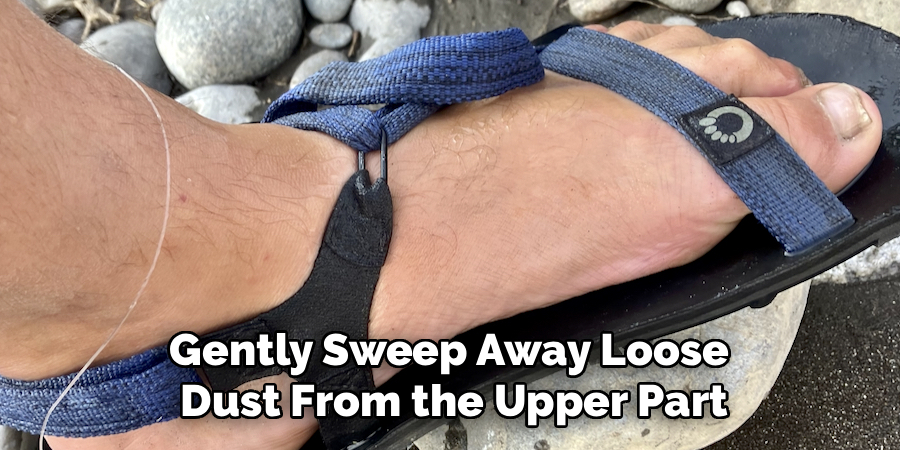
Before getting your shoes wet, the most important first step is to remove as much dry dirt, mud, and debris as possible. Take your shoes outside and clap the soles together vigorously to dislodge large chunks of dried mud or small stones stuck in the tread. If the mud is still wet, it is often better to let it dry completely before this step, as smearing wet mud can grind it deeper into the fabric mesh. Use your soft-bristled brush to gently sweep away loose dust from the upper part of the shoe, paying close attention to the seams and crevices where dirt likes to hide.
This initial “dry clean” phase is critical because it prevents you from creating a muddy soup later when you introduce water. By removing the surface layer of grime now, you make the actual washing process significantly more effective and less messy. Be thorough with the sole as well; use a small pick or an old screwdriver to carefully pop out any pebbles wedged in the grooves of the FeelTrue® rubber sole. This preparation ensures that your cleaning solution can work directly on stains and embedded dirt rather than just moving loose soil around the surface of the shoe.
Step 2: Prepare Your Cleaning Solution
Now that the loose dirt is gone, it is time to create a gentle but effective cleaning bath for your footwear. Fill a basin, sink, or bucket with warm water—ensure it is not boiling hot, as extreme heat can damage the glues holding your shoes together. Add a small amount of mild liquid detergent or dish soap to the water. You aim for a sudsy mixture, but you don’t need an excessive amount of soap, which can be difficult to rinse out later. Stir the water with your hand or a brush until you see a nice layer of bubbles forming on the surface.
If your shoes are particularly smelly, you can add a tablespoon of baking soda to this mixture. Baking soda is a fantastic natural deodorizer that neutralizes odors without damaging the synthetic materials found in most Xero Shoes. Make sure the powder is fully dissolved before you begin. Having this solution ready and properly mixed ensures that you treat every part of the shoe with the same cleaning power. Do not submerge the shoes yet; you will be dipping your brush into this solution rather than soaking the shoes, which protects the structural integrity of the footwear during the scrubbing process.
Step 3: Remove and Clean the Insoles and Laces
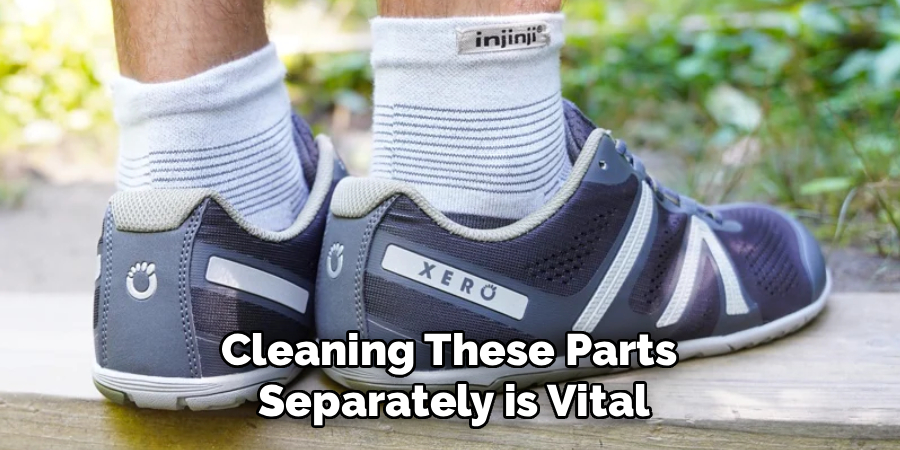
For a truly deep clean, you need to disassemble the removable parts of your shoes. Take out the laces and the insoles (if your specific model has removable ones) from both shoes. These components often harbor the most sweat and bacteria because they are in direct contact with your feet and skin. Place the laces in a small bowl filled with your soapy water solution and let them soak for about 15 to 20 minutes to break down oils and dirt. If the insoles smell, sprinkle them with a bit of baking soda before scrubbing them gently with a damp sponge.
Cleaning these parts separately is vital because it allows you to access the nooks and crannies around the eyelets and the interior footbed of the shoe. While the laces are soaking, you can gently scrub the insoles with your soft brush dipped in the soapy water. Be careful not to scrub the insoles too hard, as the foam material can be delicate. Once scrubbed, rinse the insoles thoroughly under cool running water to remove all soap residue, then set them aside on a clean towel to air dry. Do not wring them out, as this can distort their shape permanently.
Step 4: Scrub the Soles and Uppers
This is the main event where you will tackle the visible grime on the shoes themselves. Dip your soft-bristled brush into the soapy water solution you prepared earlier and shake off any excess liquid. Start by scrubbing the rubber outsoles vigorously. The rubber is durable, so you can apply a bit more pressure here to remove scuff marks and stubborn dirt from the tread. Once the bottoms are clean, move to the upper mesh or fabric. Here, you must be much gentler. Use circular motions to lift dirt from the fibers without fraying the material.
Work in small sections, dipping your brush back into the soapy water frequently to ensure you are using clean suds. If you encounter a tough stain on the fabric, apply a tiny drop of soap directly to the brush and work it into that specific spot with patience rather than brute force. It is important to support the shoe from the inside with your other hand while you scrub; this provides a firm surface and prevents the upper from collapsing under the pressure of the brush. Continue this process until you have covered the entire exterior surface of both shoes, ensuring that the color looks revitalized and the greyish tint of dust is gone.
Step 5: Rinse Thoroughly
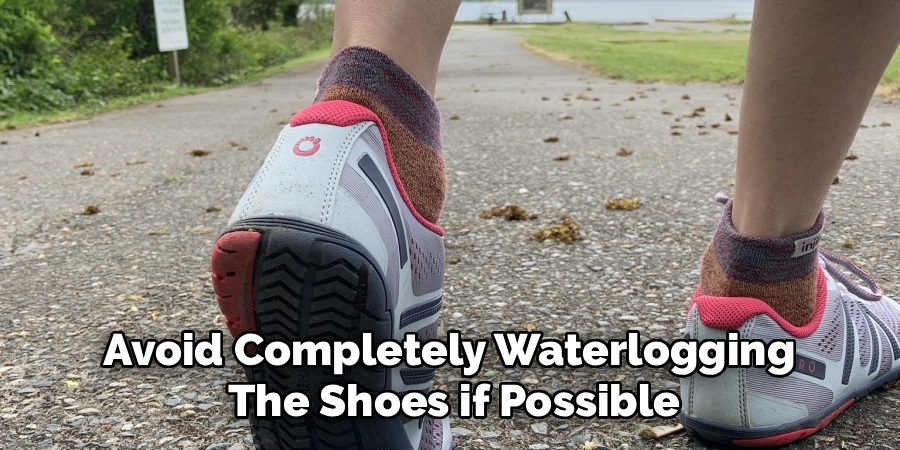
Once you are satisfied with the scrubbing, you must remove all traces of soap from the shoes. Soap residue left in the fabric can actually attract more dirt later or cause skin irritation when you wear the shoes again. The best way to rinse Xero Shoes is to use a wet sponge or a clean cloth dipped in plain, cold water. Wipe down the soapy areas repeatedly until no more suds appear. Alternatively, you can hold them under a gentle stream of cool water from a faucet, but try to avoid completely waterlogging the shoes if possible.
Pay special attention to the mesh areas where soap likes to get trapped deep within the fibers. Rinse, squeeze the fabric gently (do not wring or twist the shoe), and repeat until the water runs clear. Thorough rinsing restores the breathability of the mesh and ensures the materials remain soft and flexible. If you used baking soda, ensure no gritty powder remains in the crevices of the sole or the interior lining. A proper rinse is the difference between a shoe that feels fresh and one that feels stiff and crunchy once it dries.
Step 6: Dry Your Shoes Properly
Drying is perhaps the most critical step to prevent damage and mold growth. Never, under any circumstances, put your Xero Shoes in a mechanical clothes dryer. The high heat will shrink the materials, warp the rubber soles, and dissolve the adhesives, ruining your shoes instantly. Instead, place your shoes in a well-ventilated area away from direct sunlight and direct heat sources like radiators. Sunlight can fade the colors and make the rubber brittle over time. A shaded porch or a breezy room is the ideal location for drying.
To help the shoes dry faster and maintain their shape, stuff them tightly with crumpled newspaper or plain paper towels. The paper acts as a wick, drawing moisture out from the inside of the shoe while holding the upper fabric in its proper form. Check the paper after a few hours; if it is soaked, replace it with fresh dry paper. This technique significantly speeds up the drying time. Depending on the humidity and temperature, your shoes may take anywhere from 12 to 24 hours to dry completely. Be patient and wait until they are fully dry before reassembling them.
Step 7: Reassemble and Protect
Once your shoes, laces, and insoles are completely dry to the touch, it is time to put everything back together. Re-insert the insoles, making sure they sit flat and reach all the way to the toe box without bunching up. Relace your shoes, which gives you a great opportunity to try a new lacing pattern if you want to adjust the fit. At this stage, your Xero Shoes should look refreshed, smell clean, and be ready for your next run or hike.
As a final proactive step, you might consider applying a water-repellent spray designed for synthetic materials. This is optional but highly recommended if you often wear your shoes in damp conditions. A light coating of protective spray can help repel dirt and water in the future, keeping your shoes cleaner for longer and making the next cleaning session much easier. Ensure the spray is compatible with the specific materials of your Xero Shoes model. With this final touch, your maintenance routine is complete, and your minimalist footwear is fully restored and protected.
Following these steps on how to clean Xero shoes will not only help maintain the appearance of your footwear but also prolong its lifespan. By regularly cleaning and conditioning your shoes, you can prevent damage caused by dirt, stains, and other elements. This will save you money in the long run by avoiding the need to replace your shoes sooner than expected.
Tips for Beginners
If you are new to cleaning minimalist footwear, the most important thing to remember is that less is more when it comes to force and chemicals. Treat your Xero Shoes like a specialized piece of gear rather than a generic sneaker. Always test any cleaning product on a small, inconspicuous area first to ensure it doesn’t discolor the fabric.
Using a toothbrush is a pro tip for beginners because it allows for precision cleaning around the toe cap and heel without being too abrasive. Additionally, keeping a regular schedule—such as a quick wipe-down every two weeks—prevents dirt from becoming deeply embedded, making the deep cleaning process much less daunting when you finally get around to it. Consistency is key to longevity.
Common Mistakes to Avoid
One of the most frequent mistakes people make is using hot water, which can compromise the glue and warp the FeelTrue® soles permanently. Another major error is throwing Xero Shoes into a washing machine; the agitation is often too rough for the lightweight construction and can damage the mesh.
Avoid using bleach or heavy-duty stain removers, as these harsh chemicals can degrade the vegan materials and weaken the fabric over time. Finally, never rush the drying process with a hairdryer or heater, as intense heat is the enemy of minimalist footwear longevity.
How Much Will It Cost?
The beauty of cleaning Xero Shoes yourself is that it is incredibly cost-effective. You likely already have most of the necessary materials in your home. A basic soft-bristled brush or toothbrush costs less than $5, and a bottle of mild dish soap is usually around $3 to $4. If you choose to use baking soda for deodorizing, a box costs roughly $1.
Therefore, the total cost for a cleaning session is negligible, often totaling less than $10 for supplies that will last for many washes. Compared to the cost of replacing a pair of high-quality minimalist shoes, investing a few dollars in cleaning supplies is a smart financial decision that protects your investment.
Frequently Asked Questions
Q1: How Often Should I Clean My Xero Shoes?
A1: The frequency of cleaning depends entirely on how heavily you use them and the terrain you traverse. For daily use in urban environments, a deep clean once every month is usually sufficient to keep them looking fresh. However, if you use them for trail running or hiking in muddy conditions, you should rinse off the mud immediately after every run and perform a deep clean with soap whenever they start to smell or look visibly grimy. Regular maintenance prevents dirt buildup that can abrade the fabric.
Q2: Can I Put My Xero Shoes In The Washing Machine?
A2: While some users claim success with this method, it is generally not recommended by experts for the longevity of the shoe. The mechanical agitation of a washing machine can be too aggressive for the lightweight materials and flexible soles, potentially causing the upper to tear or the structure to warp. Hand washing with a soft brush allows you to control the pressure and target dirty areas specifically, without subjecting the entire shoe to unnecessary stress. It is always safer to stick to the hand-washing method described above.
Conclusion
Cleaning your Xero Shoes does not have to be a complicated or expensive chore. By understanding the materials and following a gentle, consistent cleaning routine, you can ensure your footwear remains comfortable, durable, and ready for whatever path you choose to take.
Remember to avoid harsh heat and chemicals, and prioritize hand washing to protect the integrity of the minimalist design. With just a little bit of effort and the right tools, your Xero Shoes will continue to support your natural movement for miles to come. Thanks for reading this guide on how to clean Xero shoes.
About
As the lead voice behind Shoenify, I bridge the gap between footwear aesthetics and technical performance. With a career dedicated to the intersection of fashion and function, I provide readers with data-driven reviews and deep dives into the global footwear market. My mission is to help every reader find the perfect fit, whether they are hitting the track or the boardroom.
Education RMIT University
-
RMIT University: Bachelor of Design (Footwear & Accessories)
-
Nottingham Trent University: MA in Fashion Design (Specializing in Footwear Innovation)
Publications and Impact
My insights on footwear trends and sustainable manufacturing have been featured in leading industry trade journals. Through Shoenify, I have influenced thousands of purchasing decisions by prioritizing transparency and rigorous testing. My work focuses on the evolution of “smart” footwear and the impact of 3D printing on the future of the industry.