
Learning to use clipless pedals can seem intimidating, but it is a fundamental skill that unlocks greater efficiency and control on your bike. By physically connecting your shoe to the pedal, you can generate power throughout the entire pedal stroke, not just on the downstroke. This connection provides a more stable and powerful platform for everything from casual rides to competitive racing.

This guide on how to clip in bike shoes will walk you through the entire process, from understanding the mechanics to mastering the technique. We will cover the necessary equipment, a detailed step-by-step process for clipping in and out, and essential tips for safety and maintenance. With a bit of practice, clipping in will become second nature, transforming your cycling experience.
Understanding Clipless Pedals and Cleats
Clipless pedals are a system composed of special pedals and cleats that attach to the soles of your cycling shoes. The term “clipless” can be confusing, as you are, in fact, clipping into the pedal. The name originates from the fact that they replaced older-style toe clips and straps. This modern system allows you to engage the pedal by simply pressing your foot down and disengage by twisting your heel outwards, creating a secure and efficient connection.
The primary benefit is improved pedaling efficiency. When your feet are attached to the pedals, you can pull up on the upstroke as well as push down, engaging more muscle groups and producing a smoother, more powerful rotation. This also enhances bike handling by keeping your feet securely in place over rough terrain, preventing them from slipping off the pedals. Understanding this mechanism is the first step toward gaining confidence and proficiency.
Tools and Materials You’ll Need
In order to install clipless pedals on your bike, you will need a few tools and materials. These include:
- Clipless pedals (with cleats)
- Allen keys or a multi-tool
- Grease
- A clean rag
- Optional: pedal wrench for installation/removal of pedals
7 Simple Step-By-Step Guidelines on How to Clip in Bike Shoes
Step 1: Install and Position Your Cleats Correctly
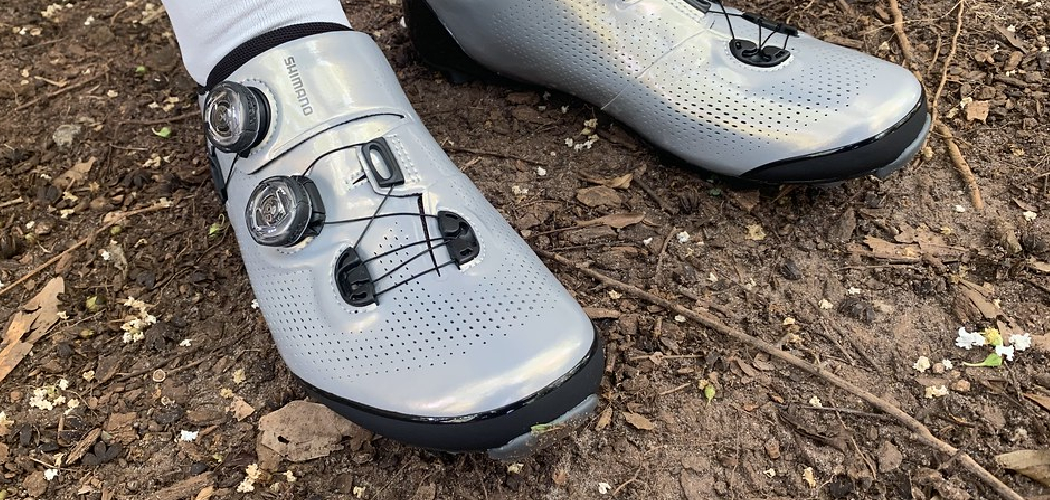
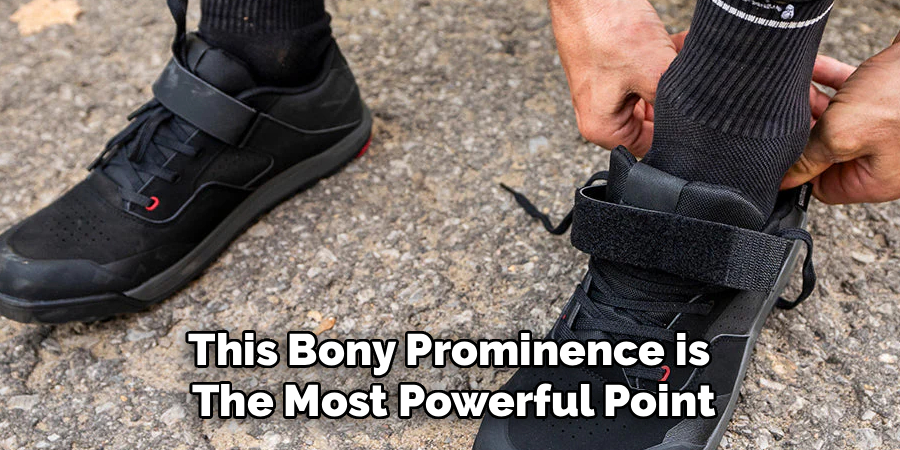
Proper cleat placement is crucial for comfort, efficiency, and injury prevention. Start by sitting on a chair and noting the natural angle of your feet. Your goal is to replicate this position on the pedals. Loosely attach the cleats to the bottom of your cycling shoes using the provided bolts. The standard starting position is to align the center of the cleat directly under the ball of your foot. This bony prominence is the most powerful point for transferring energy to the pedal.
Once you have a baseline position, you can make fine-tuned adjustments. If your feet naturally point outwards, you may need to angle the nose of the cleat slightly inward, and vice versa. Sit on your bike (ideally on a trainer) and clip in and out a few times to see how it feels. You should not feel any twisting or strain in your knees or ankles. Make small, incremental adjustments until you find a position that feels neutral and comfortable during the entire pedal stroke. Tighten the bolts securely once you are satisfied.
Step 2: Set the Pedal Tension
Most clipless pedals have an adjustment screw that controls the tension of the release mechanism. This determines how much force is required to clip in and out. For beginners, it is highly recommended to set the tension to the lowest possible setting. You can usually find the adjustment screw on the rear of the pedal body, often marked with “+” and “-” symbols. Turn the screw towards the “-” symbol to decrease the tension, making it much easier to disengage your foot.
Having a low tension setting builds confidence, as you can easily get your foot out when you need to, reducing the fear of falling over while you learn. As you become more experienced and comfortable with the motion, you can gradually increase the tension. A higher tension provides a more secure connection, which is beneficial for aggressive riding or sprinting, as it prevents accidental unclipping. For now, prioritize ease of release over a locked-in feel.
Step 3: Practice in a Safe, Stationary Position
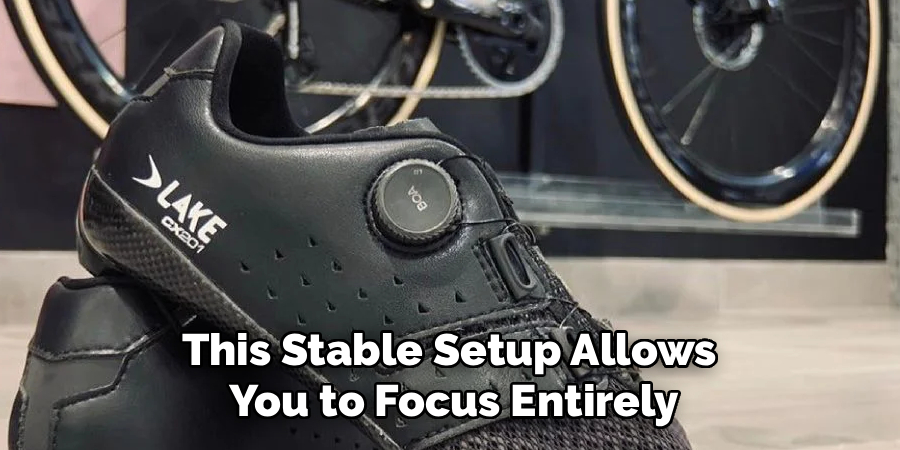
Before you hit the road, practice clipping in and out while stationary. The safest way to do this is with your bike mounted on an indoor trainer. If you don’t have a trainer, find a wall, fence, or sturdy railing you can lean against for support. Stand over your bike, hold onto the support with one hand, and apply the brakes. This stable setup allows you to focus entirely on the mechanics of clipping in without the added challenge of balancing.
Focus on one foot at a time. Look down at the pedal and practice the motion repeatedly. The goal is to build muscle memory so you can eventually do it without looking. Practice clipping in, then immediately practice clipping out by twisting your heel away from the bike. Repeat this process 20-30 times on each foot. This repetition is key to making the action feel automatic and intuitive. Don’t rush this step; the more comfortable you are here, the safer you will be on the road.
Step 4: Master the “Scoop and Press” Technique
To clip in, start with your pedal in the 6 o’clock position (straight down). Rest the front of your cleat on the forward edge of the pedal. You are aiming to hook the front “lip” of the cleat into the corresponding part of the pedal mechanism. Think of it as a small scoop motion. Once you feel the front of the cleat engage, let your foot become level and apply firm, downward pressure with your heel. You should hear and feel a distinct “click” as the rear mechanism of the pedal snaps shut over the cleat.
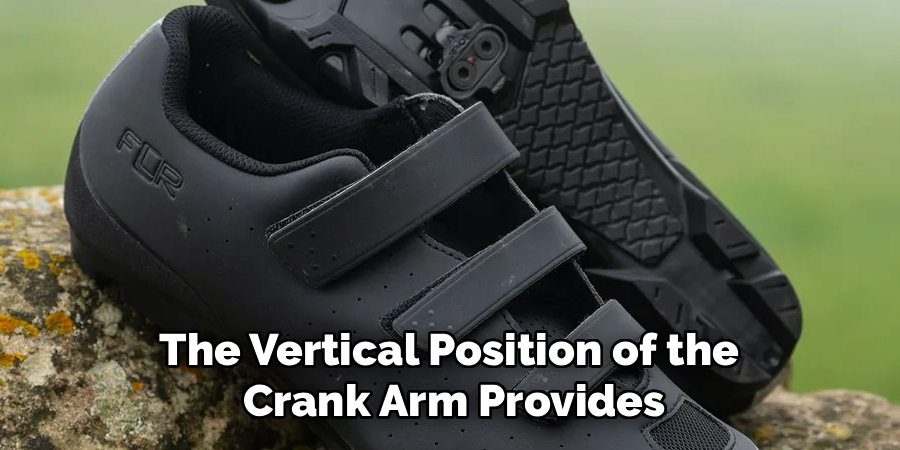
This “scoop and press” technique becomes more fluid with practice. At first, you might need to look down to guide your foot, but your objective is to do it by feel alone. If you don’t succeed on the first try, don’t panic. Simply lift your foot, reset, and try again. Ensure your crank arm is not in the 12 o’clock position, as it’s nearly impossible to generate enough downward force from there. The vertical position of the crank arm provides the leverage you need to engage the pedal.
Step 5: Practice the Heel-Out Twist to Unclip
Unclipping is arguably the more critical skill to master for safety. The motion is a sharp, decisive twist of your heel away from the bike, as if you are squashing a bug on the ground next to your rear wheel. It’s a pivot motion, where the ball of your foot stays relatively fixed over the pedal while your heel moves outward. The tension you set in Step 2 will determine how much force is needed, but the movement itself is the same across all systems.
Practice this motion while stationary until it becomes a reflex. It is crucial to remember that you cannot pull your foot straight up to release it; this is a common beginner mistake that leads to panic. The outward twist is the only way to disengage the cleat. As you practice, try to initiate the unclipping motion before you need to stop. Anticipating your stops is a key habit that will prevent you from tipping over when you’re riding in traffic or approaching a stop sign.
Step 6: Get Moving in a Controlled Environment
Once you feel confident clipping in and out while stationary, it’s time to practice while moving. Find a large, empty, and flat area, such as a vacant parking lot, a quiet park path, or a cul-de-sac. This gives you plenty of space to ride without worrying about traffic, pedestrians, or obstacles. Start by pushing off and coasting for a few feet to gain some momentum and balance before attempting to clip in your first foot.
Ride in slow, straight lines, and practice clipping your dominant foot in and out while the bike is rolling. Then, switch to your non-dominant foot. The key is to always keep one foot unclipped and ready to put down when you anticipate stopping. As you coast to a stop, unclip one foot early and get it ready. Always unclip the same foot so it becomes a habit. Ride around, making wide turns and practicing stopping and starting, clipping and unclipping, until the entire sequence feels smooth and natural.
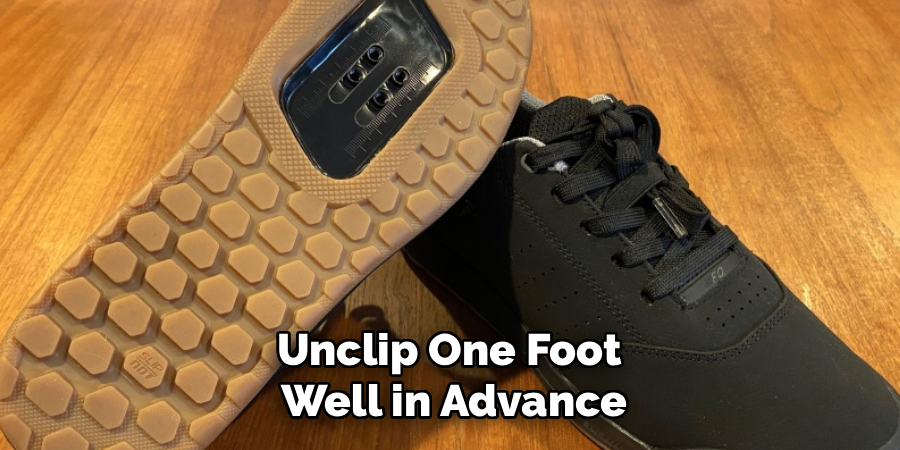
Step 7: Anticipate Your Stops and Unclip Early
This is the golden rule of clipless pedals. The most common reason for a slow-motion fall is forgetting to unclip when coming to a stop. To avoid this, you must train yourself to think ahead. As you approach a stop sign, traffic light, or any situation where you might need to put a foot down, unclip one foot well in advance. Coast the final few feet to your stopping point with that foot free and ready.
It’s best to develop a habit of always unclipping the same foot. Most people find it natural to unclip their dominant foot, but it doesn’t matter which one you choose as long as you are consistent. This reflexive action will save you from the dreaded “clipless fall.” As you become more experienced, the time you need to unclip will decrease, but the principle of anticipation remains the same. Always be prepared to stop, and you will stay upright.
Following these steps on how to clip in bike shoes correctly can help improve your overall cycling experience. Not only will it make riding more comfortable and efficient, but it also creates a safer environment for yourself and others on the road.
Tips for Beginners
Learning to use clipless pedals is a journey. Start with your pedal tension on the lowest setting to make unclipping as easy as possible. When you start riding on the road, choose quiet routes with minimal traffic and few intersections. Always unclip one foot much earlier than you think you need to when approaching a stop.
Remember that every cyclist who uses clipless pedals has likely fallen over at least once while learning. Don’t be discouraged if it happens to you; it’s a rite of passage. Focus on building muscle memory through repetition, and soon it will become second nature.
Common Mistakes to Avoid
The most frequent error is forgetting to unclip when stopping, leading to a slow, awkward fall. Another mistake is trying to pull your foot straight up instead of twisting your heel outward to release. Avoid setting your pedal tension too high when you are just starting.
Also, be careful not to install your cleats in a position that causes knee pain. Finally, do not wait until you are completely stopped to try and unclip; do it while you still have forward momentum.
Maintenance and Care
To ensure your clipless system works smoothly and safely, regular maintenance is essential. Keep your cleats and pedals clean, especially if you ride in muddy or dusty conditions. After a dirty ride, use a brush and water to scrub away any debris that could interfere with the engagement mechanism.
Periodically check that your cleat bolts are tight, as they can loosen over time with vibration. It’s also a good idea to apply a small amount of dry lubricant to the pedal’s spring mechanism to keep it functioning smoothly and prevent rust.
Safety and Comfort Tips
Your safety and comfort are paramount. Double-check your cleat position to ensure it’s ergonomic and doesn’t cause strain on your knees, ankles, or hips. If you experience persistent pain, consider getting a professional bike fit.
When riding in traffic, be extra cautious and unclip early when approaching intersections. Practice emergency stops in a safe area to build the reflex of unclipping quickly. Wear a helmet on every ride, and be aware of your surroundings at all times.
Frequently Asked Questions
Q1: What Is the Difference Between Road and Mountain Bike Pedals?
A1: The primary difference lies in the design and functionality tailored for different types of riding. Road bike pedals are typically one-sided and larger, offering a wide, stable platform for maximum power transfer on pavement. They use a three-bolt cleat system. Mountain bike pedals, on the other hand, are usually dual-sided, making it easier to clip in on uneven terrain. They use a smaller, two-bolt cleat that is recessed into the shoe’s sole, allowing for easier walking and mud-shedding capabilities.
Q2: How Do I Know if My Cleats Are Worn Out and Need Replacing?
A2: Cleats are made from plastic and wear down over time. You will know it’s time for a replacement when clipping in or out becomes difficult, sloppy, or inconsistent. Visually inspect your cleats for significant wear, especially on the front and rear engagement points. Many cleats also have wear indicators that disappear when it’s time for a new pair. If your foot feels loose or disengages unintentionally while riding, you should replace your cleats immediately for safety.
Conclusion
Learning how to clip in and out of bike shoes is a skill that will fundamentally improve your connection to your bike and your overall performance. While it requires patience and practice, the benefits of increased power, efficiency, and control are well worth the effort.
By following these steps on how to clip in bike shoes, starting slow in a safe environment, and always anticipating your stops, you can build the confidence and muscle memory needed to master clipless pedals. Soon, the motion will become an unconscious reflex, and you’ll wonder how you ever rode without them.
About
As the lead voice behind Shoenify, I bridge the gap between footwear aesthetics and technical performance. With a career dedicated to the intersection of fashion and function, I provide readers with data-driven reviews and deep dives into the global footwear market. My mission is to help every reader find the perfect fit, whether they are hitting the track or the boardroom.
Education RMIT University
-
RMIT University: Bachelor of Design (Footwear & Accessories)
-
Nottingham Trent University: MA in Fashion Design (Specializing in Footwear Innovation)
Publications and Impact
My insights on footwear trends and sustainable manufacturing have been featured in leading industry trade journals. Through Shoenify, I have influenced thousands of purchasing decisions by prioritizing transparency and rigorous testing. My work focuses on the evolution of “smart” footwear and the impact of 3D printing on the future of the industry.