
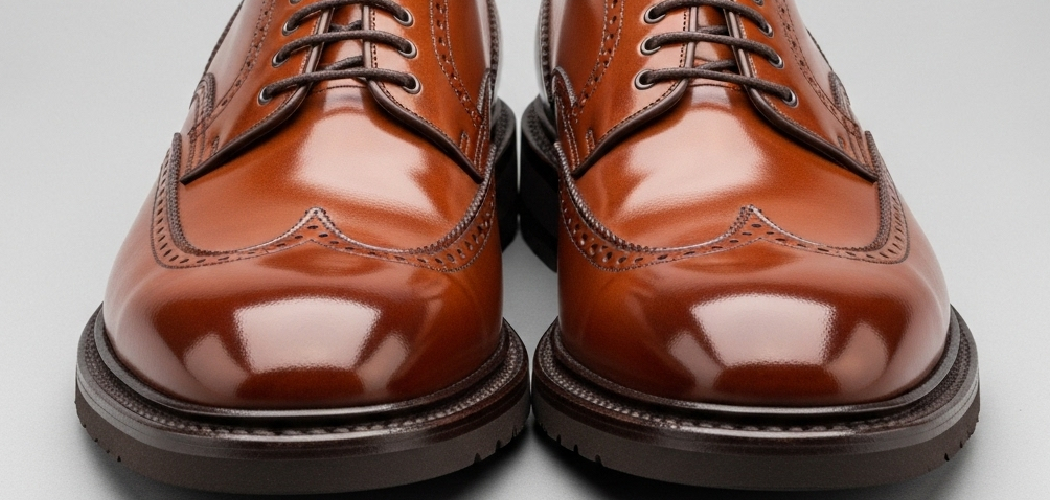
We have all been there. You look at that pair of shoes in the back of your closet—the ones that fit perfectly but are the wrong color, or perhaps scuffed beyond simple repair. You almost toss them out, but something stops you. What if you could just change the color?
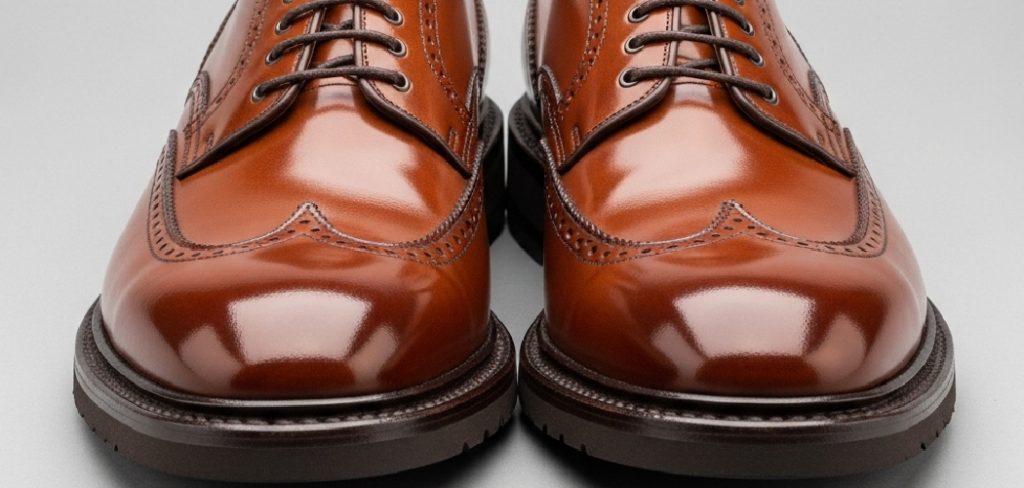
Revamping your footwear is easier than you think. While real leather gets a lot of attention in the crafting world, faux leather (often made of vinyl or polyurethane) is entirely customizable, too. With the right preparation and materials, you can transform a drab pair of synthetic boots or heels into a custom statement piece.
This guide walks you through exactly how to dye faux leather shoes, turning a weekend afternoon into a creative breakthrough.
What are the Benefits?
Taking a DIY approach to your footwear offers more than just a fun activity. Here is why you should consider dyeing your shoes instead of buying new ones:
- Total Personalization: Store-bought options are limited to seasonal trends. When you dye your own shoes, you can mix custom colors to match a specific outfit or create a unique design that no one else owns.
- Cost-Effectiveness: A bottle of high-quality leather dye or paint costs a fraction of the price of a new pair of quality shoes. You save money by upcycling what you already own.
- Sustainability: The fashion industry generates massive amounts of waste. By extending the life of your current shoes rather than discarding them, you reduce your environmental footprint and keep synthetic materials out of landfills.
What Will You Need?
Before you begin, gather these supplies. Faux leather requires specific products because, unlike real leather, which absorbs dye, synthetic leather is non-porous. You are essentially creating a flexible bond on top of the material.
- Acrylic Leather Dye/Paint: Ensure it is formulated for synthetic or vinyl surfaces (brands like Angelus are popular).
- Preparer or Deglazer: Acetone can work, but a specific preparer is safer for faux materials.
- Cotton Rounds or Rags: For cleaning and deglazing.
- Paint Brushes: A mix of sizes (flat shader for broad areas, fine tip for edges).
- Masking Tape or Painter’s Tape: To protect soles and interiors.
- Acrylic Finisher: To seal the color and prevent peeling.
- Hair Dryer (Optional): To speed up drying time between coats.
- Newspaper or Drop Cloth: To protect your work surface.
10 Easy Steps on How to Dye Faux Leather Shoes
Step 1: Clean the Shoes Thoroughly
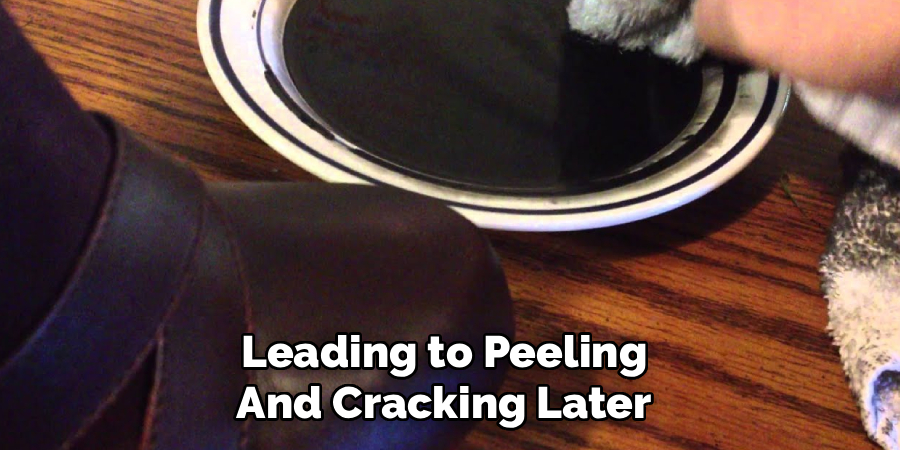
The most critical part of this entire process happens before you even open a bottle of dye. Your shoes have likely accumulated dust, dirt, invisible oils from your hands, and perhaps even wax or polish from previous care attempts. If you paint over this debris, the dye will bond to the dirt rather than the shoe, leading to peeling and cracking later.
Take a damp cloth and wipe down the entire surface of the shoe. If there is stubborn mud on the soles or welts, use an old toothbrush to scrub it away. Dry them completely with a clean towel. Do not rush this step; a clean canvas is the only way to ensure a professional-looking result.
Step 2: Set Up Your Workspace
Dyeing shoes can get messy quickly. If you spill acrylic leather dye on your carpet or wooden table, it is incredibly difficult to remove. Lay down several layers of newspaper or a dedicated drop cloth on a flat, stable table.
Ensure you are working in a well-ventilated area. While water-based acrylic dyes are generally low-odor, the preparer and finisher can have stronger fumes. Good lighting is also essential. You need to be able to see the texture of the shoe clearly to spot streaks or missed patches. Set up all your tools within arm’s reach so you aren’t scrambling for a brush while the paint is drying.
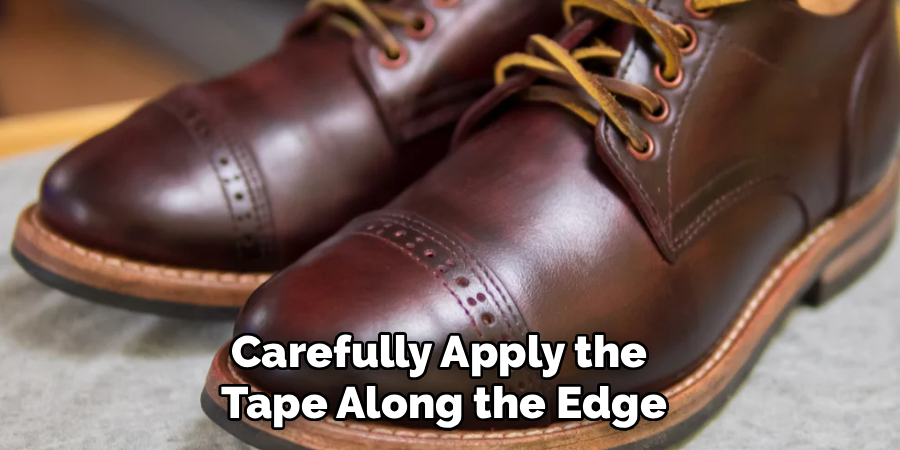
Step 3: Protect the Soles and Hardware
Unless you plan on dyeing the soles of your shoes (which is not recommended as paint often chips off rubber soles quickly), you need to mask them off. Use high-quality painter’s tape or masking tape.
Carefully apply the tape along the edge where the shoe upper meets the sole. Press the tape down firmly with your fingernail or a plastic card to ensure there are no air bubbles where dye could seep through. If your shoes have buckles, zippers, or grommets that you want to keep original, tape those off as well. Stuff the inside of the shoes with newspaper or rags. This keeps the shoe rigid, making it easier to paint, and protects the lining from accidental drips.
Step 4: Deglaze the Surface
Faux leather comes from the factory with a protective finish or glaze. This finish is designed to repel water and dirt, which means it will also repel your dye. You must remove this factory finish to allow the new color to adhere.
Pour a small amount of leather preparer or deglazer onto a cotton pad. Rub the surface of the shoe briskly. You are not trying to scrub the “skin” off the shoe, but you should feel the texture change from slick and shiny to slightly tacky or matte. Be careful not to rub too hard, as faux leather is essentially plastic on fabric backing; you don’t want to damage the structure. Just focus on breaking that top seal.
Step 5: Mix Your Dye Thoroughly
Pigment in leather paints and dyes often settles at the bottom of the bottle. If you don’t mix it properly, the color will come out translucent and streaky, or the finish will be tacky and won’t dry right.
Shake the bottle vigorously for at least one full minute. If you are mixing two colors to create a custom shade, do this in a separate plastic cup or palette. Make more than you think you will need. It is nearly impossible to mix the same custom shade twice, and you don’t want to run out of dye halfway through the second shoe.
Step 6: Paint the Difficult Areas First
Do not start by slapping paint onto the toe box. Start with the details. Dip a small, fine-tipped brush into your dye. Paint along the seams, right next to the tape on the soles, around the eyelets, and near any buckles.
These areas are hard to reach with a larger brush or sponge. By tackling them first, you ensure you get full coverage in the nooks and crannies without worrying about overworking the larger flat areas later. Keep this layer thin; you aren’t trying to get perfect opacity yet, just establishing the boundaries.
Step 7: Apply the First Main Coat
Switch to a flat shader brush (a wide, flat brush) or a high-density sponge. Apply the dye to the main parts of the shoe using long, smooth strokes. The golden rule here is thin layers.
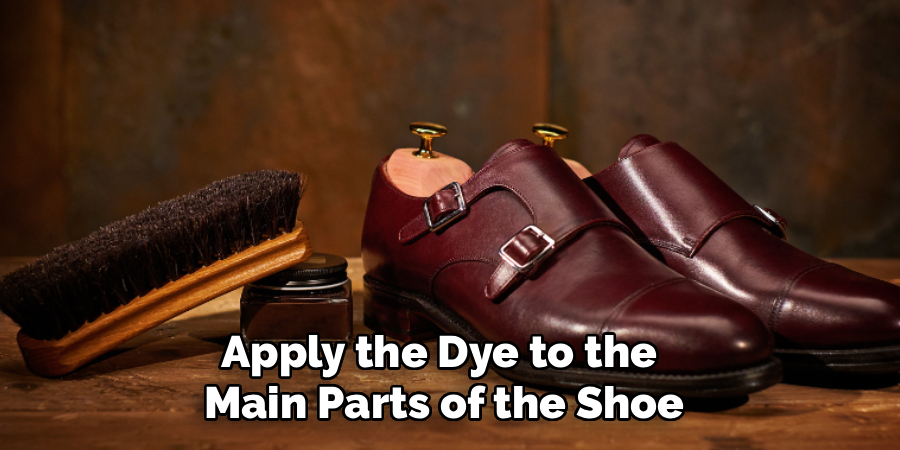
Your first coat will likely look terrible. It will be streaky, and the original color might show through. Do not panic, and do not pile on thick globs of paint to try to hide it. Thick layers of acrylic dye will crack when the shoe flexes as you walk. Accept that the first coat is just a base layer. Keep it smooth and avoid leaving thick ridges of paint at the edges of your brush strokes.
Step 8: Let It Dry (and Repeat)
Patience is your best tool here. Let the first coat dry completely. It should be dry to the touch and not tacky. You can use a hair dryer on a low, cool setting to speed this up, but keep it moving so you don’t overheat the faux leather.
Once dry, apply your second coat. You should move in the same direction as the first coat to minimize cross-hatching marks. Depending on the color change (especially if going from black to white), you may need 3 to 5 thin coats. Light colors cover poorly over dark surfaces, so build up the opacity slowly. Check for any missed spots or unevenness between layers.
Step 9: Apply the Finisher
Once you are satisfied with the color depth and coverage, let the shoes dry for at least a few hours. Now, you must seal your work. Acrylic finisher protects the paint from scratches and adds your desired level of shine (matte, satin, or gloss).
Apply the finisher just like you did the dye: in thin, even layers. Use a clean brush or a fresh sponge. Do not shake the finisher bottle too vigorously, as this can create air bubbles that dry into the finish. A gentle stir is better. One or two coats of finisher are usually sufficient to lock in the color.
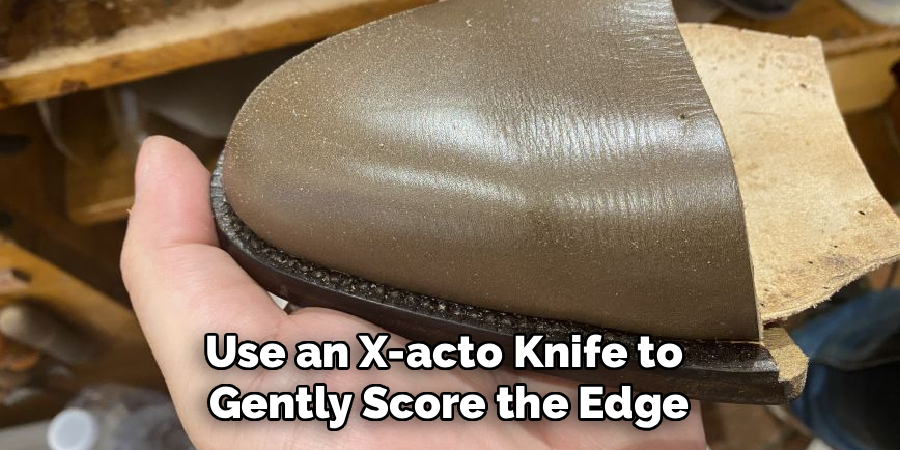
Step 10: The Final Cure
You are done painting, but you aren’t ready to wear them yet. Remove the masking tape carefully. Pull the tape away from the shoe at a 45-degree angle. If you see any paint peeling up with the tape, use an X-Acto knife to gently score the edge before pulling.
Now, let the shoes cure. “Drying” means the water has evaporated; “curing” means the chemical bond has fully hardened. Leave the shoes in a cool, dry place for at least 24 hours (48 is better) before wearing them. This ensures the dye is fully flexible and won’t scuff the first time you step out the door.
5 Things You Should Avoid
- Skipping the Prep Work: Never paint directly onto the shoe without cleaning and deglazing. The paint will peel off in sheets within days if it cannot bond to the surface.
- Using Thick Layers: Avoid slathering on thick coats of dye to save time. Thick acrylic cracks immediately when the shoe bends. Multiple thin layers are the only way to achieve durability.
- Using Standard Craft Paint: Do not use generic craft store acrylics. You must use paints specifically formulated for leather and vinyl, which contain flexible polymers that move with the shoe.
- Painting Rubber Soles: Avoid painting the rubber mid-soles or outsoles unless you have a specialized primer. Standard leather dye will chip off rubber surfaces very quickly.
- Rushing the Drying Time: Don’t wear the shoes immediately after they feel dry to the touch. The curing process takes 24 hours; wearing them too soon will ruin the finish.
Conclusion
Dyeing faux leather shoes is one of the most rewarding DIY fashion projects you can undertake. It allows you to rescue tired footwear and express your personal style without breaking the bank.
By following these steps—prioritizing preparation, using thin layers, and allowing proper cure time—you can achieve a factory-level finish that looks professional and lasts for years. Gather your supplies and give those old shoes a second chance to shine.
Hopefully, this guide on how to dye faux leather shoes has provided you with the knowledge and confidence to take on your own faux leather dyeing project.
About
As the lead voice behind Shoenify, I bridge the gap between footwear aesthetics and technical performance. With a career dedicated to the intersection of fashion and function, I provide readers with data-driven reviews and deep dives into the global footwear market. My mission is to help every reader find the perfect fit, whether they are hitting the track or the boardroom.
Education RMIT University
-
RMIT University: Bachelor of Design (Footwear & Accessories)
-
Nottingham Trent University: MA in Fashion Design (Specializing in Footwear Innovation)
Publications and Impact
My insights on footwear trends and sustainable manufacturing have been featured in leading industry trade journals. Through Shoenify, I have influenced thousands of purchasing decisions by prioritizing transparency and rigorous testing. My work focuses on the evolution of “smart” footwear and the impact of 3D printing on the future of the industry.