

We all have that one pair of Ugg boots we simply cannot part with. They are the ultimate comfort footwear, molding perfectly to our feet after seasons of wear. However, the downside of loving a pair of boots so much is that they inevitably start to look tired. The once-vibrant sheepskin fades, stubborn water stains appear, or perhaps you are just bored with the original chestnut color.
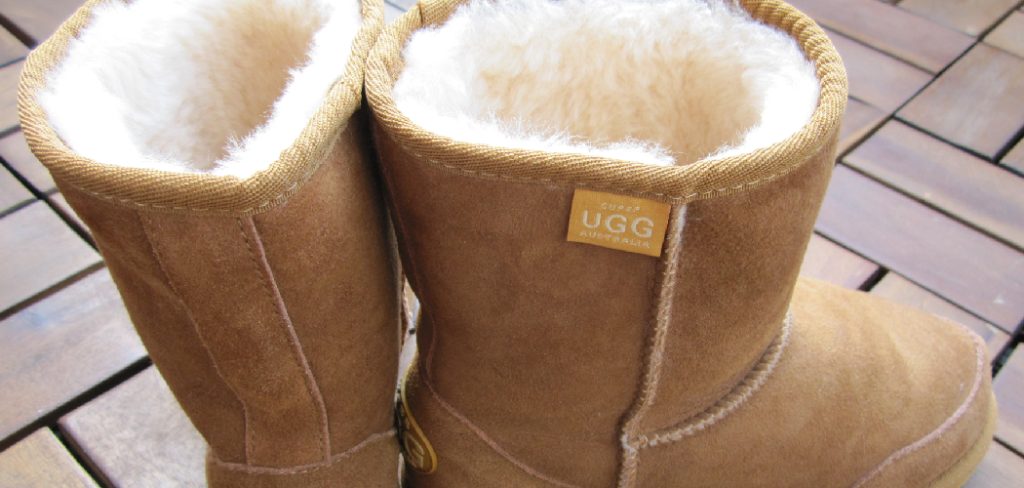
Instead of spending hundreds of dollars on a brand-new pair, why not embark on a creative DIY project? Refreshing your footwear with a new hue is surprisingly accessible and can completely transform their appearance. This process allows you to cover up unsightly scuffs and stains while customizing your style. Whether you want to restore the original color or go bold with a deep black or rich chocolate, learning how to dye ugg boots is the perfect way to extend the lifespan of your favorite winter staples.
Dyeing your UGG boots at home might seem like a challenge, but with the right tools and steps, it’s a straightforward process that anyone can master. Not only does this method keep your boots looking fresh, but it also allows you to experiment with new shades and breathe life into a well-loved pair. Plus, it’s an eco-friendly way to reduce waste and make the most out of your wardrobe staples. Before you get started, it’s important to gather all the necessary materials and prepare your boots for the dyeing process.
Materials Needed
- Leather dye (in desired color)
- Leather cleaner or rubbing alcohol
- Cotton balls or soft cloth
- Paintbrush or sponge applicator
- Paper towels
- Old newspapers or plastic sheets (to protect work surface)
- Optional: Leather conditioner or sealer
7 Step-by-Step Guide on How to Dye Ugg Boots
Step 1:Clean the Boots Thoroughly
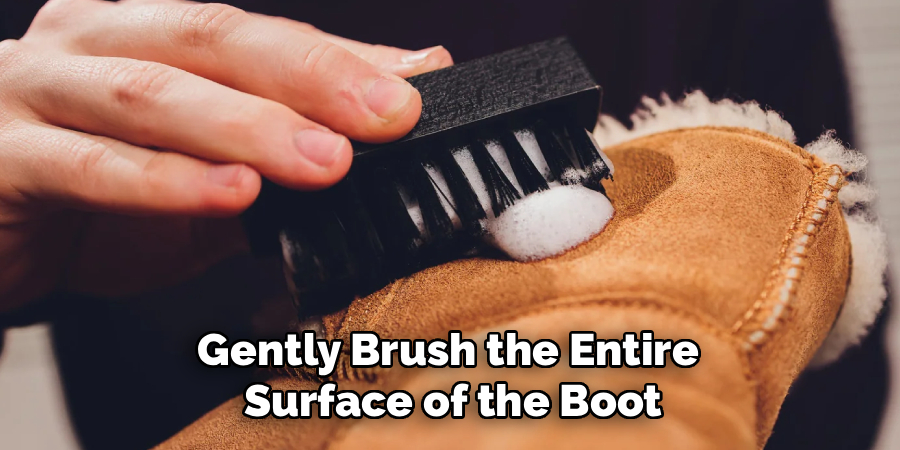
Before you even think about applying color, you must start with a clean canvas. Dye will not adhere evenly to dirt, grease, or existing water protector sprays. Begin by using a dedicated suede or nubuck cleaner and a stiff bristle brush. Gently brush the entire surface of the boot to remove loose dust and dried mud.
Apply the cleaner according to the package instructions, usually by dampening the surface slightly and scrubbing gently. Pay close attention to the seams and the toe area where grime tends to accumulate. If your boots have been treated with a water-repellent spray in the past, you may need to be extra thorough to break down that barrier. Allow the boots to dry completely in a cool, shaded area away from direct heat sources before moving on.
Step 2: Choose the Right Dye and Gather Supplies
Selecting the correct dye is crucial for the success of your project. You cannot use standard fabric dye intended for cotton or polyester; you need a specialized suede or leather dye. These are often alcohol-based or oil-based to penetrate the dense sheepskin fibers without ruining the texture. You will also need wool daubers or a sponge applicator, masking tape, rubber gloves to protect your hands, and plenty of newspaper or a drop cloth to protect your work surface. Since sheepskin is absorbent, ensure you buy enough dye; one bottle might not be enough for a pair of tall boots. Having all your materials laid out and ready will prevent panic midway through the process and ensure a smooth application.
Step 3: Protect the Soles
One of the hallmarks of a professional-looking dye job is clean edges. You want the dye on the suede, not on the rubber soles or the branding labels on the heel. Take your time with this step, as it is difficult to fix mistakes later. Use high-quality masking tape or painter’s tape to carefully cover the side edges of the soles.
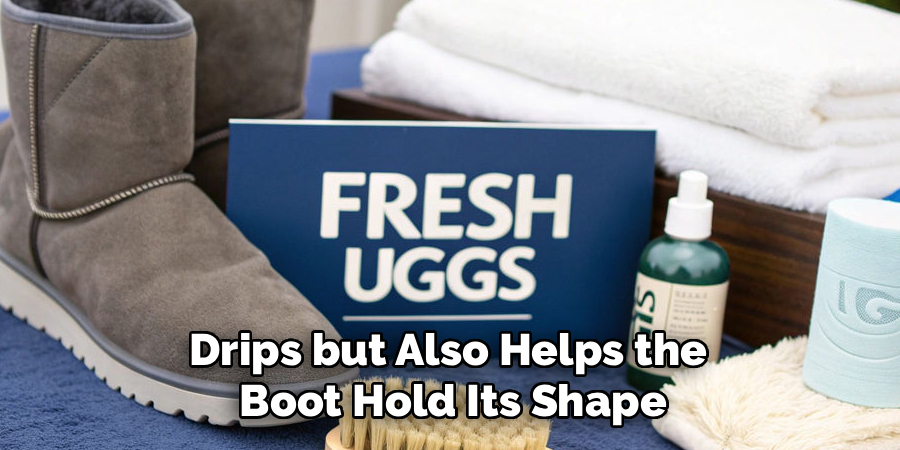
Press the tape firmly against the rubber to ensure no dye can seep underneath. If your boots have a sewn-on Ugg label on the heel that you want to preserve, tape over that as well. Stuff the inside of the boots tightly with old rags or newspaper. This not only protects the fluffy interior lining from accidental drips but also helps the boot hold its shape, providing a firm surface for you to work on.
Step 4: Apply the First Coat of Dye
Now begins the transformation. Put on your rubber gloves and shake the dye bottle vigorously to mix the pigment. Dip your wool dauber or sponge into the dye, removing any excess to avoid drips. Start applying the dye in long, even strokes, working from the top of the boot shaft down towards the toe.
It is better to apply thin, consistent layers rather than one heavy, saturated coat. Work the dye into the nap of the sheepskin using circular motions if necessary to ensure full coverage, especially around seams and creases. Do not panic if the color looks uneven or streaky at first; suede is a natural material with variations in texture, and the color will even out as it dries and additional coats are applied.
Step 5: Apply Subsequent Coats
Once the first coat is dry to the touch—usually after about 15 to 20 minutes depending on the dye brand—assess the color depth. It is almost certain that you will need a second coat to achieve a rich, uniform hue. Repeat the application process, perhaps changing the direction of your strokes to catch any areas you might have missed the first time.
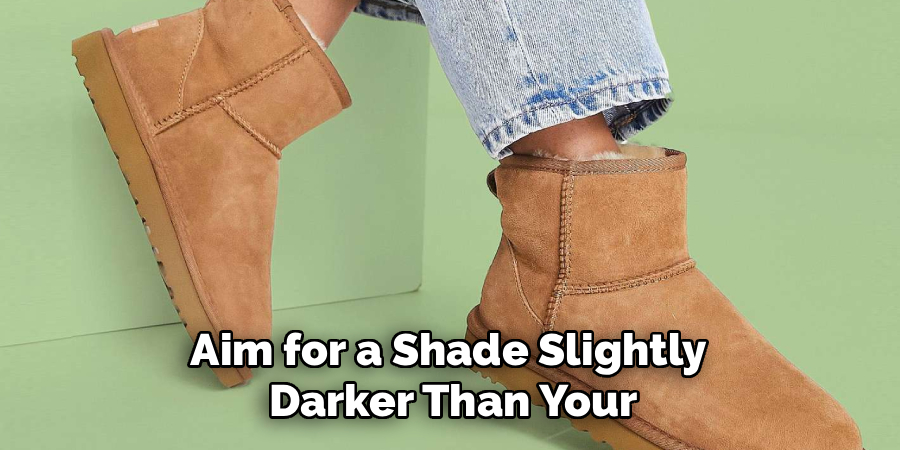
For example, if you applied vertical strokes initially, try horizontal ones for the second pass. This cross-hatching technique helps penetrate the fibers from all angles. Continue applying thin layers until you reach your desired shade. Remember that the color will look slightly lighter once the dye is fully dry, so aim for a shade slightly darker than your final goal.
Step 6: Allow the Boots to Dry Completely
Patience is the most important tool in your arsenal during this phase. After you are satisfied with the color coverage, place the boots in a well-ventilated area to dry. Ideally, let them sit for at least 24 hours. Do not try to speed up the process with a hair dryer, radiator, or direct sunlight.
Rapid heating can cause the natural leather to shrink, crack, or become stiff and uncomfortable. The dye needs time to set chemically into the fibers. While they are drying, keep the stuffing inside to maintain the shape. Leaving them undisturbed ensures the pigment bonds properly and reduces the risk of the color rubbing off on your clothes later.
Step 7: Brush the Nap and Seal the Color
After the boots are completely dry, the suede will likely feel stiff and the nap will be matted down from the liquid dye. To restore that signature soft, fuzzy texture, take a clean suede brush and vigorously brush the boots. Move the brush in multiple directions to lift the fibers and soften the leather.
This step also helps remove any excess pigment powder sitting on the surface. Finally, apply a suede protector or water-repellent spray. This seals in your new color and protects your hard work from future water damage and stains. Remove the masking tape from the soles, and your revitalized boots are ready to be worn.
Cleaning and Maintenance Tips
To keep your suede boots looking their best, regular cleaning and maintenance are essential. Begin by using a suede brush to remove dirt and debris after each wear. For tougher stains, consider using a specialized suede cleaner—apply it sparingly with a soft cloth and avoid soaking the material. Always allow the boots to air dry naturally, away from direct heat sources or sunlight, which can cause the suede to crack or fade.
For added protection, reapply a suede protector spray periodically, especially after exposure to water or rough conditions. When not in use, store your boots in a cool, dry place and use shoe inserts or tissue paper to help maintain their shape. By following these steps, your suede boots will stay looking fresh and vibrant for years to come.

Frequently Asked Questions (FAQs)
Can I Dye My Ugg Boots a Lighter Color?
Generally, no. Dye is transparent, meaning it adds color rather than painting over it. You can only dye suede to a darker shade than the original. For example, you can dye sand-colored boots chocolate brown or black, but you cannot turn black boots into a sand color. If you try to dye a dark boot a lighter color, the original dark pigment will show through, resulting in a muddy, uneven mess. Always choose a dye color that is deeper and richer than the current state of your boots.
Will the Dye Stain My Socks or Feet?
There is a risk of color transfer, especially if the excess dye wasn’t removed properly or if the boots get wet. To minimize this:
- Wipe them down: After the dye dries, wipe the surface with a cloth to pick up loose pigment.
- Use a sealant: A high-quality suede protector spray helps lock the color in.
- Avoid white socks: For the first few wears, stick to dark socks just in case there is some residual transfer.
What Type of Dye Is Best for Ugg Boots?
You specifically need a dye formulated for suede or nubuck leather. Popular brands like Angelus or Fiebing’s Suede Dye are industry standards. Do not use all-purpose fabric dyes (like Rit Dye) intended for cotton, as they require hot water baths that will ruin the leather and glue of the boots. Alcohol-based suede dyes penetrate well and dry quickly, making them a favorite for DIYers, but oil-based dyes can offer a richer finish and keep the leather softer.
How Do I Fix Uneven or Streaky Dye Jobs?
Streaks usually happen because the dye was applied unevenly or the boot wasn’t clean enough.
- Apply another coat: Often, a second or third coat will hide the inconsistencies.
- Use circular motions: Apply the dye in circles to work it into the fibers from all angles.
- Brush the nap: Sometimes the “streak” is just the nap laying in different directions. Brushing the dried boots vigorously can even out the appearance significantly.
Can I Dye the Inside Wool Lining?
Technically yes, but it is not recommended. The interior wool is very dense and difficult to dye evenly. More importantly, dyeing the inside guarantees that the dye will rub off onto your feet and socks every time you wear them, as heat and sweat will reactivate the pigment. It is best to tape off or avoid the interior entirely and focus only on the exterior suede skin to keep your feet clean and comfortable.
Conclusion
Taking on the project of dyeing your sheepskin boots is a rewarding way to practice sustainability and style simultaneously. Instead of discarding a perfectly comfortable pair of boots just because they look a little worn, you can give them a second life with a few simple tools and a bit of patience.
The key to success lies in thorough preparation—cleaning the surface well and protecting the soles—and applying the dye in thin, patient layers. By following these steps, you not only save money but also create a custom piece of footwear that looks brand new. Now that you have mastered how to dye ugg boots, you can confidently stride into the colder months with footwear that is as stylish as it is cozy.
About
As the lead voice behind Shoenify, I bridge the gap between footwear aesthetics and technical performance. With a career dedicated to the intersection of fashion and function, I provide readers with data-driven reviews and deep dives into the global footwear market. My mission is to help every reader find the perfect fit, whether they are hitting the track or the boardroom.
Education RMIT University
-
RMIT University: Bachelor of Design (Footwear & Accessories)
-
Nottingham Trent University: MA in Fashion Design (Specializing in Footwear Innovation)
Publications and Impact
My insights on footwear trends and sustainable manufacturing have been featured in leading industry trade journals. Through Shoenify, I have influenced thousands of purchasing decisions by prioritizing transparency and rigorous testing. My work focuses on the evolution of “smart” footwear and the impact of 3D printing on the future of the industry.