
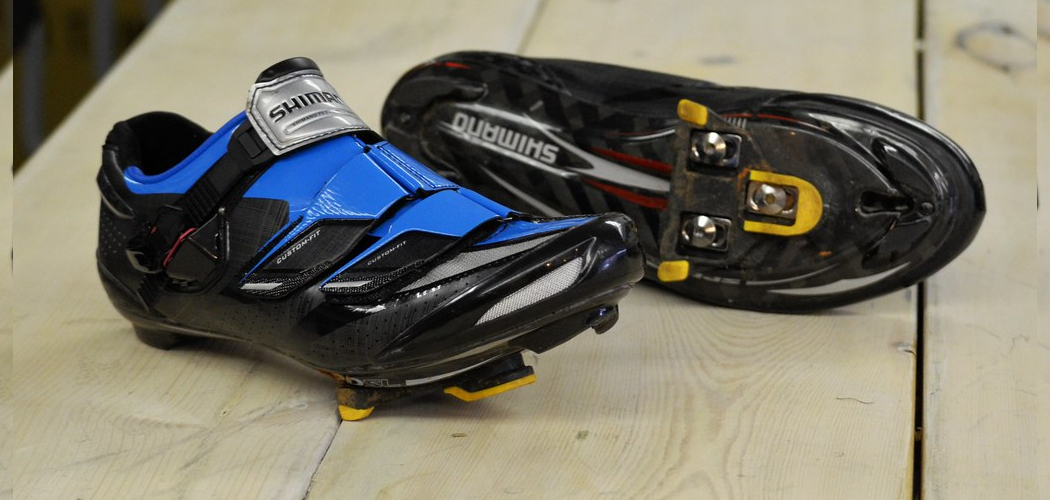
Welcome to the world of clipless pedals, a system that can significantly improve your power transfer and control on the trail. For mountain bikers, SPD (Shimano Pedaling Dynamics) cleats are a popular choice. Correctly fitting these cleats to your MTB shoes is essential for comfort, performance, and injury prevention.
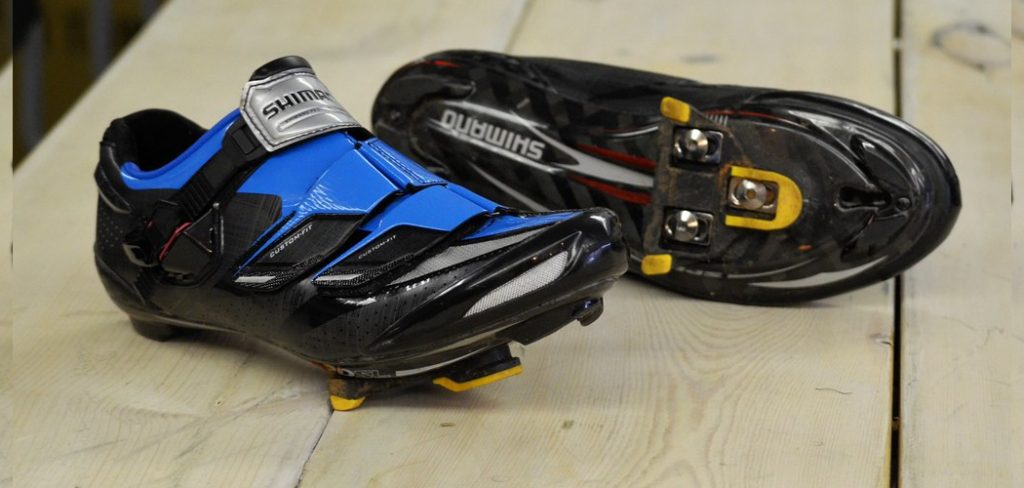
This guide on how to fit spd cleats to mtb shoes will walk you through the entire process, from understanding the basics to fine-tuning your setup. Proper cleat placement ensures that your foot is in the optimal position, allowing for a more efficient pedal stroke and a stronger connection to your bike. Let’s get you clipped in and ready to ride with confidence.
Materials You’ll Need
- A new set of SPD cleats (these often come with new pedals)
- A pair of compatible MTB shoes
- A 4mm Allen key (or hex wrench)
- Grease
- A marker or piece of tape
- A stationary trainer or a wall to lean against for testing
7 Simple Step-By-Step Guidelines on How to Fit SPD Cleats to MTB Shoes
Step 1: Prepare Your Shoes and Cleats
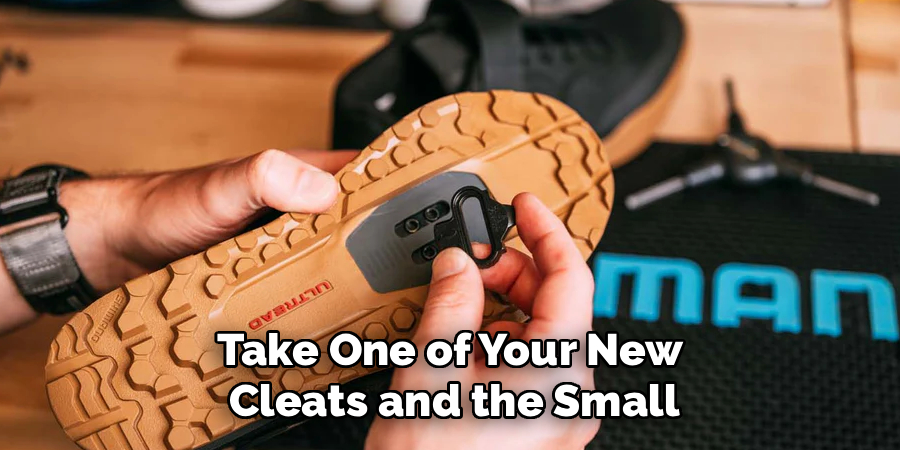
Before you start attaching anything, take a moment to prepare your equipment. Most new mountain bike shoes have a cover over the cleat mounting area on the sole. You will need to remove this cover, which is usually held in place by two screws, to expose the threaded holes where the cleat will be installed. Once removed, you will see two channels that allow for fore/aft adjustment of the cleat. Take one of your new cleats and the small, threaded backing plate that came with it. The backing plate sits inside the shoe, under the insole, but many modern MTB shoes have it built directly into the sole itself.
Apply a light layer of grease to the threads of the cleat bolts. This simple step is crucial as it prevents the bolts from seizing over time due to exposure to water and dirt. It also allows you to tighten the bolts more accurately and makes future adjustments or replacements much easier. Don’t skip this step; it will save you a major headache down the road. Once the bolts are greased, you are ready to begin the initial placement process.
Step 2: Find the Ball of Your Foot
The most critical part of cleat setup is aligning it with the ball of your foot. This is the bony protrusion behind your big toe, which serves as the natural pivot point for pedaling. To find it, put on your cycling shoe and feel for this bony lump along the inside edge of your foot. Once you locate it, use a marker or a small piece of tape on the side of your shoe to mark its position. This mark will be your primary reference point for setting the fore/aft position of the cleat.
Proper alignment here is key to preventing knee pain and maximizing power output. Placing the cleat too far forward can cause strain on your Achilles tendon and calf muscles, while placing it too far back can reduce your power. The goal is to position the center of the cleat directly under the ball of your foot. This ensures that you are pushing through the pedal stroke with the strongest and most stable part of your foot structure.
Step 3: Initial Fore/Aft Cleat Placement
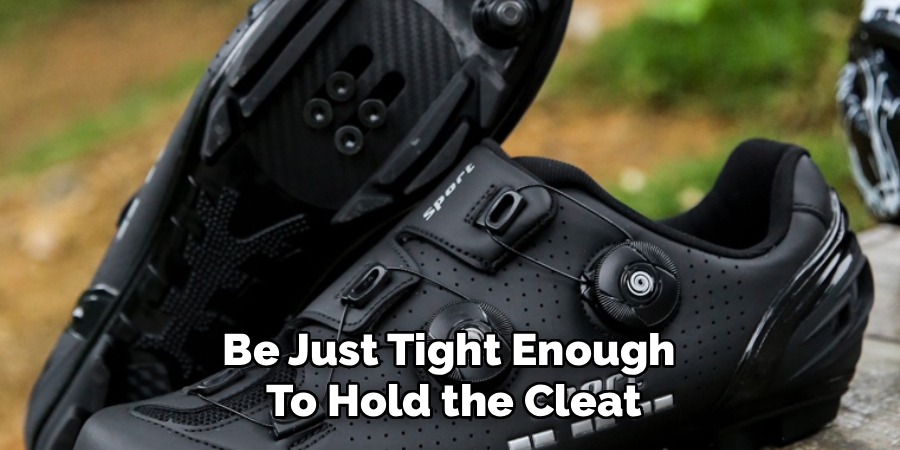
Now it’s time to attach the cleat to the shoe for the first time. Place the cleat over the two channels on the sole of your shoe, aligning it with the mark you made for the ball of your foot. The center of the cleat, which is usually indicated by a small marking, should be directly underneath that mark. Insert the two greased bolts through the cleat and its washer, and loosely thread them into the backing plate. Do not tighten them fully just yet. You want them to be just tight enough to hold the cleat in place, but loose enough to allow for small adjustments.
This initial fore/aft (forward/backward) position is your starting point. Many riders prefer a position slightly behind the ball of the foot for added stability, especially in gravity-focused disciplines like enduro or downhill. For cross-country riding, aligning directly under the ball of the foot is a common and effective starting point. Slide the cleat forward or backward until you feel it’s in the right spot based on your reference mark, and then lightly snug the bolts.
Step 4: Setting the Side-to-Side Position
With the fore/aft position tentatively set, you need to adjust the cleat’s side-to-side placement. This adjustment determines your “stance width,” or how far apart your feet are on the pedals. Getting this right helps align your hip, knee, and ankle, which is crucial for preventing joint pain. Look at the cleat; it has some horizontal wiggle room within its washer slots. Most people should start by centering the cleat in the middle of its available side-to-side range.
To refine this, consider your natural stance. If you have wider hips or tend to pedal with your knees pointing outwards, moving the cleats closer to the inside edge of the shoe (pushing your feet further out) might feel more comfortable. Conversely, if you have a narrow build, you might move the cleats outwards on the shoe to bring your feet closer together. A neutral, centered position is the best starting point for most riders. Once you have it centered, snug the bolts a little more, but still not to their final torque.
Step 5: Adjusting Cleat Rotation (Angle)
The final adjustment axis is rotation, also known as float. This determines the angle of your foot on the pedal. Your foot needs to be in a natural position to avoid twisting your knee. To find this natural angle, sit on the edge of a table with your legs dangling freely. Look at the angle your feet naturally hang; this is the angle you want to replicate on the pedals. Some people’s feet point straight ahead, while others’ point slightly inward or outward.
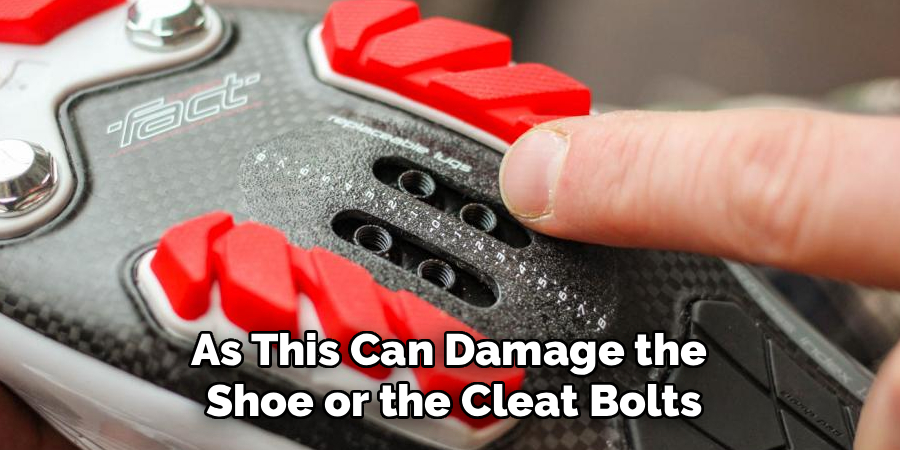
Loosen the cleat bolts just enough to allow you to rotate the cleat with your hand. Set the cleat to what you perceive to be your natural foot angle. For most riders, a neutral or straight position is the best starting point. Pointing the front of the cleat slightly toward the big toe side of the shoe is a common setup. Once you have the angle set, tighten the bolts firmly, alternating between them to ensure even pressure. Use a 4mm Allen key to tighten them to the manufacturer’s recommended torque, which is typically around 5-6 Nm. Be careful not to over-tighten, as this can damage the shoe or the cleat bolts.
Step 6: Test and Fine-Tune Your Setup
With the cleats tightened, it’s time for a test ride. The safest way to do this is on a stationary trainer or by riding next to a wall where you can support yourself. Clip in and out of the pedals several times to ensure the motion is smooth. Pay attention to how your feet feel. Do you have to unnaturally twist your ankle to clip out? If so, you may need to adjust the rotation. Pedal for a few minutes and focus on how your knees, ankles, and hips feel.
Listen to your body. Is there any pain or discomfort? If you feel pressure on the outside of your knee, your cleat may be angled too far inward. Pain on the inside of the knee could mean the opposite. Make small, incremental adjustments—just one at a time—and re-test. Move the cleat back a few millimeters, or rotate it a single degree, and see how it feels. This fine-tuning process is what transforms a good setup into a perfect one.
Step 7: Go for a Real Ride and Make Final Adjustments
Once you feel comfortable with the initial setup, it’s time for a proper ride on the trail. A short, familiar loop is ideal for this. During the ride, be mindful of any hot spots on your feet, numbness, or joint pain. These are all signs that your cleat position may need further tweaking. It’s not uncommon to make several small adjustments over the first few rides until you find the perfect position.
Bring your 4mm Allen key with you on these initial rides so you can make adjustments on the trail. A slight ache after 30 minutes might indicate a necessary change. For example, a “hot spot” under the ball of your foot often means the cleat is too far forward. Don’t be afraid to experiment. Once you’ve found a position that feels comfortable and powerful after a full ride, use your marker to trace the outline of the cleat on the sole of your shoe. This will make it easy to replicate the exact position when you eventually replace your cleats.
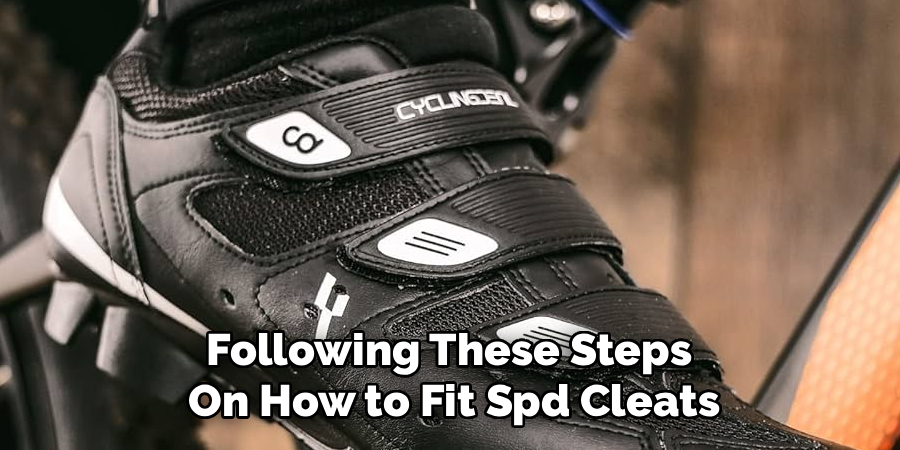
Following these steps on how to fit spd cleats to mtb shoes can help improve your performance and prevent unnecessary pain or discomfort while riding. However, it’s important to keep in mind that every rider is unique and what works for one person may not work for another. Therefore, don’t be afraid to make adjustments based on your own comfort and experience.
Tips for Beginners
If you are new to clipless pedals, start with the pedal tension set to its loosest setting. This makes it much easier to clip in and out. Practice clipping in and out while stationary before you hit the trails. Remember the motion: heel out. It will feel awkward at first, but it quickly becomes second nature.
Anticipate when you need to unclip, such as when approaching a stop or a tricky technical section. It’s better to unclip early than to find yourself in a situation where you can’t get your foot down. Over time, you can gradually increase the pedal tension as you become more confident.
Common Mistakes to Avoid
The most common mistake is over-tightening the cleat bolts, which can strip the threads or damage your shoe’s sole. Always use a torque wrench if possible.
Another frequent error is ignoring discomfort; pain is your body’s way of telling you something is wrong, so don’t just “ride through it.” Also, avoid making large, drastic adjustments all at once. Small, incremental changes are the key to dialing in your perfect fit without overcorrecting.
Maintenance and Care
To ensure your cleats and pedals function properly for years, a little maintenance goes a long way. After every muddy ride, clean your cleats and the pedal’s engagement mechanism. Regularly check your cleat bolts to ensure they remain tight, as they can loosen over time with vibration.
Apply a bit of dry lube to the pedal springs occasionally to keep the entry and exit smooth. Finally, cleats are a wear item; inspect them for signs of significant wear and replace them when they become difficult to clip in or out of, or if they release unexpectedly.
Frequently Asked Questions
Q1: How Do I Know When It’s Time to Replace My SPD Cleats?
A1: You’ll know it’s time to replace your cleats when you start experiencing issues with engagement or disengagement. A key sign is a sloppy or loose feeling when you’re clipped in, meaning your foot has excessive play beyond the designed float. Another indicator is difficulty clipping in or out, or if your foot starts releasing from the pedal unexpectedly during hard efforts. Visually inspect your cleats for significant wear, especially on the metal tabs that engage with the pedal. If they are rounded off or visibly thinned, it’s time for a new pair.
Q2: Can I Use a Different Brand of Cleats with My SPD Pedals?
A2: It is highly recommended to use Shimano-branded SPD cleats with Shimano SPD pedals. While some third-party manufacturers produce “SPD-compatible” cleats, the tolerances and materials may differ slightly. Using non-brand cleats can lead to inconsistent performance, including unreliable release, premature wear on the pedal or cleat, or a connection that is either too tight or too loose. For the sake of safety and performance, sticking with the manufacturer’s recommended cleats is the best practice.
Conclusion
Fitting your SPD cleats properly is a one-time investment that pays massive dividends in comfort, efficiency, and injury prevention on the trail. By following these steps on how to fit spd cleats to mtb shoes, you can create a strong and biomechanically sound connection to your bike.
Remember that the initial setup is just a starting point. Listen to your body, be patient with the fine-tuning process, and don’t hesitate to make small adjustments until you find the position that feels just right. Now, get your tools, dial in your fit, and enjoy the enhanced control and power of riding clipped in.
About
As the lead voice behind Shoenify, I bridge the gap between footwear aesthetics and technical performance. With a career dedicated to the intersection of fashion and function, I provide readers with data-driven reviews and deep dives into the global footwear market. My mission is to help every reader find the perfect fit, whether they are hitting the track or the boardroom.
Education RMIT University
-
RMIT University: Bachelor of Design (Footwear & Accessories)
-
Nottingham Trent University: MA in Fashion Design (Specializing in Footwear Innovation)
Publications and Impact
My insights on footwear trends and sustainable manufacturing have been featured in leading industry trade journals. Through Shoenify, I have influenced thousands of purchasing decisions by prioritizing transparency and rigorous testing. My work focuses on the evolution of “smart” footwear and the impact of 3D printing on the future of the industry.