
Doc Martens are more than just boots; they are a statement of individuality and a symbol of enduring style. While many lacing techniques exist, adding a zipper to the mix introduces both convenience and a unique aesthetic challenge. Properly lacing your Docs with a zipper ensures they not only look great but also provide the comfort and support the brand is known for.

This guide on how to lace Doc Martens with zipper will walk you through the process, combining classic lacing styles with the functionality of a zipper. Whether you’re a long-time DM wearer or new to the subculture, mastering this technique will elevate your boot game. We’ll cover everything from preparing your boots to tying the final knot, ensuring a secure fit and a sharp look every time you zip up.
Materials You’ll Need
- A pair of Doc Martens with zippers
- High-quality boot laces (the correct length for your boot’s eyelet count)
- A comfortable place to sit
8 Step-By-Step Guidelines on How to Lace Doc Martens With Zipper
Step 1: Prepare Your Boots and Laces
Before you begin the lacing process, it’s essential to prepare your boots to make the job easier and ensure a clean result. Start by completely unlacing the boots if they came with factory lacing. This gives you a blank canvas and removes any kinks or twists from the old laces. Take a moment to wipe down the eyelets and the tongue area to remove any dust or debris. A clean surface prevents dirt from getting trapped under your new lacing pattern and keeps your laces looking fresh.
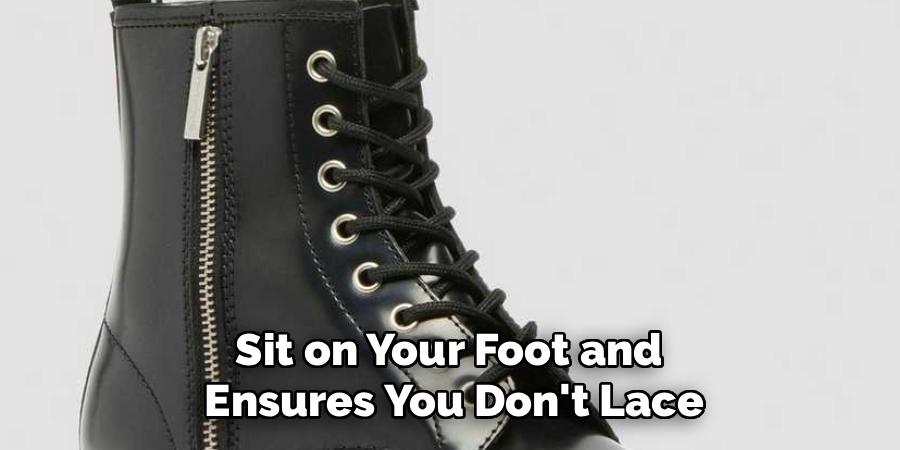
Next, prepare your new laces. Straighten them out and run them through your fingers to remove any twists. Check the plastic tips, known as aglets, to ensure they are intact. Frayed or damaged aglets can make it difficult to thread the laces through the eyelets. For the best fit, you will want the zipper on your boots to be completely zipped up. This mimics how the boot will sit on your foot and ensures you don’t lace them too tightly or too loosely, which would defeat the purpose of the zipper’s convenience.
Step 2: Create the Initial Bar
The foundation of any good lacing pattern is the first bar across the bottom two eyelets. This initial step sets the tone for the rest of the lacing and is crucial for achieving a symmetrical look. Begin by taking one lace and threading it from the outside in through both of the bottom eyelets. The lace should run straight across the tongue on the outside of the boot, creating a neat horizontal line. This is often called a “straight bar” or “display lacing.”
Once you have threaded the lace through, pull both ends to ensure they are of equal length. This is a critical checkpoint. Having uneven lace ends will cause problems later on, potentially leaving you with one side that is too short to tie a proper knot. To check for evenness, hold both aglets together and pull them upwards until the bar at the bottom is taut. Adjust the lace until the two ends are perfectly matched before moving on to the next step.
Step 3: Lace the First Crossover Underneath
Now that your base bar is set, you will begin creating the classic crisscross pattern. However, for a clean look on the outside, the crossovers will happen underneath the eyelet flaps. Take the lace end on the right side and guide it diagonally across and up. You will thread it from underneath through the next available eyelet on the left side. The lace should emerge from the top of the eyelet, ready for the next crossover.
Repeat this exact process with the left lace end. Guide it diagonally across and up, threading it from underneath through the second eyelet on the right side. After completing this step, you will have your first “X” pattern hidden underneath the tongue, and two straight laces emerging from the second set of eyelets. This method keeps the visible part of your lacing clean and uniform, consisting only of horizontal bars (if you choose that style) or a clean diagonal pattern.

Step 4: Continue the Crisscross Pattern Up the Boot
With the first crossover complete, the process becomes a simple, repeatable pattern. Continue lacing your boots by alternating between the left and right lace ends. Always thread the lace from underneath the eyelet flaps and push it out through the top of the eyelet. Take the right lace end, pass it over the tongue to the left side, and thread it up through the next empty eyelet. Then, take the left lace end and do the same on the right side.
Maintaining consistent tension is key as you work your way up. Pull each lace taut after threading it through an eyelet, but avoid pulling so hard that it puckers the leather. The goal is to create a snug fit that will hold your foot securely once the boot is zipped up. This underlying crisscross pattern provides the structural support, while the zipper provides the convenience. Keep this rhythm going until you reach the top eyelets of the boot.
Step 5: Adjust Lacing Tension for the Zipper
The primary benefit of having zippers on your Doc Martens is the ability to put them on and take them off without having to unlace them. To make this work effectively, the tension of your laces must be set just right. With the zipper fully closed, continue your lacing pattern but pause every few eyelets to check the fit. The laces should be snug enough to hold the boot’s shape and support your foot, but not so tight that they prevent the zipper from moving freely.
A good way to test this is to slightly flex your foot inside the boot as you lace it. This mimics the movement of walking and helps you find a comfortable middle ground. The lacing should feel secure but have a tiny bit of give. If the leather around the zipper is straining or bunching up, your laces are too tight. Loosen them slightly before continuing. This perfect tension ensures you get the “set it and forget it” convenience you want from a zippered boot.
Step 6: Choose Your Finishing Style at the Top
How you handle the final two eyelets can significantly impact the final look of your boots. You have a few popular options. The first is to continue the crisscross pattern all the way to the top eyelet. This is a classic and straightforward finish. For a different look, you can create a final straight bar across the top two eyelets to mirror the bar at the bottom. To do this, thread both lace ends from the inside out through the top eyelets.
Another popular choice, especially for boots with eight or more eyelets, is to wrap the laces around the ankle before tying. Once you have laced up to the last eyelet, you can wrap the remaining length around the back of the boot’s collar once or twice before bringing it to the front to tie. This adds a bit of punk-inspired flair and can also help secure the boot more firmly around your ankle. Choose the finish that best suits your personal style and the look you want to achieve.
Step 7: Tying the Knot
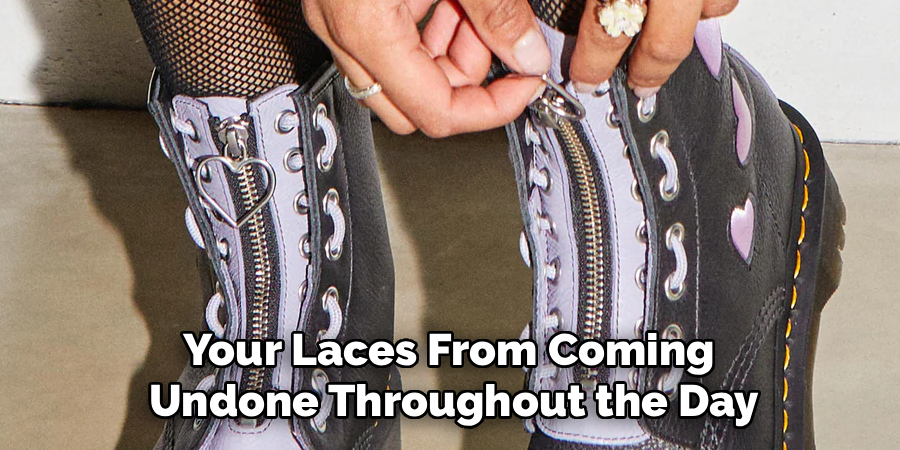
Once your boots are fully laced and you’ve chosen your finishing style, it’s time to tie the knot. The type of knot you use is a matter of personal preference, but it should be secure. A standard bow knot is perfectly acceptable and easy to do. For extra security and to prevent your laces from coming undone throughout the day, you can tie a double knot. This is simply a standard bow knot with an extra pass-through on the final loop.
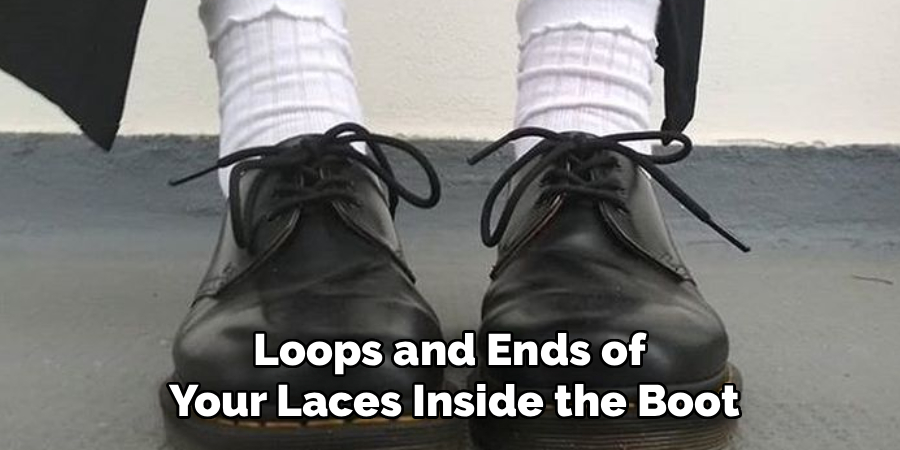
Alternatively, you can tuck the excess lace length inside the boot for an exceptionally clean and minimalist look. After tying a small, secure knot, simply tuck the loops and lace ends down the sides of the boot, between your ankle and the boot’s collar. This works especially well if you have laced them for a snug fit, as the tension will help hold the tucked laces in place. This method completely hides the knot and ends, putting all the focus on the boot and the lacing pattern itself.
Step 8: Final Adjustments and Mirroring on the Other Boot
The final step is to put on the boot, zip it up, and make any last-minute adjustments. Walk around for a minute to feel how the lacing supports your foot. If any areas feel too tight or too loose, you can adjust the tension of individual crossovers without having to unlace the entire boot. Simply pull on the corresponding section of the lace to tighten or loosen it. Once you are satisfied with the fit and feel of the first boot, you are ready to move on to the second one.
Repeat the entire process, from creating the initial bar to tying the final knot, on your other Doc Marten. Be meticulous and try to mirror the tension and pattern of the first boot as closely as possible for a symmetrical and professional look. The goal is to have two identically laced boots that you can easily slip on and off using only the zippers. With both boots laced perfectly, you’re ready to show off your sharp-looking and functional Doc Martens.
Following these steps on how to lace Doc Martens with zipper is a great way to add some personal style and functionality to your footwear.
Frequently Asked Questions
Q1: Can I Use Any Lacing Style With Zippered Doc Martens?
A1: While you technically can use any lacing style, some are more practical than others for zippered boots. The most effective styles, like the crisscross method detailed above, create an underlying structure that holds the boot’s shape. This allows you to set the tension once and then use the zipper for daily wear. More complex or decorative lacing patterns, such as ladder or spiderweb lacing, might be too rigid and could impede the zipper’s function or create uncomfortable pressure points. The key is to choose a style that provides support without being overly tight.
Q2: How Do I Keep My Laces from Coming Untied?
A2: Keeping your laces tied can be a common frustration, but there are several effective solutions. The simplest method is to tie a more secure knot, such as a double knot or a surgeon’s knot, which adds extra friction to prevent loosening. You can also try tucking the loops and ends of your laces inside the boot after tying them, which hides them and keeps them from snagging on anything. Using high-quality, slightly textured laces, such as waxed cotton laces, can also make a difference, as they have more grip than standard synthetic ones.
Q3: What Is the Correct Lace Length for My Doc Martens?
A3: The correct lace length depends on the number of eyelets your boots have. As a general rule, 8-eyelet boots typically require 140cm (55-inch) laces. For 10-eyelet boots, you will likely need 180cm (71-inch) laces, and for the tall 14-eyelet boots, 210cm (83-inch) laces are recommended. However, your preferred lacing style can also affect the required length. If you plan to wrap the laces around the ankle before tying, you may want to opt for a slightly longer size to ensure you have enough length for a secure knot.
Conclusion
Lacing your zippered Doc Martens is about finding the perfect balance between style, support, and convenience. By following these steps on how to lace Doc Martens with zipper, you can create a secure and comfortable fit that allows you to take full advantage of the easy-on, easy-off functionality of the zipper.
The process gives you a chance to customize your boots to your exact preference, ensuring they not only look fantastic but also feel great on your feet. Now that you have mastered this essential technique, you can step out confidently, knowing your Docs are laced to perfection.
About
As the lead voice behind Shoenify, I bridge the gap between footwear aesthetics and technical performance. With a career dedicated to the intersection of fashion and function, I provide readers with data-driven reviews and deep dives into the global footwear market. My mission is to help every reader find the perfect fit, whether they are hitting the track or the boardroom.
Education RMIT University
-
RMIT University: Bachelor of Design (Footwear & Accessories)
-
Nottingham Trent University: MA in Fashion Design (Specializing in Footwear Innovation)
Publications and Impact
My insights on footwear trends and sustainable manufacturing have been featured in leading industry trade journals. Through Shoenify, I have influenced thousands of purchasing decisions by prioritizing transparency and rigorous testing. My work focuses on the evolution of “smart” footwear and the impact of 3D printing on the future of the industry.