
Installing new cleats can feel like a daunting mechanical task, especially if you are new to the world of clipless pedals. However, mastering this simple setup is the first step toward a more efficient and connected ride, transferring your power directly to the bike.

With just a few basic tools and a bit of patience, you can customize your foot position for maximum comfort and performance on the trails or roads. Getting this right prevents knee pain and ensures you can clip in and out confidently every time you ride. In this guide on how to put spd cleats on cycling shoes, we will cover the step-by-step process and provide some tips for a successful installation.
Understanding SPD Cleats and Shoes
SPD stands for Shimano Pedaling Dynamics, a specific design of clipless pedal system that has become the standard for mountain biking, gravel riding, and indoor spinning. Unlike road bike cleats, which protrude from the sole, SPD cleats are small, metal, two-bolt attachments that recess into the sole of compatible shoes, allowing you to walk relatively normally when off the bike.
Understanding this system is crucial because the interface between your shoe and pedal is the primary point of power transfer; a loose or misaligned cleat leads to wasted energy and potential injury. The “two-bolt” system is distinct from the “three-bolt” system used on road bikes, so ensuring your shoes have the correct two parallel slots on the sole is the foundational step before beginning installation.
Tools and Parts You’ll Need
- Allen wrenches (sizes may vary depending on your bike)
- Pedal wrench or adjustable crescent wrench
- Grease or anti-seize compound
- Cleats and bolts (if not already attached to your shoes)
7 Simple Step-By-Step Guidelines on How to Put SPD Cleats on Cycling Shoes
Step 1: Prepare Your Shoes and Identify the Mounting Slots
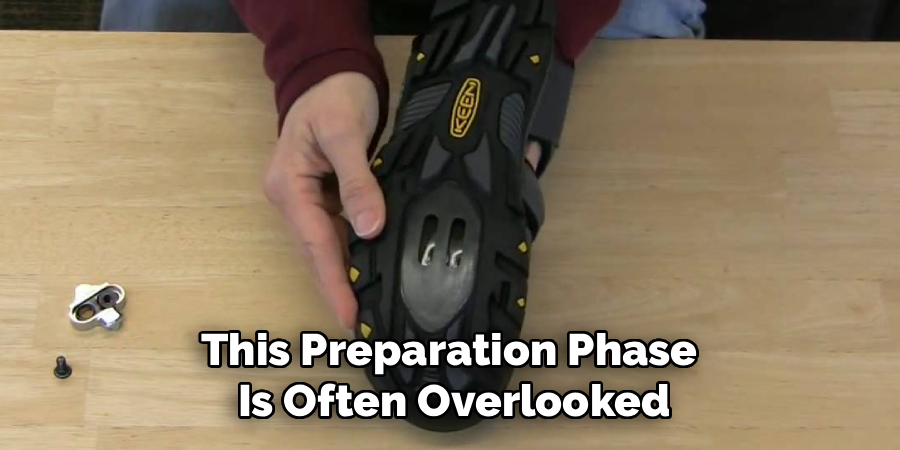
The very first thing you must do is flip your cycling shoes over and locate the two parallel slots in the middle of the sole’s ball area. If your shoes are brand new, there might be a rubber cover or sticker over this area that you need to remove to expose the mounting plate beneath the sole.
It is vital to ensure that the threaded holes inside the slots are free of debris and move freely; sometimes you need to push the interior plate around with your finger from the inside of the shoe to align it properly. This preparation phase is often overlooked, but ensuring the mounting surface is clean and the internal nuts are accessible saves you immense frustration later when you are trying to thread a small bolt blindly.
Once you have exposed the mounting area, take a moment to inspect the curvature of the sole and how the cleat will sit against it. Some shoes require a waterproof sticker to be placed over the holes from the inside (under the insole) to prevent water ingress during wet rides. Remove the insole of the shoe to check the interior plate; if it is loose or rattling, reposition it so the four threaded holes are visible through the two exterior slots.
Applying a tiny dab of grease to the threads of the mounting bolts at this stage is a pro tip that ensures you can easily remove the cleats months or years down the line when they eventually wear out and need replacement.
Step 2: Assemble the Cleat Hardware Correctly
Now that your shoes are prepped, grab your SPD cleat packet and lay out the components on a clean surface to understand how they fit together. You will typically see the main cleat body (the oddly shaped metal piece), a two-hole washer or adapter plate that fits into the cleat, and the two bolts.
Place the washer into the recess of the cleat body; it is directional, so ensure the countersunk holes for the screws are facing upward to accept the head of the bolt flushly. If you install this washer upside down, the bolts will protrude too far, interfering with the pedal engagement mechanism and making it impossible to clip in.
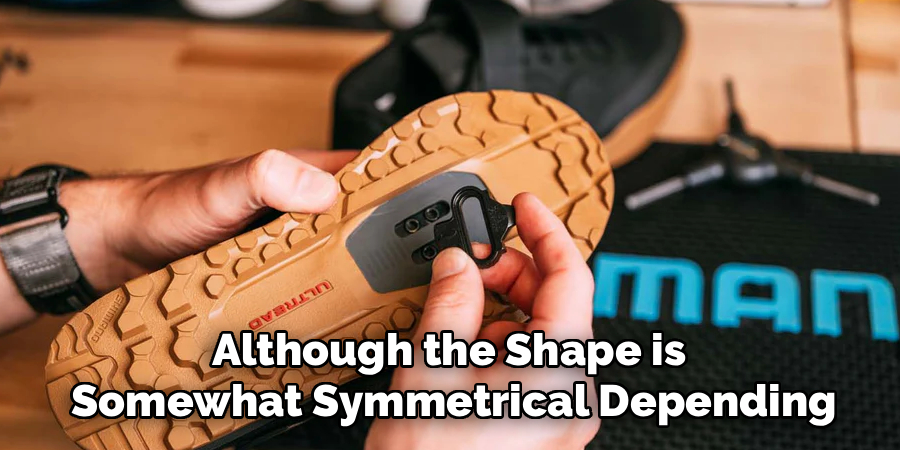
Holding the assembled cleat unit (cleat body plus washer) in your hand, align it over the two slots on your shoe sole. The pointed end of the SPD cleat should generally face forward toward the toe of the shoe, although the shape is somewhat symmetrical depending on the brand.
Insert the bolts through the washer holes and gently thread them into the shoe’s receiving plate just a few turns—do not tighten them down yet. You want the assembly to be loose enough that the cleat can slide up, down, and side-to-side freely. This looseness is critical for the adjustment phases that follow in the next steps, allowing you to find ergonomic perfection.
Step 3: Find the Correct Fore and Aft Position
Positioning the cleat correctly along the length of the shoe (fore and aft) is the most critical ergonomic adjustment you will make during this process. The general rule of thumb for most cyclists is to position the center of the cleat directly beneath the ball of your foot, specifically aligning it with the third metatarsal head. To find this spot, put the shoe on with the cleat loosely attached, stand up, and feel for the bony protrusion at the base of your big toe and the base of your little toe. The axle of the pedal (and therefore the center of the cleat) should sit roughly between these two points, balancing the load across the foot’s structure.
However, riders seeking different performance characteristics might adjust this slightly; moving the cleat forward toward the toes can increase leverage for sprinting but may strain the calf muscles, while moving it back toward the arch offers more stability and reduces fatigue over long distances. For your initial setup, stick to a neutral position directly under the ball of the foot. Slide the loose cleat forward or backward until it aligns with your mark, ensuring both shoes are set up identically unless you have significant anatomical differences between your feet. Tighten the bolts just enough to hold the position, but still allow for twisting adjustments in the next step.
Step 4: Adjust the Stance Width (Q-Factor)
Stance width, often referred to as Q-Factor, dictates how far apart your feet are from the crank arms of the bicycle while you are pedaling. By sliding the cleat plate side-to-side (toward the inside or outside of the shoe sole), you can adjust how close your shoe sits to the crank arm. If you have wide hips, you might want to push the cleat toward the inside of the shoe, which moves your foot further outward away from the bike. Conversely, if you have narrow hips, pushing the cleat toward the outside of the shoe brings your foot closer to the crank.
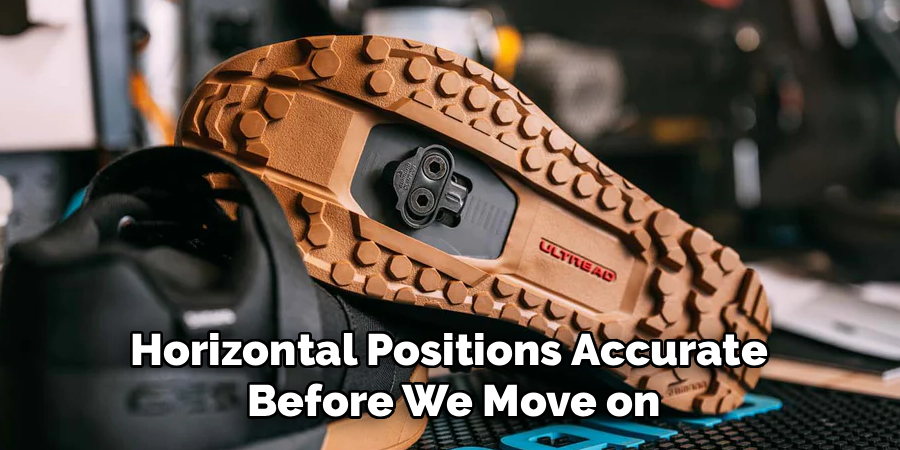
Improper stance width is a common cause of hip and knee pain, so pay attention to how your body naturally wants to stand. Generally, you want your knees to track straight up and down like a piston, without collapsing inward or bowing outward at the top of the pedal stroke. Start by centering the cleat laterally if you are unsure, as this works for the majority of riders. Once you have determined the lateral position, check again to ensure the cleat hasn’t slipped forward or backward from your Step 3 adjustment. It is a balancing act of keeping both the vertical and horizontal positions accurate before we move on to the angle of the cleat.
Step 5: Set the Cleat Angle (Float and Rotation)
The angle at which you mount the cleat determines your foot’s natural resting position on the pedal, often called the “float.” Most people do not walk with their feet perfectly parallel; some are “duck-footed” (toes pointing out) while others are “pigeon-toed” (toes pointing in). Your cleats should mimic your natural standing posture to prevent twisting torque on your knees. If you force your feet to be perfectly straight when they naturally want to turn out, you will experience knee pain very quickly. Sit on the edge of a table with your legs dangling freely and observe the natural angle of your feet.
If your toes naturally point outward, rotate the nose of the cleat slightly toward the big toe (inward), which will point the heel of the shoe inward toward the bike and the toes outward. If your feet are straight, keep the cleat straight. SPD pedals usually offer a few degrees of “float,” meaning your foot can swivel slightly while clipped in, but getting the neutral starting angle right is vital. Make very small rotational adjustments to the cleat on the shoe sole. Once you are happy with the angle, visually check that the cleat is still centered fore/aft and laterally.
Step 6: Tighten the Bolts Securely
Once you have dialed in the fore/aft position, the stance width, and the rotational angle, it is time to lock everything into place permanently. Using your 4mm Allen key, tighten the bolts in an alternating pattern—give the top bolt a turn, then the bottom bolt, then back to the top. This ensures that the cleat washer seats evenly and doesn’t tilt or bind on one side, which could lead to loosening later. If you have a torque wrench, check the manufacturer’s specifications (usually around 5-6 Nm) to avoid stripping the threads or cracking the shoe sole.
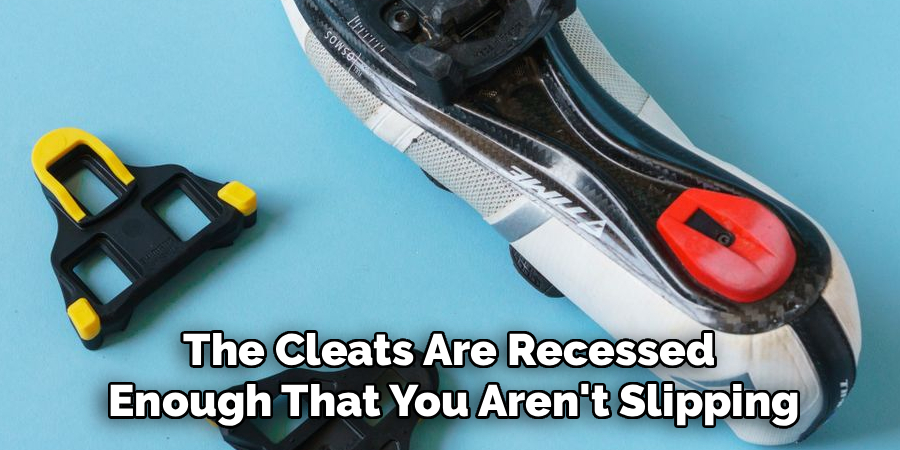
The cleats encounter massive forces while you ride—pulling up, pushing down, and twisting out—so “finger tight” is absolutely not enough. You need to apply firm pressure to ensure the jagged teeth on the underside of the cleat bite into the plastic sole of the shoe to prevent slipping. However, be careful not to overtighten to the point where the bolt head rounds off. Once tightened, take a quick walk on a carpeted surface (to avoid scratching floors) to ensure the cleats are recessed enough that you aren’t slipping around like you’re on ice; this is the main benefit of the SPD system.
Step 7: Test Ride and Fine-Tune
The installation isn’t truly finished until you have tested the setup on the bike, preferably in a safe, low-traffic environment like a parking lot or a grassy field. Clip in and pedal gently, paying close attention to how your knees and hips feel. Do your knees feel like they are being twisted? Do you feel pressure on the outside or inside of your foot? If you feel any strain, stop immediately and adjust the cleat angle or position. It is very common to need two or three small adjustments after the first ride to get it perfect.
Practice clipping in and out repeatedly to ensure the mechanism engages smoothly and releases when you twist your heel. Sometimes the shoe tread rubber can interfere with the pedal; if this happens, you might need to install a “shim” or spacer under the cleat to raise it slightly. Don’t settle for “good enough”—take the hex key with you on your first few rides so you can make roadside tweaks. Once you find that sweet spot where you feel connected yet comfortable, verify the tightness of the bolts one last time.
Following these steps on how to put spd cleats on cycling shoes will ensure that you are able to properly install and adjust your cleats for an optimal riding experience. It is important to remember that each individual may have different preferences when it comes to cleat positioning, so don’t be afraid to experiment and make adjustments until you find what works best for you.
Common Mistakes to Avoid
One of the most frequent errors riders make is installing the cleats unevenly between the left and right shoes without accounting for their body’s asymmetry, leading to imbalances. Another common mistake is neglecting to grease the bolt threads, which leads to rust and seized bolts that must be drilled out later.
Many beginners also fail to tighten the bolts sufficiently, causing the cleat to twist and get stuck inside the pedal while riding, trapping the foot. Finally, avoid setting the cleat too far forward on the toe, which causes numbness and “hot spots” during long rides.
Safety Tips for Beginners
If this is your first time using clipless pedals, safety should be your top priority. Before you head out onto trails or busy roads, practice clipping in and out while leaning against a wall or in a doorway where you cannot fall. Always loosen the tension spring on your pedals to the absolute minimum setting initially; this makes it incredibly easy to release your foot in a panic situation.
When stopping, remember to unclip one foot well in advance—don’t wait until the bike has come to a complete halt, or you will likely tip over in slow motion. Wear a helmet without exception, and perhaps practice falling on soft grass so you learn to instinctively tuck your arm rather than reaching out, reducing the risk of wrist injury.
Maintenance and Rechecking Cleats
Cleats are wear items, made of softer metal than the pedal jaws, meaning they will eventually degrade and need replacement. You should inspect your cleats every few weeks for signs of heavy wear, such as rounded edges or burrs that make clipping in vague or unclipping difficult. Furthermore, the bolts can vibrate loose over time, especially on rough gravel or mountain bike terrain.
Make it a habit to check the bolt tightness with your Allen key once a month or before any major race or long trip. Keeping the cleat and pedal mechanism clean from dried mud and grit will also extend the lifespan of your equipment and ensure consistent release performance when you need it most.
Frequently Asked Questions
Q1: How do I know when my SPD cleats are worn out and need replacing?
A1: You will notice that the connection feels sloppy or loose, even when clipped in.
When SPD cleats wear out, you typically experience a lot of vertical “play” where your foot can wiggle up and down slightly within the pedal mechanism. Furthermore, releasing your foot might become unpredictable—either becoming dangerously loose so you pull out accidentally while sprinting, or becoming difficult to disengage because the metal edges have burred and deformed. If the distinctive “click” sound of engagement becomes dull or you struggle to find the engagement point, visually inspect the cleat; if the nose or heel edges look significantly rounded or thin compared to a new set, it is time to swap them out.
Q2: Can I use SPD cleats on a road bike shoe with three holes?
A2: Generally, no, unless you use a specific adapter plate.
Road bike shoes typically feature a three-bolt triangular pattern designed for SPD-SL or Look-style cleats, which are larger and made of plastic. Standard SPD cleats use a two-bolt pattern that sits side-by-side. While some entry-level road shoes offer both 3-bolt and 2-bolt mounting options on the same sole, most high-end road shoes do not. To use SPD cleats on a strictly 3-bolt road shoe, you must purchase a specific adapter that bolts into the three holes and provides a mounting surface for the two-bolt SPD cleat. However, this adds stack height and makes walking very difficult, as the metal cleat will not be recessed.
Conclusion
Installing SPD cleats is a fundamental skill that every cyclist should learn, bridging the gap between casual riding and a more connected, efficient cycling experience. While the process involves precise measurements and careful alignment, taking the time to set up your cleats correctly pays dividends in comfort and power transfer.
By following the seven steps on how to put spd cleats on cycling shoes outlined above, paying close attention to your body’s natural biomechanics, and avoiding common pitfalls, you ensure a safe and enjoyable ride. Remember that comfort is king; never hesitate to stop and re-adjust if something feels off. With your new cleats securely installed and dialed in, you are ready to tackle steeper climbs and longer distances with newfound confidence.
About
As the lead voice behind Shoenify, I bridge the gap between footwear aesthetics and technical performance. With a career dedicated to the intersection of fashion and function, I provide readers with data-driven reviews and deep dives into the global footwear market. My mission is to help every reader find the perfect fit, whether they are hitting the track or the boardroom.
Education RMIT University
-
RMIT University: Bachelor of Design (Footwear & Accessories)
-
Nottingham Trent University: MA in Fashion Design (Specializing in Footwear Innovation)
Publications and Impact
My insights on footwear trends and sustainable manufacturing have been featured in leading industry trade journals. Through Shoenify, I have influenced thousands of purchasing decisions by prioritizing transparency and rigorous testing. My work focuses on the evolution of “smart” footwear and the impact of 3D printing on the future of the industry.