
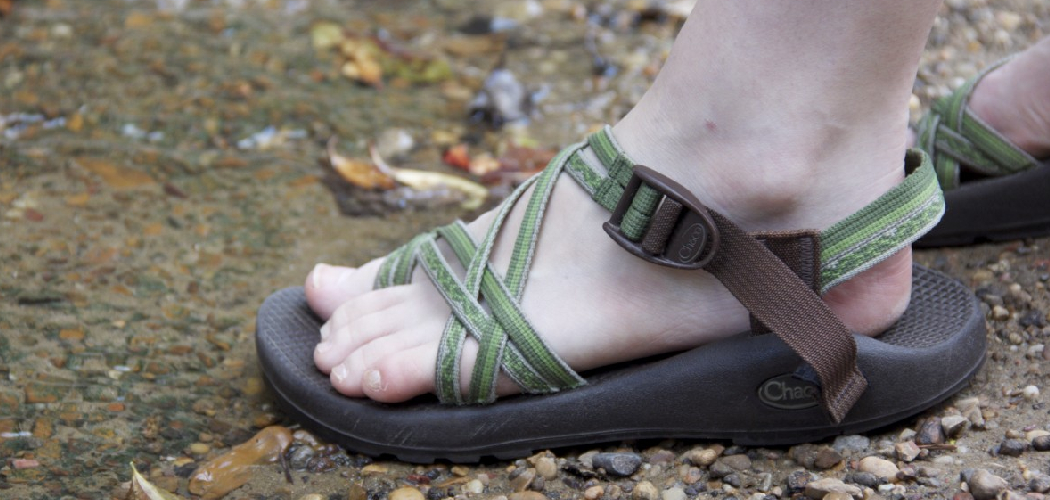
Chaco sandals are renowned for their durability and customized fit, thanks to their unique adjustable strap system. Achieving that perfect, snug feel is key to unlocking their full potential for comfort and support on any adventure. Whether you’re new to Chacos or just need a refresher, understanding how the straps work is essential.

This guide on how to tighten Chaco straps will walk you through the process, ensuring your sandals feel like they were made just for you. With a few simple pulls, you can adjust the fit around your foot for maximum stability, preventing blisters and discomfort during long walks or hikes. Let’s get your Chacos perfectly tightened for your next outing.
Tools and Materials You’ll Need
- Your Chaco sandals
- A bit of patience
7 Simple Step-By-Step Guidelines on how to tighten Chaco straps
Step 1: Start with Loose Straps
Before you begin tightening, it’s best to start from a neutral position. If your straps are already tight or tangled, gently pull on the webbing where it enters the midsole near your big toe to loosen the section that goes over your foot. Continue pulling the slack through the ankle and heel sections until all the straps feel loose and free. This gives you a clean slate to work with and makes the adjustment process much smoother.
Having all the straps completely loosened allows you to identify which part of the continuous webbing loop controls each section of the sandal. This initial step prevents you from accidentally over-tightening one area while trying to adjust another. It ensures you can methodically work your way through each zone, creating a truly customized fit from the ground up without any resistance from pre-existing tension.
Step 2: Place Your Foot in the Sandal
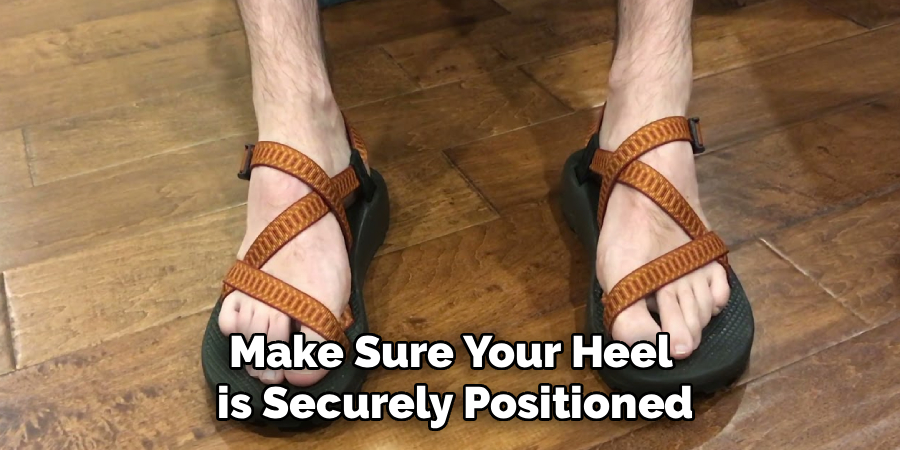
With the straps fully loosened, place your foot flat on the footbed of the sandal. Make sure your heel is securely positioned in the heel cup and your foot is centered. This is your foundation for a proper fit. Your toes should have enough room at the front without hanging over the edge. Getting your foot placement right from the start is crucial because all subsequent adjustments will be based on this initial positioning.
An incorrect foot position can lead to an improper fit, even if the straps are adjusted correctly. For example, if your foot is too far forward, you might over-tighten the ankle strap to compensate, leading to discomfort. Take a moment to stand up and put your weight on the sandal to ensure your foot settles into its natural place before you start pulling any straps.
Step 3: Tighten the Strap Over Your Forefoot
Begin the tightening process with the strap section that crosses over the top of your foot, nearest to your toes. To do this, locate the strap end that comes out of the buckle. Pull this main strap gently. You will feel the webbing that runs through the midsole begin to move, and the section over your forefoot will start to tighten. Adjust it until it feels snug but not constricting. You should be able to wiggle your toes comfortably.
This part of the adjustment secures the front of your foot and is the first point of contact for a stable fit. It’s important not to pull it too tight, as this can cause pressure and numbness. The goal is a secure hold that prevents your foot from sliding forward. Pull the strap in small increments, checking the fit after each adjustment until you find the right balance of comfort and security.
Step 4: Adjust the Strap Over Your Arch
Next, focus on the part of the strap that secures your arch and midfoot. This is often the most critical adjustment for providing support. To tighten this section, you need to pull the slack from the forefoot area toward the outside of your ankle. You can do this by finding the part of the webbing that exits the midsole on the outside of your foot and pulling it upward. You’ll see the strap over your arch become snugger.
This adjustment is key to Chaco’s signature LUVSEAT™ footbed support. A properly tightened arch strap hugs the contour of your foot, preventing it from rolling inward or outward and providing stability on uneven terrain. As before, adjust for a snug fit that feels supportive without cutting off circulation. Your foot should feel locked in but still able to flex naturally as you walk.
Step 5: Secure the Ankle and Heel
Now, you’ll move the slack you’ve created toward the main buckle. Pull on the strap section that wraps around your ankle to tighten it. This action pulls the webbing through the channel in the sole from the outside of your foot, securing your heel and ankle. For models with a heel riser, this adjustment ensures your heel stays firmly in the heel cup, which is vital for preventing slippage and potential blisters during activity.
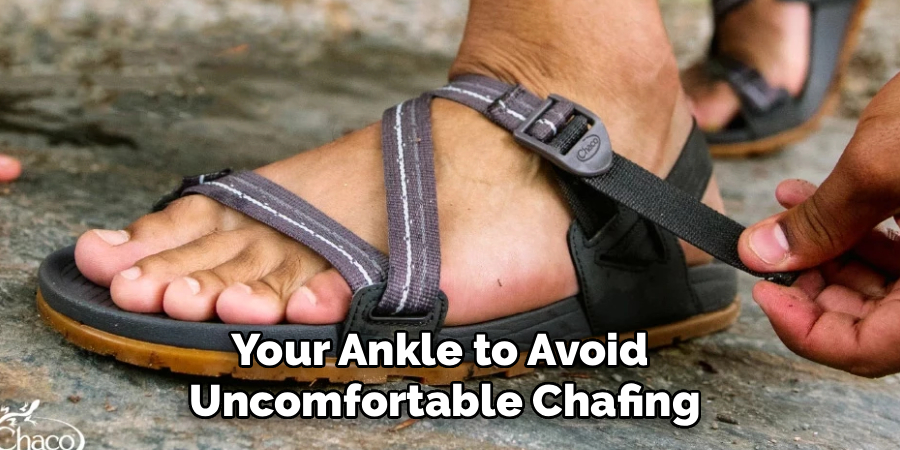
This step is essential for overall stability, as it connects the forefoot and midfoot adjustments into a cohesive system. A secure ankle strap prevents your foot from lifting out of the sandal while walking, especially on hills or varied ground. Ensure the fit is firm, but leave enough room to comfortably fit a finger between the strap and your ankle to avoid uncomfortable chafing.
Step 6: Buckle and Finalize the Fit
With the main sections of the strap adjusted, it’s time to secure the buckle. Pull the loose end of the strap through the buckle until it feels comfortably tight around your ankle. The buckle should lie flat against your foot. You’ve successfully adjusted the fit when the sandal feels like an extension of your foot—secure, supportive, and ready for movement. The strap should be tight enough that the sandal doesn’t flop around, but loose enough that it doesn’t cause any red marks.
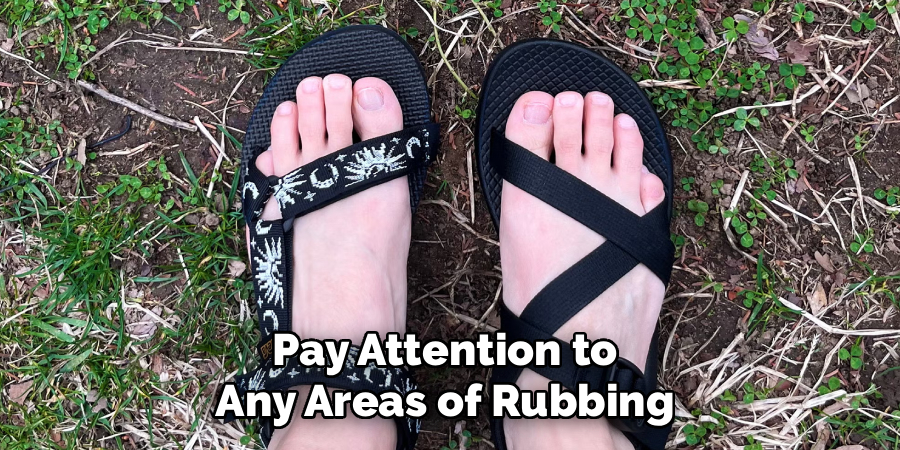
After buckling, walk around for a few minutes to test the fit. Pay attention to any areas of rubbing or excessive pressure. Your feet can swell slightly throughout the day, especially in warm weather or during exercise, so a perfect fit in the morning might feel too tight later on. Don’t be afraid to make minor adjustments to the buckle tension as needed to maintain comfort.
Step 7: Manage the Excess Strap
Once you are satisfied with the fit, you will likely have some extra webbing hanging from the buckle. Chaco provides a small rubber or plastic loop, often called a “strap keeper,” on the ankle strap. Simply tuck the loose end of the strap through this keeper to secure it and prevent it from flapping around or dragging on the ground while you walk. This keeps everything neat and tidy.
If you have a significant amount of excess strap even after using the keeper, you can choose to leave it, or some users opt to trim it and carefully sear the edge with a lighter to prevent fraying. However, this is a permanent modification, so only do this if you are absolutely certain you will not need that extra length in the future, for instance, if you plan to wear thick socks with your sandals in colder weather.
Following these steps on how to tighten chaco straps will ensure that your sandals fit snugly and comfortably on your feet, whether you are out hiking or just wearing them for casual activities.
Safety Tips
When adjusting your Chacos, always prioritize comfort to avoid injury. A strap that is too tight can restrict circulation, leading to numbness or tingling in your feet. It can also cause painful chafing and blisters, especially during long periods of wear.
If you notice any red marks or indentations on your skin after taking the sandals off, it’s a sign that the straps are too tight. Always leave enough room to slide a finger comfortably underneath each strap section. Be especially mindful when breaking in a new pair, as your feet and the straps need time to adapt to each other.
Common Mistakes to Avoid
The most common mistake is pulling only the main strap at the buckle to tighten the entire sandal. This only tightens the ankle section and often leads to an uncomfortably tight ankle and a loose forefoot.
Remember that the webbing is a single continuous loop. Another error is over-tightening the forefoot strap, which can cause foot pain and restrict toe movement. Finally, avoid cutting the excess strap length too soon, as you might need it later for wearing with socks or if your feet swell.
Frequently Asked Questions
Why Are My Chaco Straps So Hard to Adjust?
If your straps are difficult to pull, it’s likely due to dirt, sand, or grit getting trapped inside the midsole channels where the webbing runs. The best solution is to “floss” your straps. You can do this by adding a bit of fabric softener or soap to a bucket of water, soaking the sandals, and then vigorously pulling the straps back and forth through the sole. This helps to dislodge any debris and lubricate the channels, making adjustments much smoother.
Can I Adjust the Toe Loop on My Chacos?
Yes, the toe loop on Z/2 and Z/Cloud 2 models is part of the same continuous strap system and is fully adjustable. To tighten it, you’ll need to pull the slack from other parts of the strap system into the toe loop section. Conversely, to loosen it, you pull on the toe loop itself, which will create slack that you then need to pull through the rest of the straps toward the buckle. Many people find it easiest to adjust the toe loop first before tightening the other sections.
How Tight Should My Chacos Actually Be?
Your Chacos should be snug enough that your foot does not slide around in the footbed, but not so tight that they cause discomfort or restrict blood flow. A good rule of thumb is that the sandal should feel secure and connected to your foot when you walk, without any major gaps between the straps and your skin. You should be able to walk, hike, and move freely without thinking about your footwear. The perfect fit is a balance between security and comfort.
Conclusion
Mastering the Chaco strap system is a rite of passage for every owner and the key to unlocking the legendary comfort and support these sandals offer. By following these steps on how to tighten chaco straps, you can achieve a personalized fit that keeps your feet happy, whether you’re navigating city streets, hiking a trail, or rafting down a river.
Take your time during the adjustment process, and don’t hesitate to make small changes as needed. A well-adjusted pair of Chacos will quickly become your most trusted and comfortable footwear.
About
As the lead voice behind Shoenify, I bridge the gap between footwear aesthetics and technical performance. With a career dedicated to the intersection of fashion and function, I provide readers with data-driven reviews and deep dives into the global footwear market. My mission is to help every reader find the perfect fit, whether they are hitting the track or the boardroom.
Education RMIT University
-
RMIT University: Bachelor of Design (Footwear & Accessories)
-
Nottingham Trent University: MA in Fashion Design (Specializing in Footwear Innovation)
Publications and Impact
My insights on footwear trends and sustainable manufacturing have been featured in leading industry trade journals. Through Shoenify, I have influenced thousands of purchasing decisions by prioritizing transparency and rigorous testing. My work focuses on the evolution of “smart” footwear and the impact of 3D printing on the future of the industry.