

Roller shoes have transformed from a simple playground trend into a versatile way for people of all ages to combine walking and gliding effortlessly. These unique shoes allow you to switch modes in seconds, giving you the freedom to cruise down sidewalks or navigate crowded hallways without changing footwear. Learning how to master them opens up a world of fun and efficient travel for your daily commute or leisure time.
Getting started might feel a little tricky at first because finding your balance requires a different stance than normal walking or traditional skating. However, with just a little bit of practice and the right technique, you will be rolling smoothly in no time. By following a few key guidelines on how to use roller shoes, you can confidently turn any smooth surface into your personal skating rink.
Understanding Roller Shoes
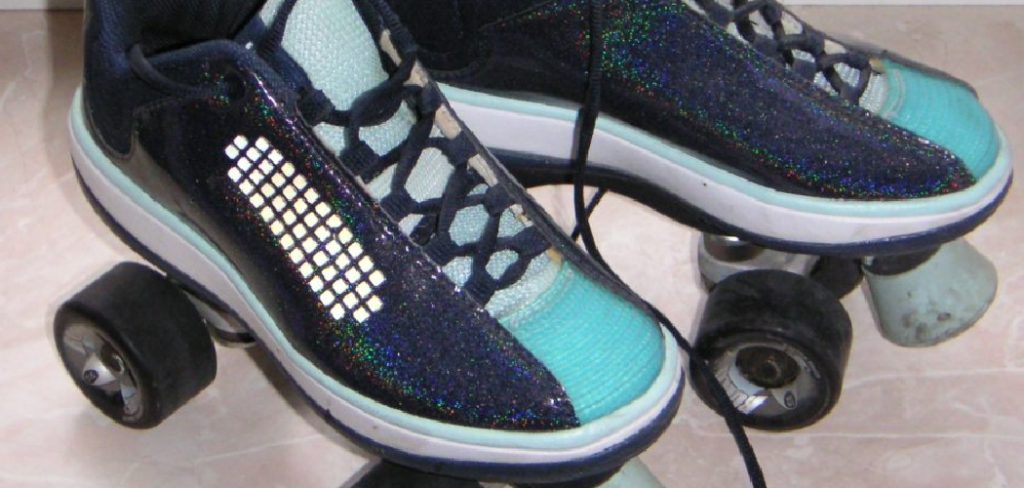
Roller shoes, often known by popular brand names like Heelys, are essentially standard sneakers with a stealthy wheel embedded in the heel of each sole. This innovative design allows the wearer to transition seamlessly between walking and rolling by simply shifting their weight. When you walk normally, the sole makes full contact with the ground, but when you lift your toes, the wheel engages, propelling you forward.
They offer a unique blend of transportation and recreation, promoting balance, core strength, and coordination. Unlike traditional roller skates or inline skates, these shoes are discreet and convenient, meaning you don’t have to carry extra equipment to enjoy a quick skate. They are perfect for short distances and add an element of excitement to mundane walks, making them a favorite among kids and active adults alike.
7 Simple Step-by-step Guidelines on How to Use Roller Shoes
Step 1: Preparing Your Gear and Finding a Safe Spot
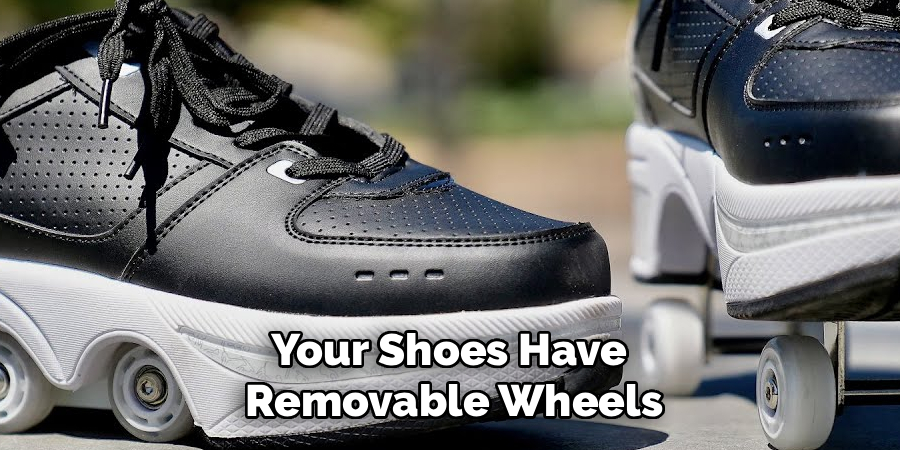
Before you even attempt your first roll, it is absolutely critical that you ensure your roller shoes are set up correctly and that you are in a safe environment. Check that the wheels are firmly clicked into the heel bracket; a loose wheel can lead to immediate falls and potential injury. If your shoes have removable wheels, make sure the cavity is clean of debris before inserting them. You should also gear up with safety equipment, including a helmet, knee pads, and wrist guards, especially if you are a complete beginner.
Once your gear is secured, find a smooth, flat surface that is free from cracks, pebbles, or significant debris. An empty garage, a smooth driveway, or a quiet hallway with linoleum floors are ideal places to start because they offer a consistent surface. Avoid crowded areas or uneven sidewalks until you have mastered the basics of starting and stopping. Taking these preliminary precautions sets the foundation for a successful learning experience, minimizing the fear of falling and allowing you to focus entirely on your technique.
Step 2: Finding Your Stance and Balance
The most important part of using roller shoes is mastering the specific stance required to engage the wheels without falling backward. Stand with your feet shoulder-width apart on your chosen flat surface. Now, step forward with your dominant foot—this is the foot you would naturally use to kick a ball. Your feet should be in a staggered position, one in front of the other, rather than side-by-side. This scissor-like stance provides the stability you need to prevent tipping over when the wheels engage.
To find your balance point, slowly lift the toes of both feet until you feel the wheels in your heels make contact with the ground. You shouldn’t be rolling yet; just get used to the feeling of balancing solely on your heels. Keep your knees slightly bent and your arms out to the sides for stability. If you feel like you are going to fall backward, simply drop your toes down to stop immediately. Practice shifting your weight back and forth between your flat soles and the wheels until the motion feels natural and less intimidating.
Step 3: The Push-Off Technique
Now that you are comfortable with the stance, it is time to initiate movement. Start with your feet flat on the ground in your staggered stance. Use your back foot to push off against the ground, similar to how you would push a scooter or a skateboard. The key here is not to push too hard initially; a gentle thrust is enough to get you moving. As you push, keep your weight centered but ready to shift backward.
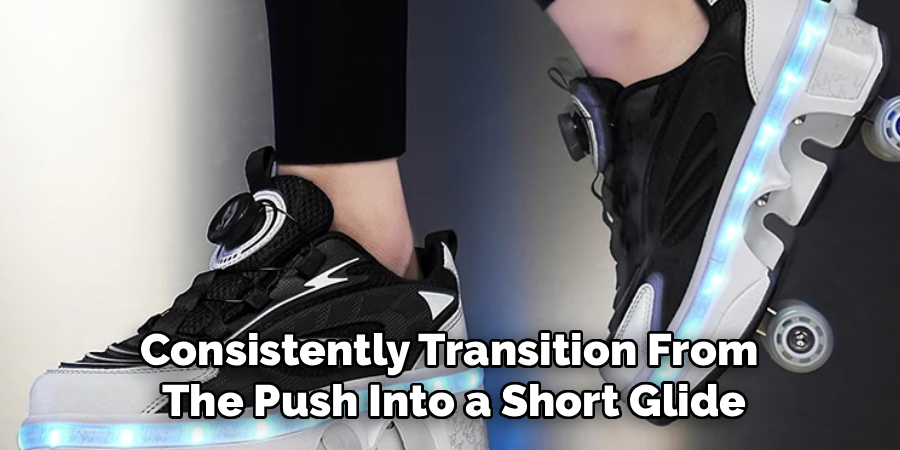
As soon as you push off with your back toe, immediately lift the toes of your front foot so you are rolling on that heel. Quickly bring your back foot forward to meet the front one, lifting the toes of the back foot as well so that both heels are engaged. You are now in the rolling position. This transition needs to be fluid. If you hesitate, you will likely stumble. It helps to think of it as a “step, push, glide” rhythm. Keep practicing this initial push-off until you can consistently transition from the push into a short glide.
Step 4: Mastering the Glide
Once you have successfully pushed off and have both toes in the air, you are gliding. This is the core experience of using roller shoes. To maintain a smooth glide, keep your feet in that staggered position with one foot slightly ahead of the other. The front foot acts as your steering guide, while the back foot provides stability. Your toes must remain pulled up towards your shins to keep the brakes (the front part of the sole) from hitting the ground.
Keep your legs stiff but your knees slightly soft to absorb any minor bumps in the surface. Lean back slightly, trusting the wheels to support you. If you lean too far forward, your toes will drop, and you will stop abruptly, which can throw you off balance. Focus on looking ahead at where you want to go, rather than down at your feet. Your body tends to follow your eyes, so looking forward helps maintain a straight path. The goal here is to extend the length of your glide with each attempt, finding the sweet spot where you are rolling effortlessly without needing to constantly push.
Step 5: Steering and Turning
Going in a straight line is great, but eventually, you will need to turn. Steering on roller shoes is subtle and relies heavily on shifting your body weight rather than physically turning your feet. To turn, keep your feet in the staggered rolling position. If you want to turn left, lean your body weight slightly to the left. You should feel the pressure shift to the inner edge of your shoes.
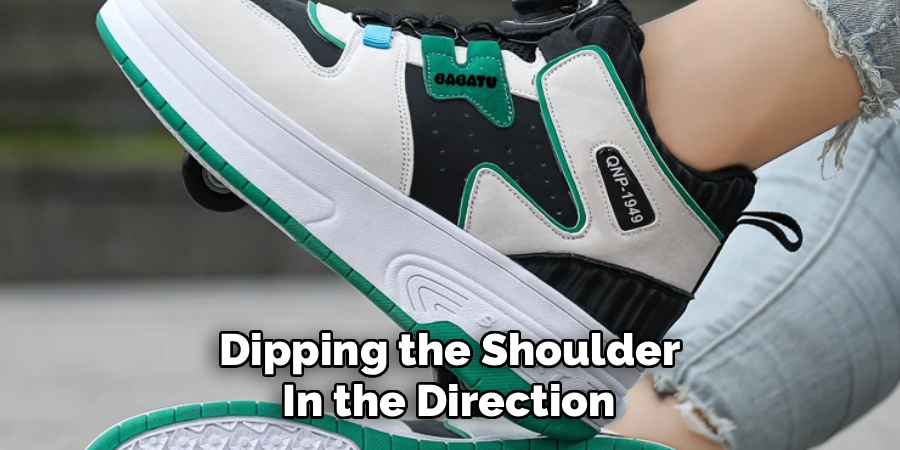
For sharper turns, you can lean a bit more aggressively, but be careful not to cross your feet. Your lead foot should guide the turn. If your right foot is in front, and you want to turn right, lean right and guide with that lead foot. It feels similar to skiing or inline skating. Start with very wide, gentle arcs before attempting tight corners. Practice making “S” shapes on the ground to get a feel for how your weight distribution affects your direction. Remember to keep your arms out for balance, dipping the shoulder in the direction you want to turn to help guide your momentum.
Step 6: How to Stop Safely
Knowing how to stop is just as important, if not more so, than knowing how to start. The beauty of roller shoes is that the braking mechanism is built right into the design. To stop, you simply need to lower your toes. Since the wheel is only in the heel, the front part of the shoe is standard rubber sole. When you are rolling and want to slow down, gently lower the toes of your leading foot until they make contact with the ground.
This will create friction and bring you to a gradual halt. For a more immediate stop, or if you are moving slowly, you can lower the toes of both feet simultaneously, transitioning back into a walk. However, do not slam your toes down if you are moving at high speed, as this can cause you to trip forward. Instead, lift your chest slightly and gradually lower the toes of the back foot first to scrub off speed, then the front. Practice emergency stops at slow speeds so that the motion becomes a reflex when you are out in public spaces.
Step 7: Transitioning to Walking
One of the biggest advantages of roller shoes is the ability to switch back to walking instantly. This is useful when you encounter rough terrain like gravel, stairs, or grass, which are not suitable for rolling. To transition, simply drop your toes so your foot is flat. Your weight will shift from your heels to the entire foot. Walk normally, but be mindful that your heels might feel slightly higher or slippery due to the wheels.
If you plan to walk for a long distance or enter a store that prohibits skating, you might want to remove the wheels entirely (if your model allows) or pop in the heel plugs. This turns them into standard sneakers. When walking with the wheels in, try to land more on the ball of your foot rather than a heavy heel strike, as the hard wheel can be slippery on smooth tile floors. Mastering this transition allows you to integrate rolling into your daily routine seamlessly, skating where it’s fun and walking where it’s necessary.
Following these steps on how to use roller shoes, you can now start incorporating them into your daily routine.
Tips for Beginners
When you are first starting out with roller shoes, patience is your best friend. It is completely normal to feel wobbly or uncoordinated during your first few sessions. Start by practicing near a wall, a railing, or a sturdy piece of furniture that you can hold onto for support. This allows you to get used to the feeling of wheels under your heels without the immediate fear of falling.
Keep your sessions short, perhaps 15 to 20 minutes, to avoid muscle fatigue in your shins and ankles, which are working hard to keep your toes lifted. Always look ahead rather than down at your feet, as this helps your brain calibrate your balance better. Finally, try to practice with a friend; having someone to hold your hand or just encourage you can make the learning process much faster and more enjoyable.
Common Mistakes to Avoid
A frequent error beginners make is keeping their feet side-by-side while rolling, which is incredibly unstable and often leads to falling backward. You must maintain a staggered stance with one foot in front of the other.
Another common mistake is leaning too far forward at the waist; this shifts your center of gravity and causes your toes to hit the ground, stopping you abruptly. Avoid looking straight down at your shoes, as this ruins your posture. Lastly, never attempt to roll over water, sand, or rocks, as these surfaces can lock the wheels and cause injury.
Frequently Asked Questions
Q1: Can Roller Shoes Be Used Indoors On All Types Of Flooring?
A1: Generally, roller shoes work best on smooth, hard surfaces, making many indoor floors like linoleum, wood, and smooth concrete ideal for gliding. However, you should be cautious on very polished or waxed floors found in malls or grocery stores, as they can be deceptively slippery even when you are trying to walk normally. Furthermore, many businesses, schools, and public buildings have strict policies prohibiting the use of roller shoes indoors due to liability and safety concerns. Always check for signage or ask permission before rolling indoors, and be respectful of property owners by removing wheels or walking normally where required.
Q2: Is It Difficult To Remove The Wheels If I Just Want To Walk?
A2: Removing the wheels is typically a very simple process, designed to be quick so you can switch modes on the go. Most roller shoes come with a specialized tool, often a small metal hook or lever, that allows you to pop the wheel out of the heel bracket in seconds. Once the wheel is removed, you can usually insert a “plug” or cover that fills the hole, turning the shoe into a standard sneaker with a flat sole. If you lose the tool, it can be a bit harder to pry it out by hand, so it is a good idea to keep the tool on your keychain or in your pocket if you plan on switching frequently.
Conclusion
Mastering roller shoes is a rewarding skill that adds a layer of excitement to getting from point A to point B. By understanding the mechanics of the shoes and following the step-by-step guidelines for balance, pushing off, and stopping, you can enjoy a safe and smooth ride. Remember that, like any physical activity, practice is key—don’t be discouraged by initial wobbles.
With the right safety gear and a bit of patience, you will soon be gliding effortlessly, turning heads and enjoying the unique freedom that roller shoes provide. Lace up, find a smooth path, and let the good times roll! Thanks for reading this guide on how to use roller shoes.
About
As the lead voice behind Shoenify, I bridge the gap between footwear aesthetics and technical performance. With a career dedicated to the intersection of fashion and function, I provide readers with data-driven reviews and deep dives into the global footwear market. My mission is to help every reader find the perfect fit, whether they are hitting the track or the boardroom.
Education RMIT University
-
RMIT University: Bachelor of Design (Footwear & Accessories)
-
Nottingham Trent University: MA in Fashion Design (Specializing in Footwear Innovation)
Publications and Impact
My insights on footwear trends and sustainable manufacturing have been featured in leading industry trade journals. Through Shoenify, I have influenced thousands of purchasing decisions by prioritizing transparency and rigorous testing. My work focuses on the evolution of “smart” footwear and the impact of 3D printing on the future of the industry.