

For any athlete, blisters can feel like a major setback. These painful, fluid-filled pockets on your feet are a common side effect of intense training, new shoes, or long games. The thought of putting on a pair of snug-fitting cleats over them can be daunting, but missing practice or a game often isn’t an option.
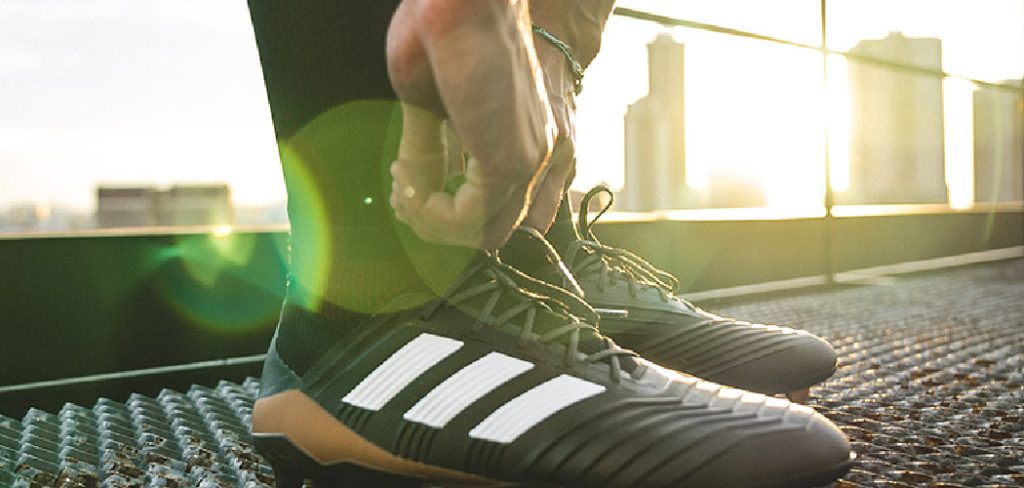
Fortunately, with the right approach, you can continue to perform while your blisters heal. This guide will walk you through the essential steps and tips on how to wear cleats with blisters, helping you manage the discomfort and get back on the field with confidence. Protecting your feet properly is key to preventing further injury and ensuring a speedy recovery.
Understanding Blisters
Blisters are a common foot injury that can be caused by friction, heat, moisture, or ill-fitting footwear. They appear as pockets of fluid under the top layer of skin and can be quite painful when they burst or are put under pressure. While blisters may seem like a minor issue, they should not be taken lightly as they can quickly become infected if not properly cared for.
If ruptured blisters can be especially susceptible to infection as they expose the underlying layers of skin. It is important to keep blisters clean and covered to prevent dirt and bacteria from entering the open wound.
7 Simple Step-By-Step Guidelines on How to Wear Cleats With Blisters
Step 1: Clean and Prepare the Blister
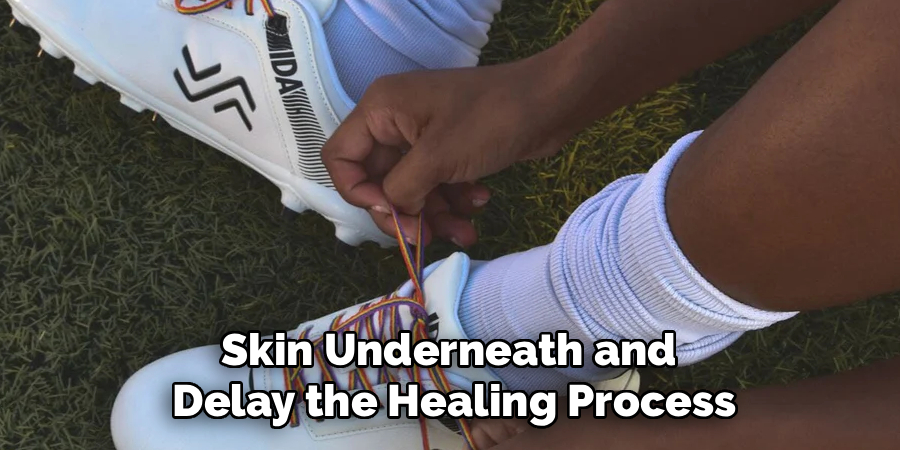
The first and most critical step is to properly clean the blister and the surrounding skin. This minimizes the risk of infection, especially if the blister is already open or likely to pop inside your cleat. Start by washing your hands thoroughly with soap and water. Then, gently clean the affected area with mild soap and lukewarm water. Avoid using harsh antiseptics like alcohol or hydrogen peroxide directly on an open blister, as they can damage the delicate new skin underneath and delay the healing process.
Once clean, carefully pat the area dry with a sterile gauze pad or a clean, soft cloth. Do not rub the blister, as this can cause it to tear. If the blister is large, painful, and intact, you might consider draining it with a sterilized needle, but this is best done by a medical professional. For most minor blisters, leaving them intact provides a natural, sterile barrier against bacteria. Proper preparation creates a clean foundation for any dressings or padding, ensuring they adhere well and provide effective protection against the harsh interior of your cleat.
Step 2: Choose the Right Blister Dressing
After cleaning the area, selecting the appropriate dressing is essential for protection and healing. Your choice will depend on the state of your blister. For intact blisters, a hydrocolloid bandage, often called a blister bandage, is an excellent option. These specialized bandages form a gel-like cushion over the blister, absorbing moisture, reducing friction, and promoting a moist healing environment. They are waterproof and designed to stay in place for several days, acting like a second skin and providing substantial relief from the pressure inside a cleat.
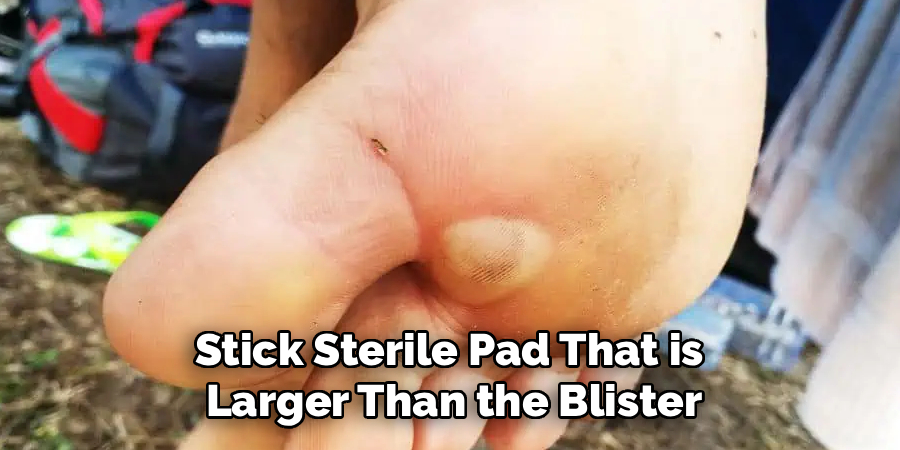
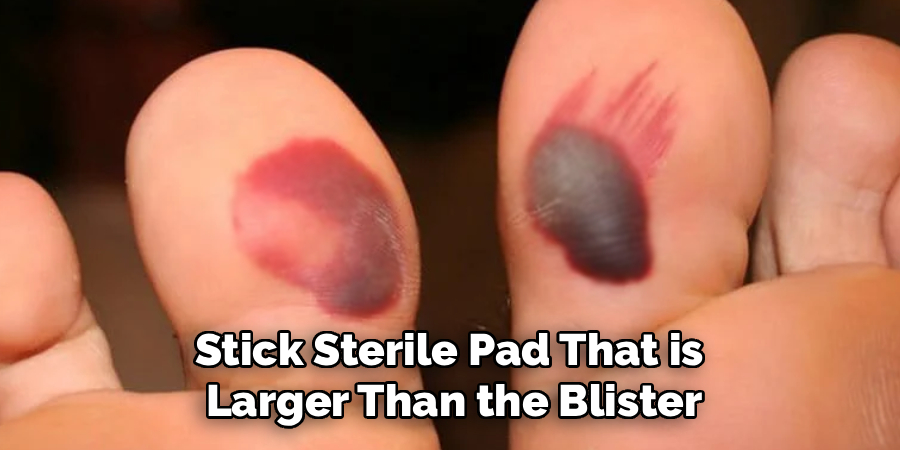
If the blister has already popped, the approach needs to be slightly different. After cleaning it, apply a thin layer of antibiotic ointment to prevent infection. Then, cover the area with a non-stick sterile pad that is larger than the blister itself. You want to avoid materials that could stick to the raw skin, such as regular cotton balls. Secure the pad with medical tape. This setup will protect the sensitive skin from direct contact with your sock and cleat while allowing it to heal without further irritation or risk of contamination.
Step 3: Add an Extra Layer of Padding
Even with a quality blister bandage, the intense pressure from a tight-fitting cleat can still cause significant pain. Adding an extra layer of padding is a crucial step to dissipate that pressure and friction. Moleskin is a classic and highly effective choice for this purpose. Moleskin is a soft, cotton flannel material with a strong adhesive backing. The key is not to place the moleskin directly on top of the blister itself, as this could tear the delicate skin when you remove it.
Instead, cut a piece of moleskin into a doughnut shape, with the hole slightly larger than the blister. Place this doughnut around the blister so that the padding elevates the surrounding area, creating a protective pocket that shields the blister from direct contact and pressure. For added protection, you can cut a second, larger piece of moleskin to cover the entire doughnut and the blister. This multi-layer approach distributes the pressure more evenly across a wider surface area, dramatically reducing the rubbing and impact that would otherwise be focused on the blister.
Step 4: Select the Right Socks
The socks you wear play a significant role in managing blisters and comfort. Thin cotton socks should be avoided at all costs. Cotton absorbs sweat but dries very slowly, leaving your feet damp. This moisture softens the skin, making it far more susceptible to friction and new blister formation. Instead, opt for socks made from synthetic, moisture-wicking materials like nylon, polyester, or merino wool. These fabrics pull sweat away from your skin, keeping your feet drier and reducing the friction between your foot and the cleat.
Consider wearing two pairs of socks for enhanced protection. The “double-sock” method is a time-tested strategy used by athletes and hikers. Wear a thin, snug-fitting liner sock made of a synthetic material directly against your skin. Over this, wear your regular athletic sock. The theory behind this is that any friction will occur between the two sock layers rather than between the sock and your skin. This significantly cuts down on the rubbing that causes blisters and can provide an extra layer of cushioning to ease the pressure on existing ones.
Step 5: Loosen Your Cleats Strategically
While cleats need to be snug to provide support, overtightening them when you have a blister is a recipe for intense pain and further damage. The goal is to secure your foot without putting direct, crushing pressure on the blistered area. Before putting on your cleats, loosen the laces more than you normally would, especially around the section of the foot where the blister is located. This will make it easier to slide your foot in without painfully scraping the blister and its dressing.
Once your foot is in the cleat, begin lacing it up, but do so strategically. You can use alternative lacing techniques to bypass the sensitive area. For instance, if the blister is on the top of your foot, you can skip a set of eyelets to create a “window” in the lacing, relieving pressure directly over that spot. Tighten the laces around the ankle and the front of the foot to ensure your heel remains locked in place and your foot is stable, but keep the laces over the blister itself relatively loose. This provides the necessary support without aggravating the injury.
Step 6: Test and Adjust Before Playing
Before you run out onto the field for warm-ups, take a few minutes to test your setup. Walk around slowly, jog in place, and perform a few gentle side-to-side movements. This will allow you to feel how the dressing, padding, and lacing are working together inside the cleat. Pay close attention to any pinching, sharp pain, or excessive movement of the padding. This is your chance to make crucial adjustments before the intensity of gameplay makes it too late.
If you feel a specific spot rubbing or pressing uncomfortably, don’t hesitate to take the cleat off and make corrections. You might need to add another layer of moleskin, re-tape a bandage, or adjust the lacing pattern further. It’s much better to spend five minutes fine-tuning your setup off the field than to be forced to stop mid-game because of unbearable pain or a ruined blister dressing. This proactive check ensures your protective measures are effective and will hold up under the stress of athletic activity.
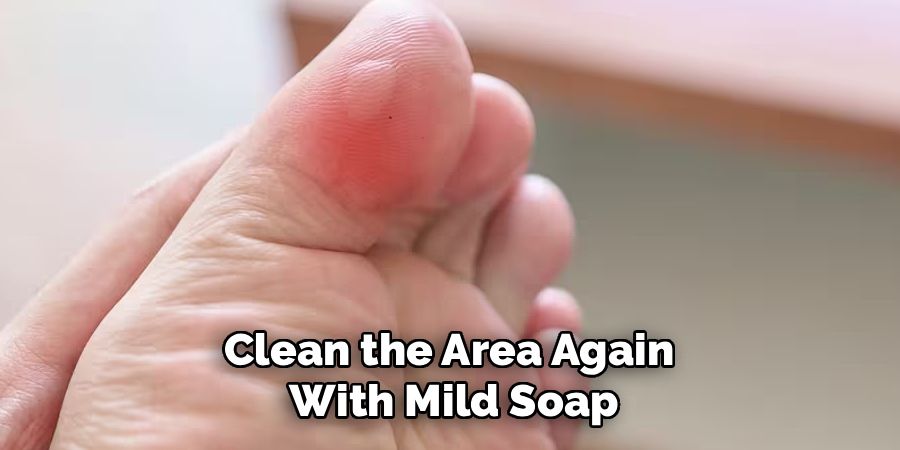
Step 7: Post-Activity Care is Crucial
What you do after the game or practice is just as important as what you did before. As soon as you are finished, take off your cleats and socks immediately. This allows your feet to breathe and reduces the time they spend in a moist, restrictive environment. Gently remove the bandages and padding. If the adhesive is stubborn, you can use a small amount of baby oil or rubbing alcohol on a cotton ball to help dissolve it without tearing your skin.
Once the dressings are off, inspect the blister. Clean the area again with mild soap and water and pat it dry. If it is still intact, you can let it air out. If it has popped, apply a fresh layer of antibiotic ointment and cover it with a new, clean bandage to protect it as it continues to heal. Elevating your feet can also help reduce any swelling and discomfort. Consistent post-activity care is essential for preventing infection and ensuring the blister heals as quickly as possible so you can get back to playing without pain.
Following these steps on how to wear cleats with blisters can help you continue playing your favorite sport while also taking care of your body. However, it’s important to note that prevention is key when it comes to blisters caused by cleats.
Tips for Beginners
If you are new to an intense sport or are breaking in new cleats, blisters can be a frustrating reality. The most important tip is to break in your cleats gradually. Wear them around the house for short periods before ever taking them to the field. When you do start practicing in them, wear them for only part of the session and switch back to your old pair.
Pay attention to “hot spots”—areas where you feel rubbing or pressure—and apply moleskin or blister bandages to these spots proactively, even before a blister forms. Always ensure your cleats are the correct size; shoes that are too big or too small are a primary cause of blisters. Finally, invest in high-quality, moisture-wicking socks, as they are your first line of defense.
Common Mistakes to Avoid
The most common mistake is ignoring a hot spot until it becomes a full-blown blister. Another error is popping a blister with unsterilized tools or dirty hands, which invites infection. Many athletes also choose the wrong socks, opting for cotton, which traps moisture and increases friction.
Overtightening cleats in an attempt to get more support can backfire by creating immense pressure points. Lastly, failing to properly clean and care for a blister after activity can delay healing and lead to complications.
Safety and Comfort Tips
Beyond the specific steps, general foot care is key. Keep your feet as dry as possible; consider using foot powder or an antiperspirant on your feet before putting on socks. Ensure your toenails are trimmed short to prevent them from digging into your toes or the front of the shoe.
If you are prone to blisters in a specific area, consistently taping that area before activity can provide an effective preventative barrier. If a blister becomes severely painful, shows signs of infection like pus, redness, or warmth, or if you are a person with diabetes, seek medical attention promptly. Don’t try to “tough it out” with a potentially serious injury.
Frequently Asked Questions
Q1: How Can I Prevent Blisters While Wearing Cleats?
A1: Prevention is always better than treatment. The best way to prevent blisters is to ensure your cleats fit properly—not too tight and not too loose. Break in new cleats gradually over several sessions. Always wear moisture-wicking athletic socks, and consider the double-sock method for extra protection. Identifying and protecting potential hot spots with moleskin or athletic tape before you play can stop a blister before it starts. Keeping your feet dry with foot powder can also significantly reduce friction.
Q2: Is It Okay to Pop a Blister Before Playing?
A2: Most medical experts advise against popping a blister. The intact skin provides a natural, sterile barrier that protects the sensitive new skin underneath from bacteria and infection. Popping it creates an open wound that is vulnerable to the dirty, sweaty environment inside a cleat. However, if a blister is very large, tense, and so painful that it prevents you from walking, you may consider draining it carefully. If you do, use a needle sterilized with rubbing alcohol, make a tiny puncture at the edge, and gently press out the fluid. Do not remove the overlying skin. Afterward, clean it, apply antibiotic ointment, and cover it securely.
Conclusion
Playing through the pain of a blister is a challenge familiar to many athletes. While it can be incredibly uncomfortable, it doesn’t have to end your participation in a game or practice. By following a careful and methodical approach—properly cleaning and dressing the blister, using padding to reduce pressure, selecting the right socks, and adjusting your cleats—you can effectively manage the discomfort and protect the injured area from further harm.
Remember to pay close attention to your body, make adjustments as needed, and prioritize post-activity care to promote fast healing. With these strategies on how to wear cleats with blisters, you can stay on the field and continue performing at your best.
About
As the lead voice behind Shoenify, I bridge the gap between footwear aesthetics and technical performance. With a career dedicated to the intersection of fashion and function, I provide readers with data-driven reviews and deep dives into the global footwear market. My mission is to help every reader find the perfect fit, whether they are hitting the track or the boardroom.
Education RMIT University
-
RMIT University: Bachelor of Design (Footwear & Accessories)
-
Nottingham Trent University: MA in Fashion Design (Specializing in Footwear Innovation)
Publications and Impact
My insights on footwear trends and sustainable manufacturing have been featured in leading industry trade journals. Through Shoenify, I have influenced thousands of purchasing decisions by prioritizing transparency and rigorous testing. My work focuses on the evolution of “smart” footwear and the impact of 3D printing on the future of the industry.